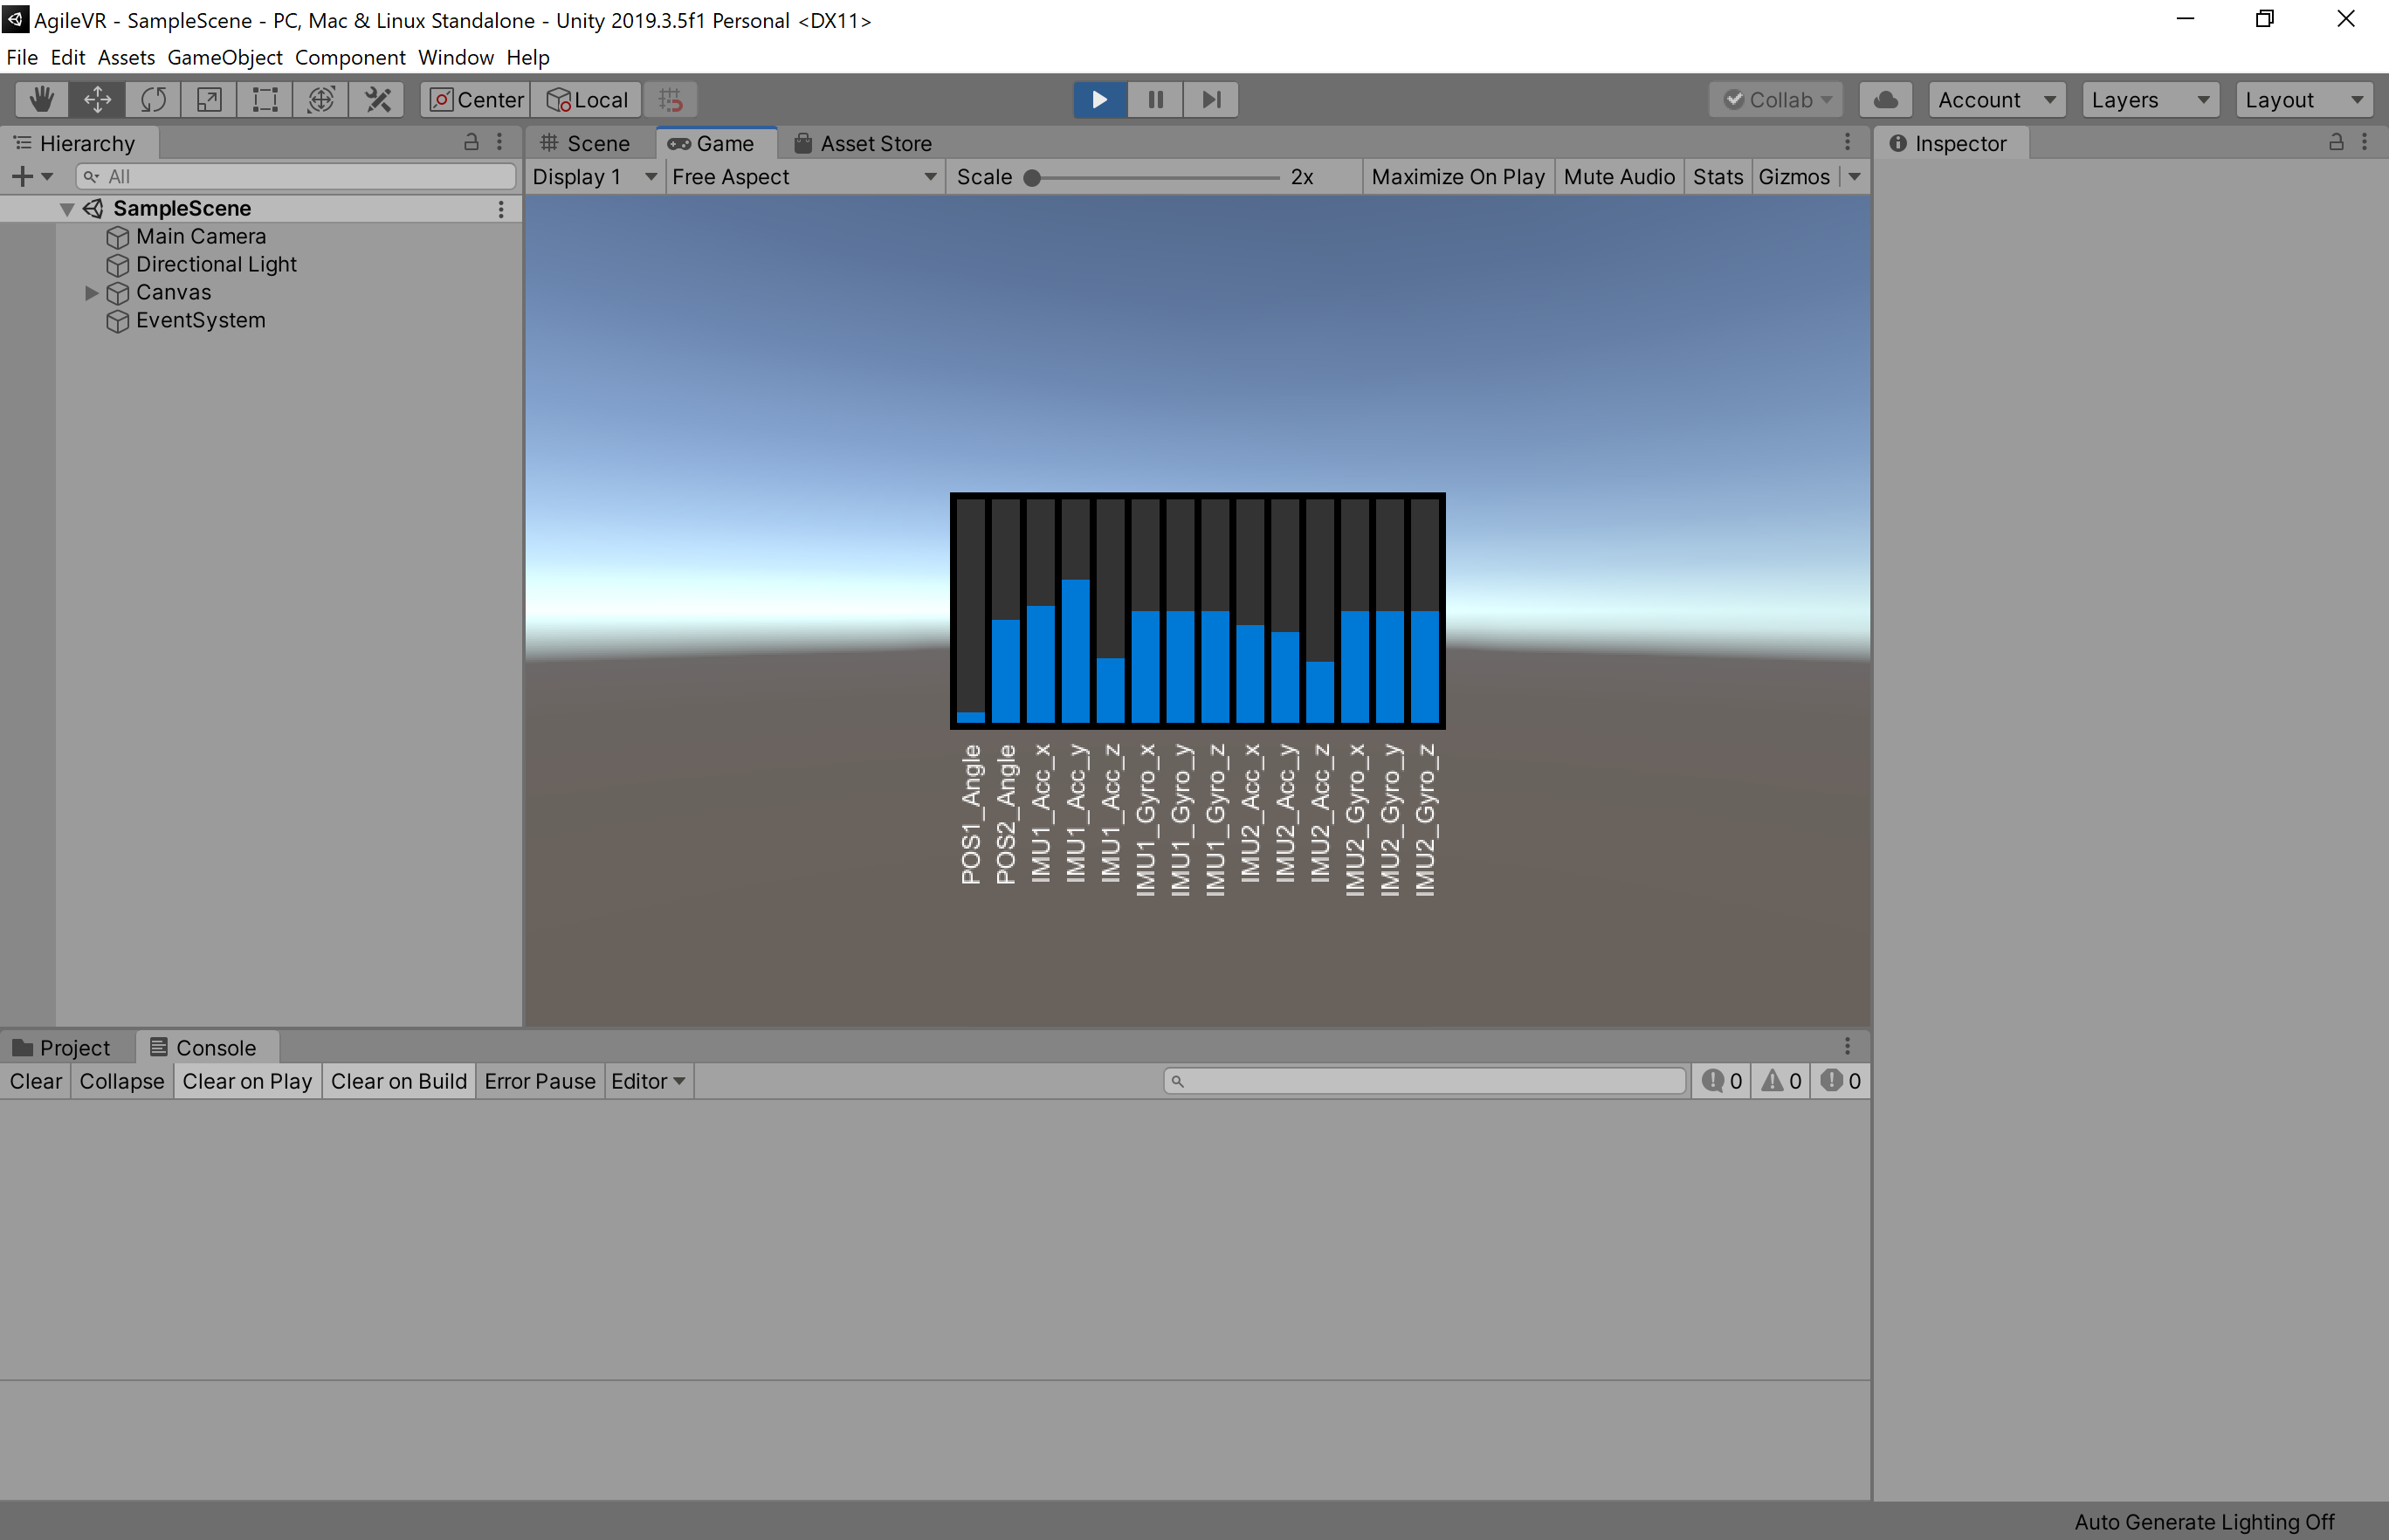
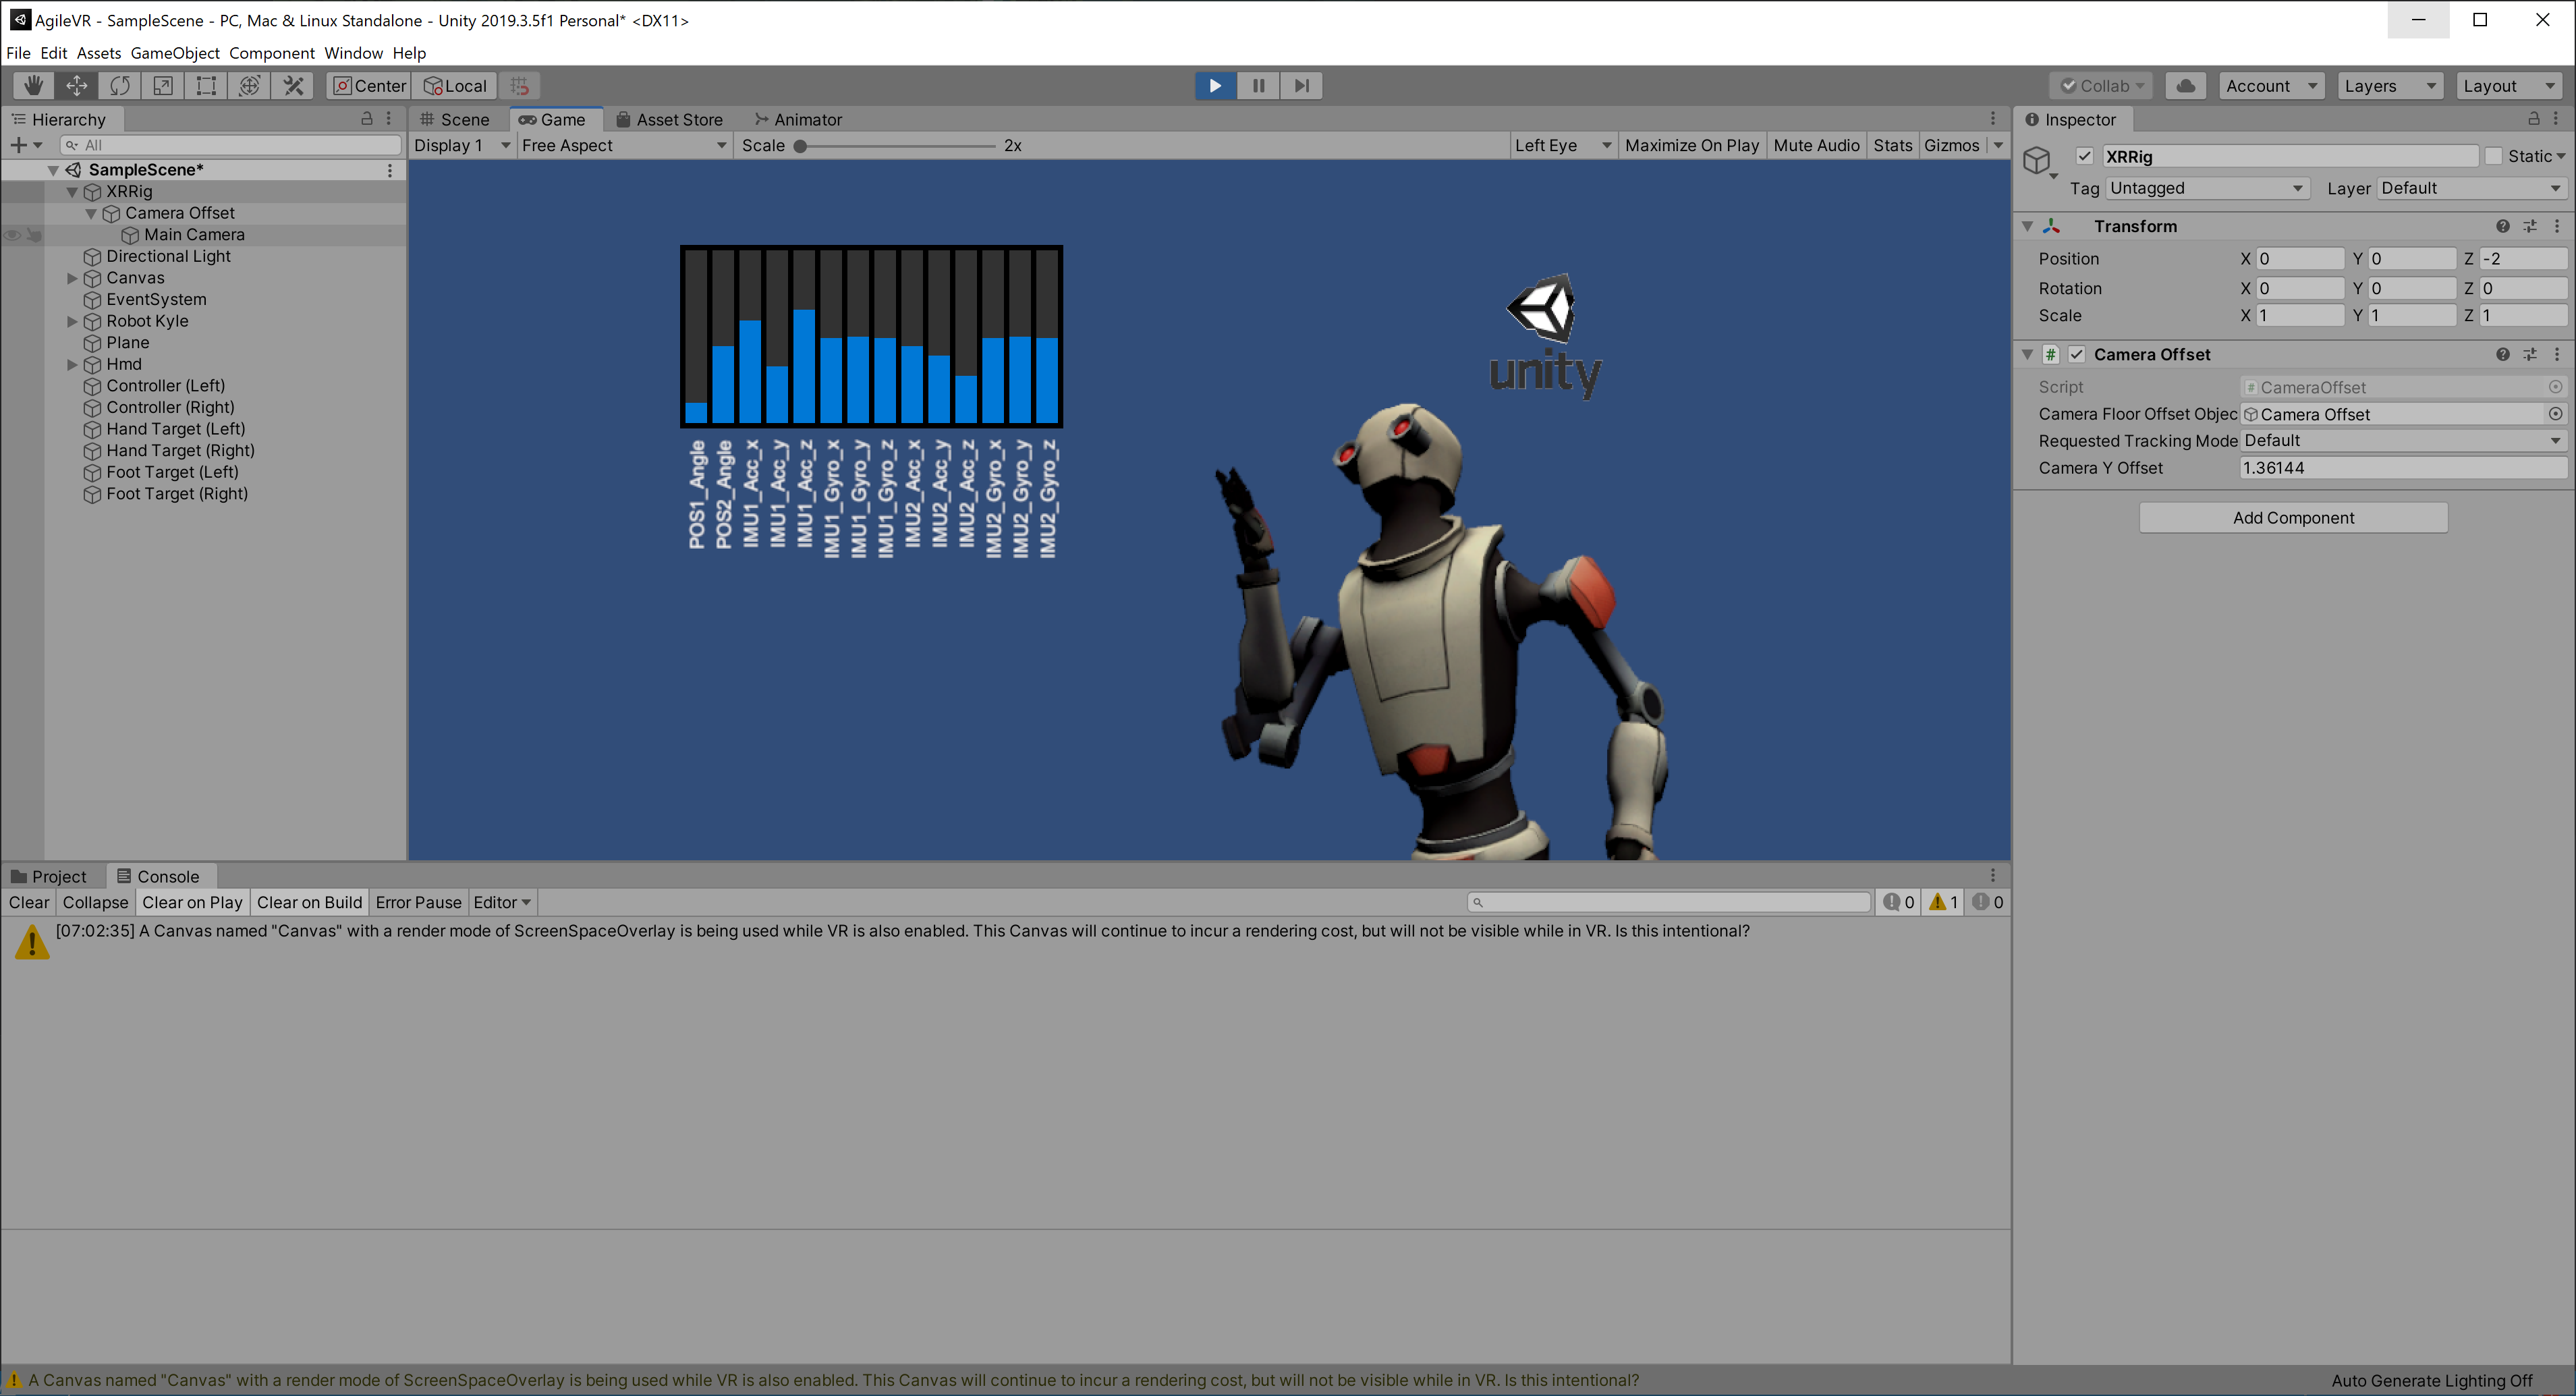
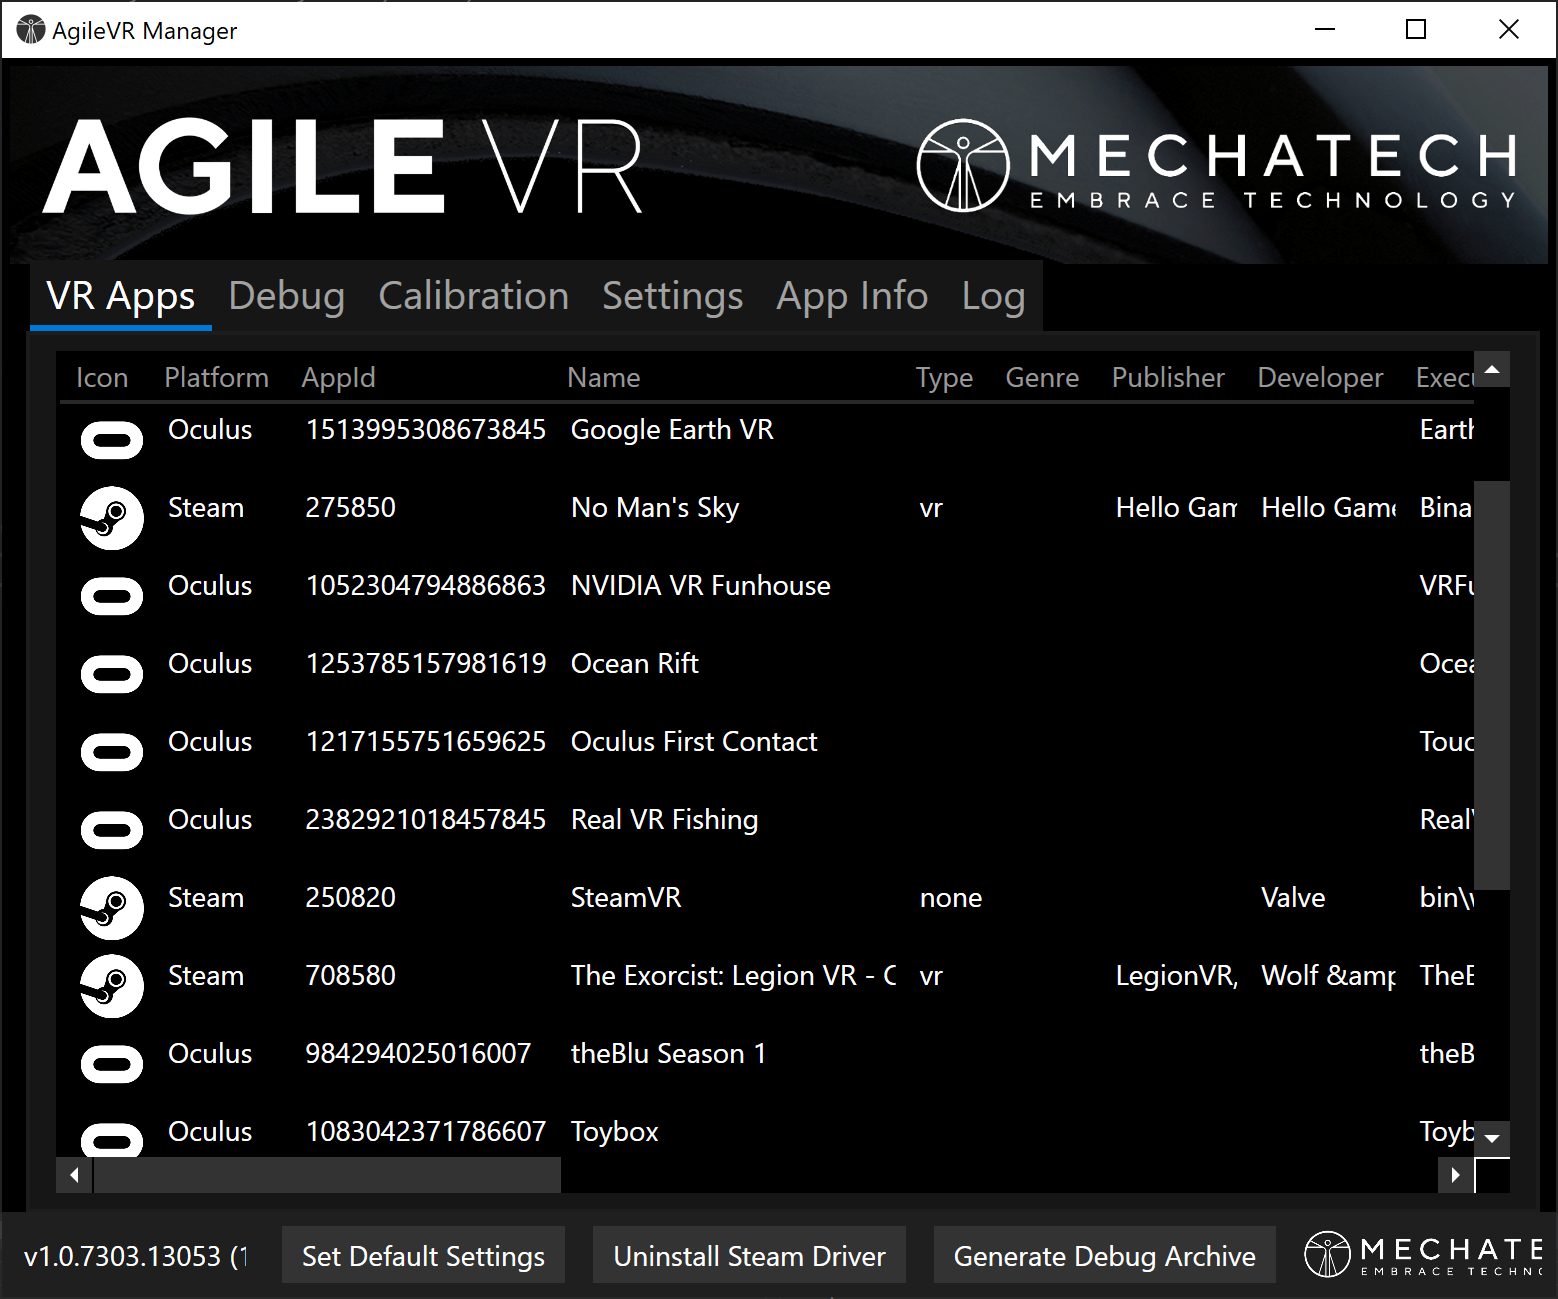
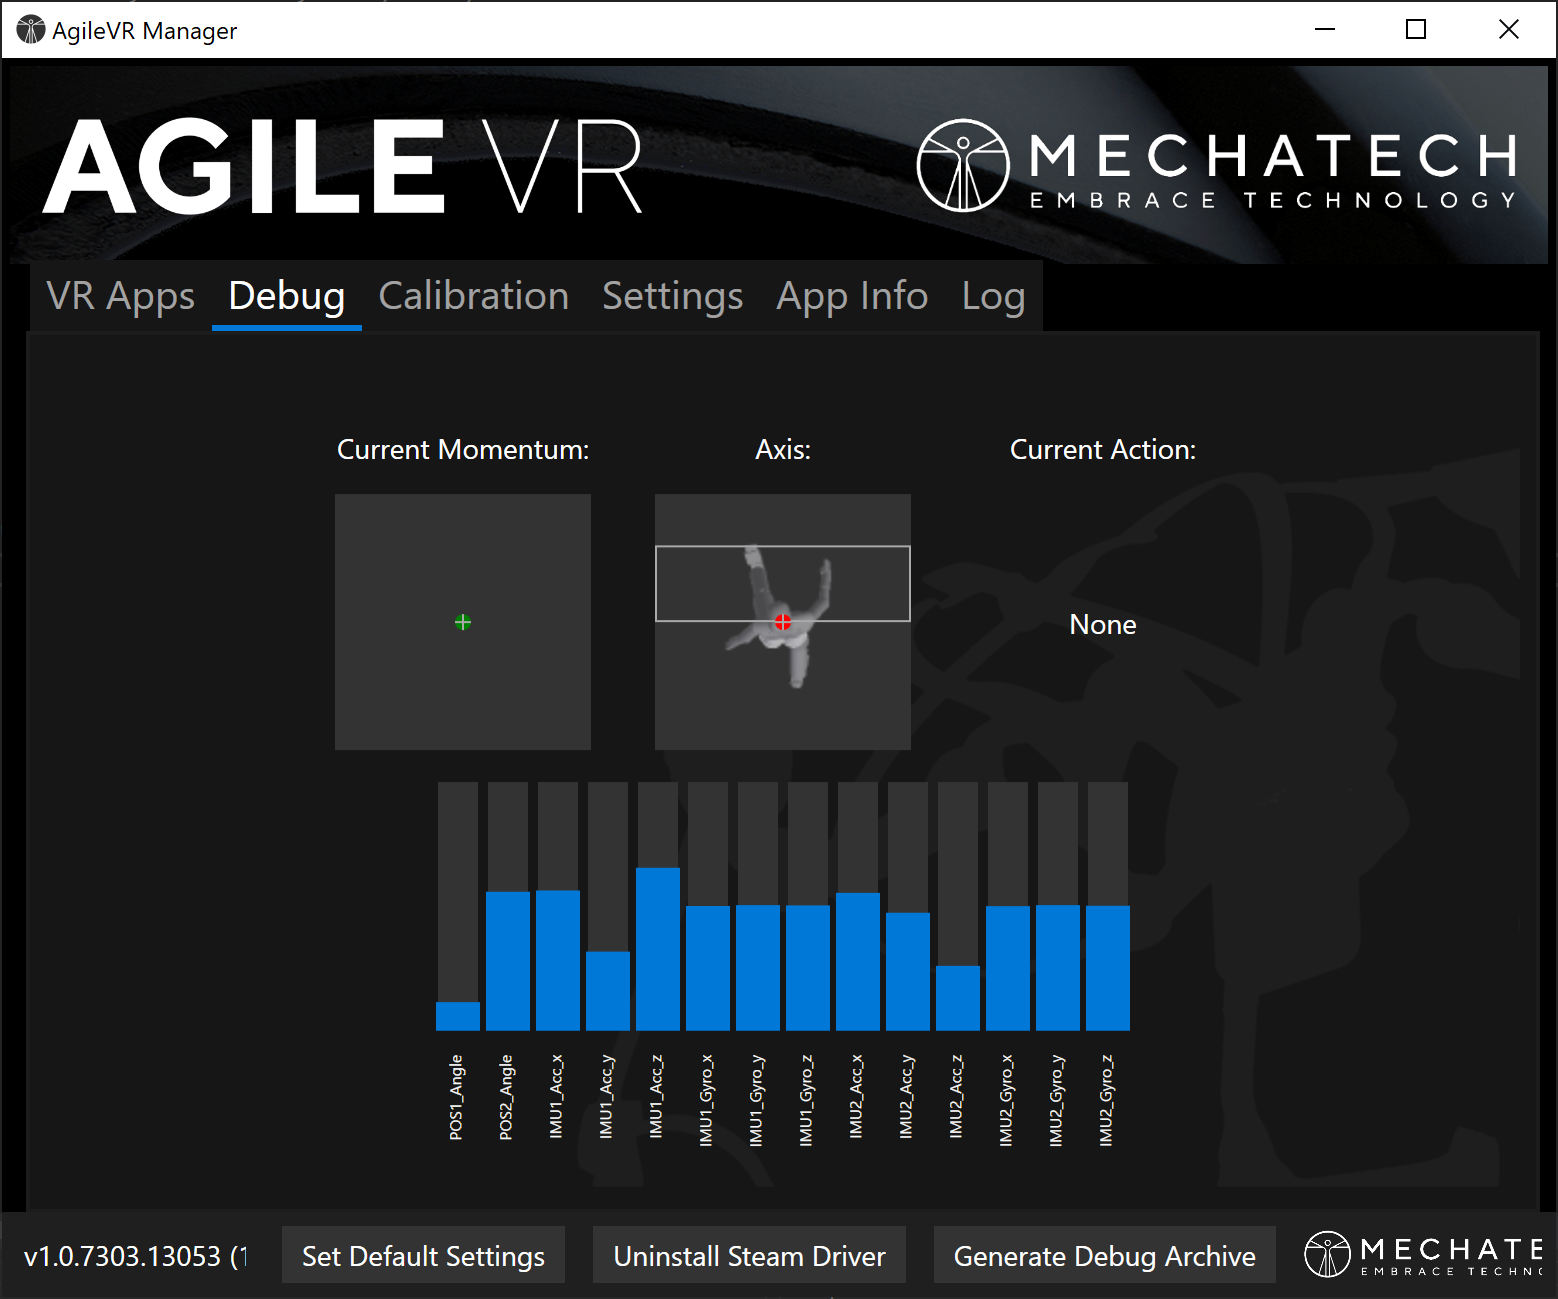
We really enjoyed developing the full body tracking software for the AgileVR! It's even more fun to see it in full action! You look great Jack!

We really enjoyed developing the full body tracking software for the AgileVR! It's even more fun to see it in full action! You look great Jack!
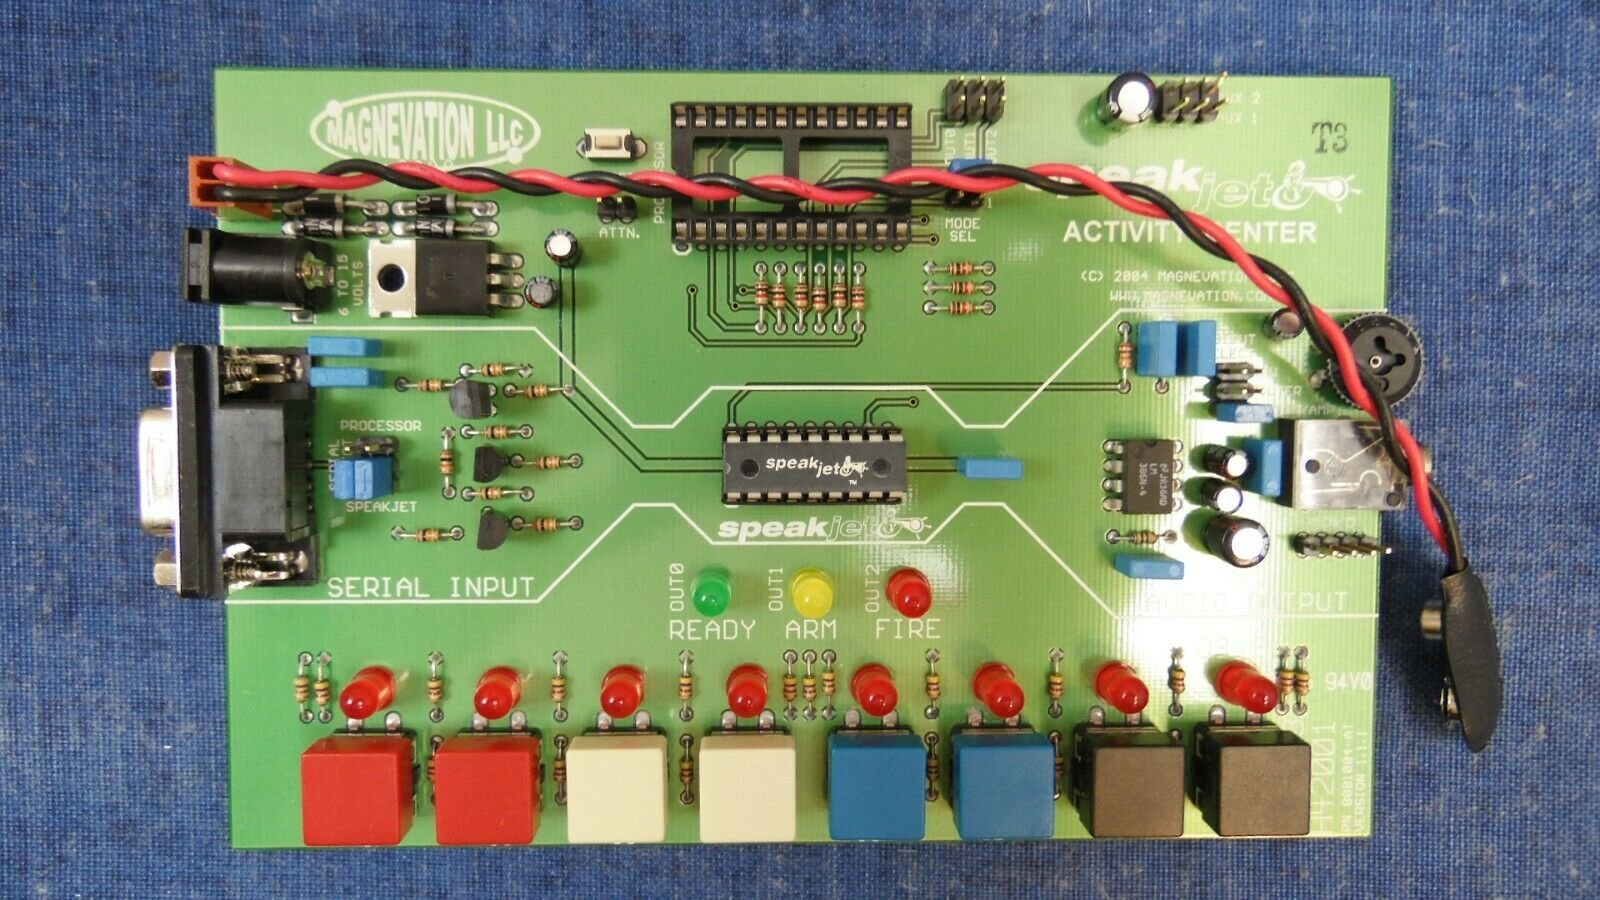
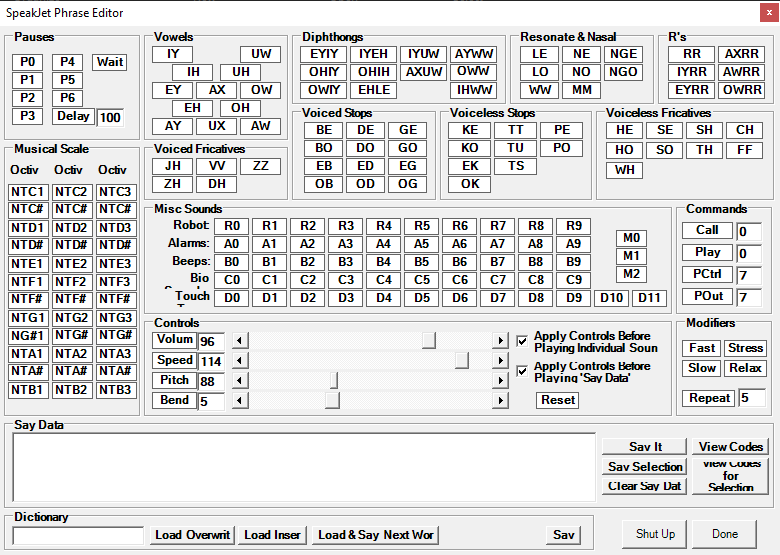
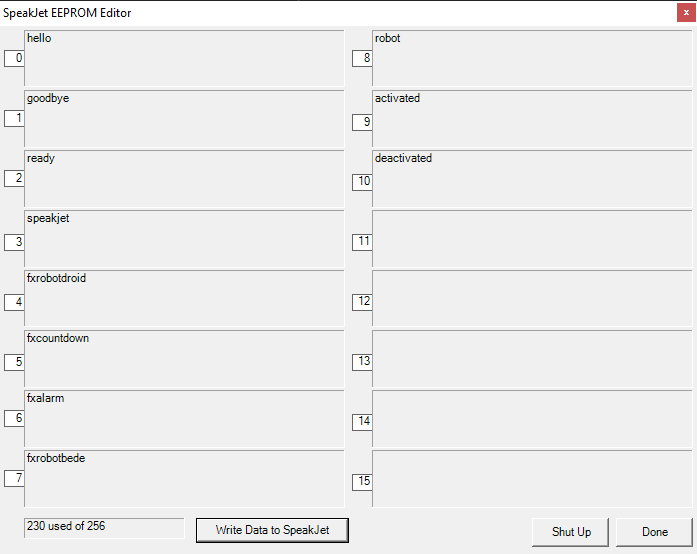
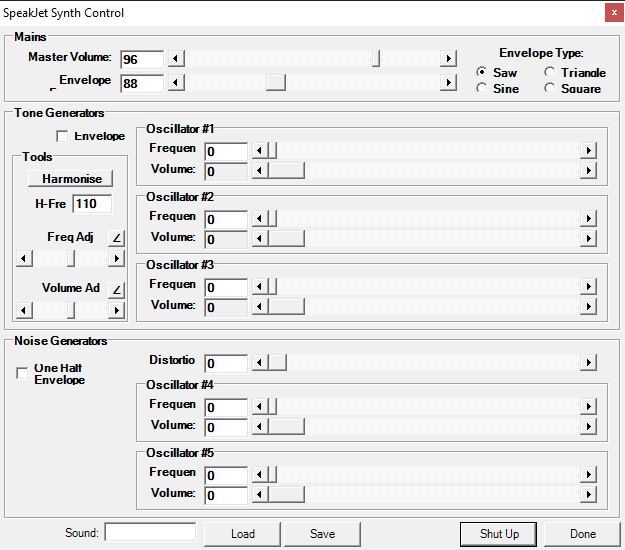
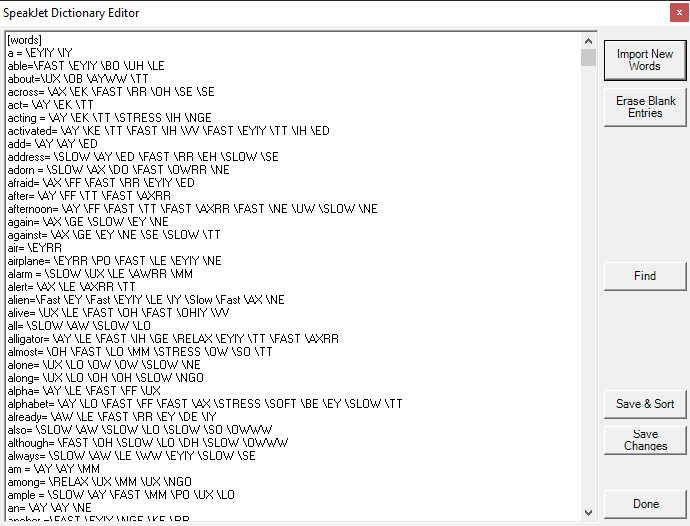
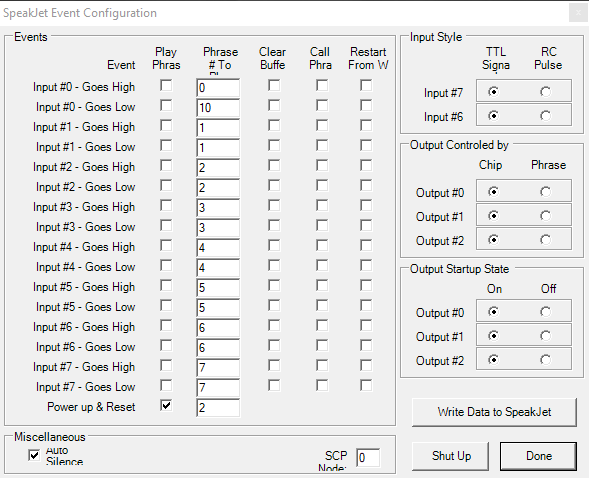
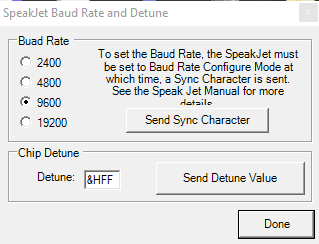
I scored one of these on eBay for $20 and have been playing around a bit and discovered it's the same chip used in the AtariVox+ Speech Synthesizer.
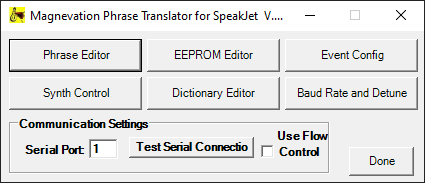
I decided to port the PhraseALator application to C#. Part of the process was to change from Mscomm32.ocx to .NET's SerialPort class in the System.IO.Ports namespace.
I made a C# source to PhraseALator available on Github here.
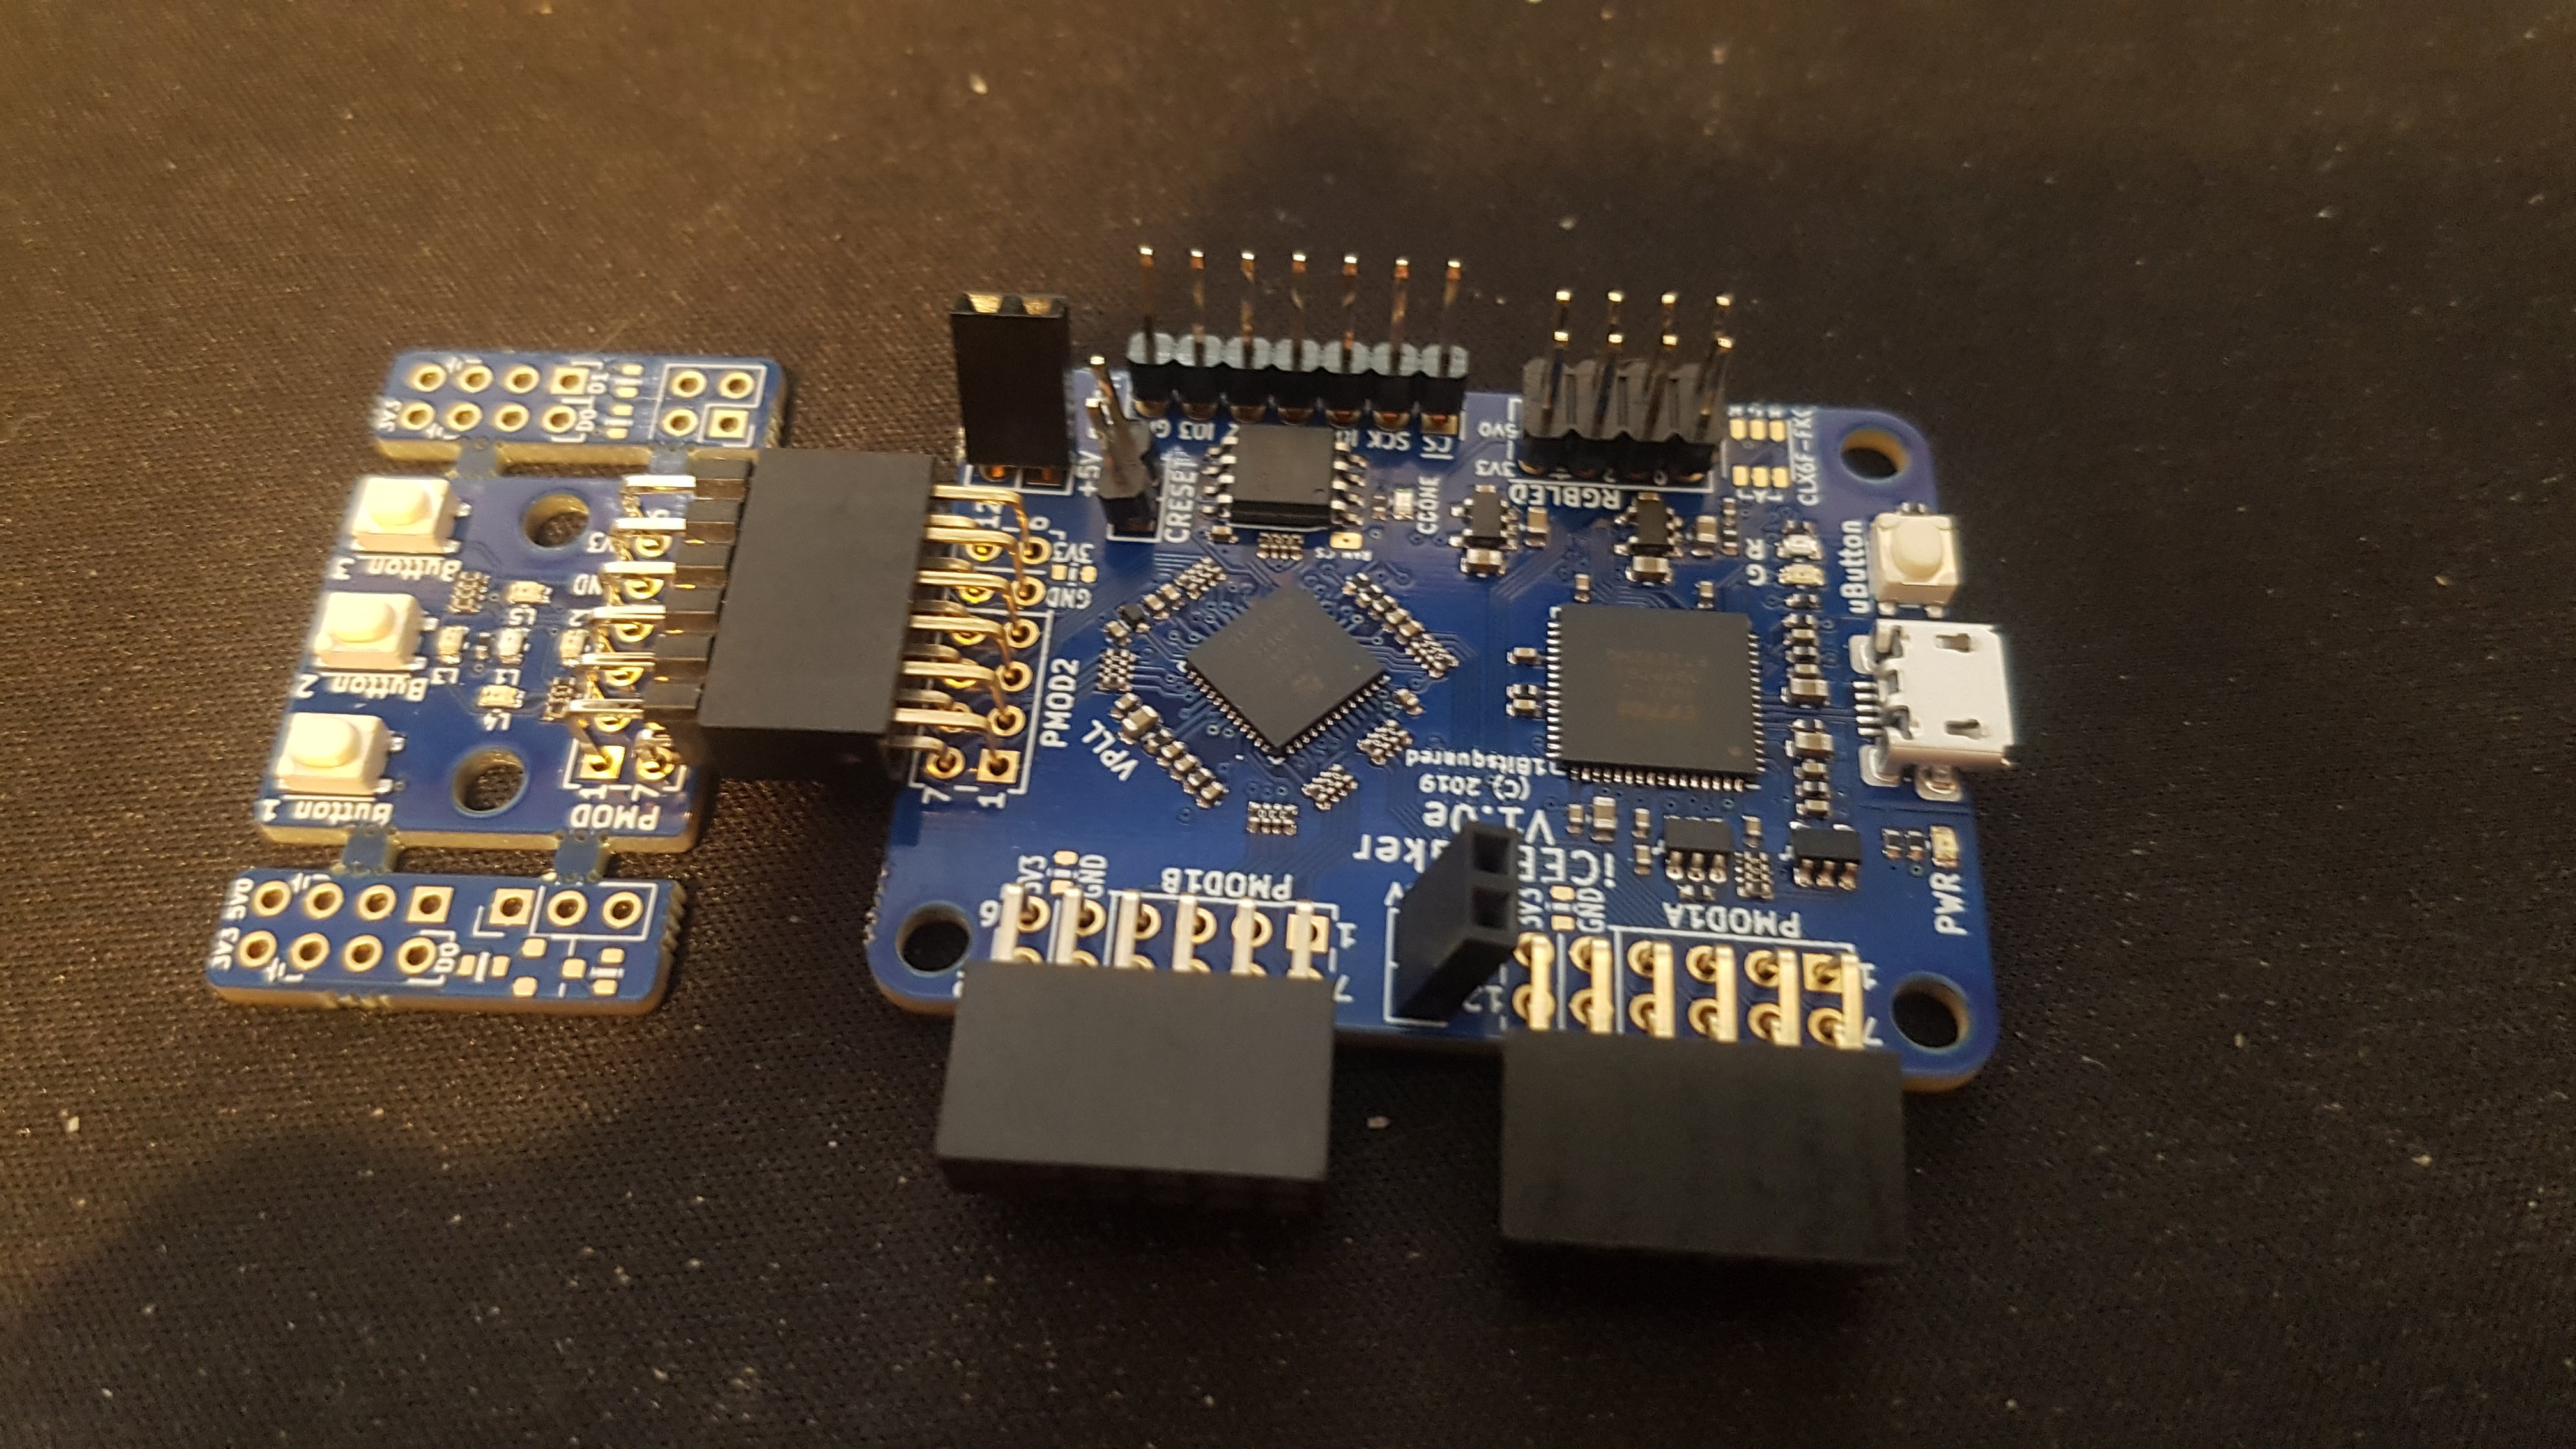
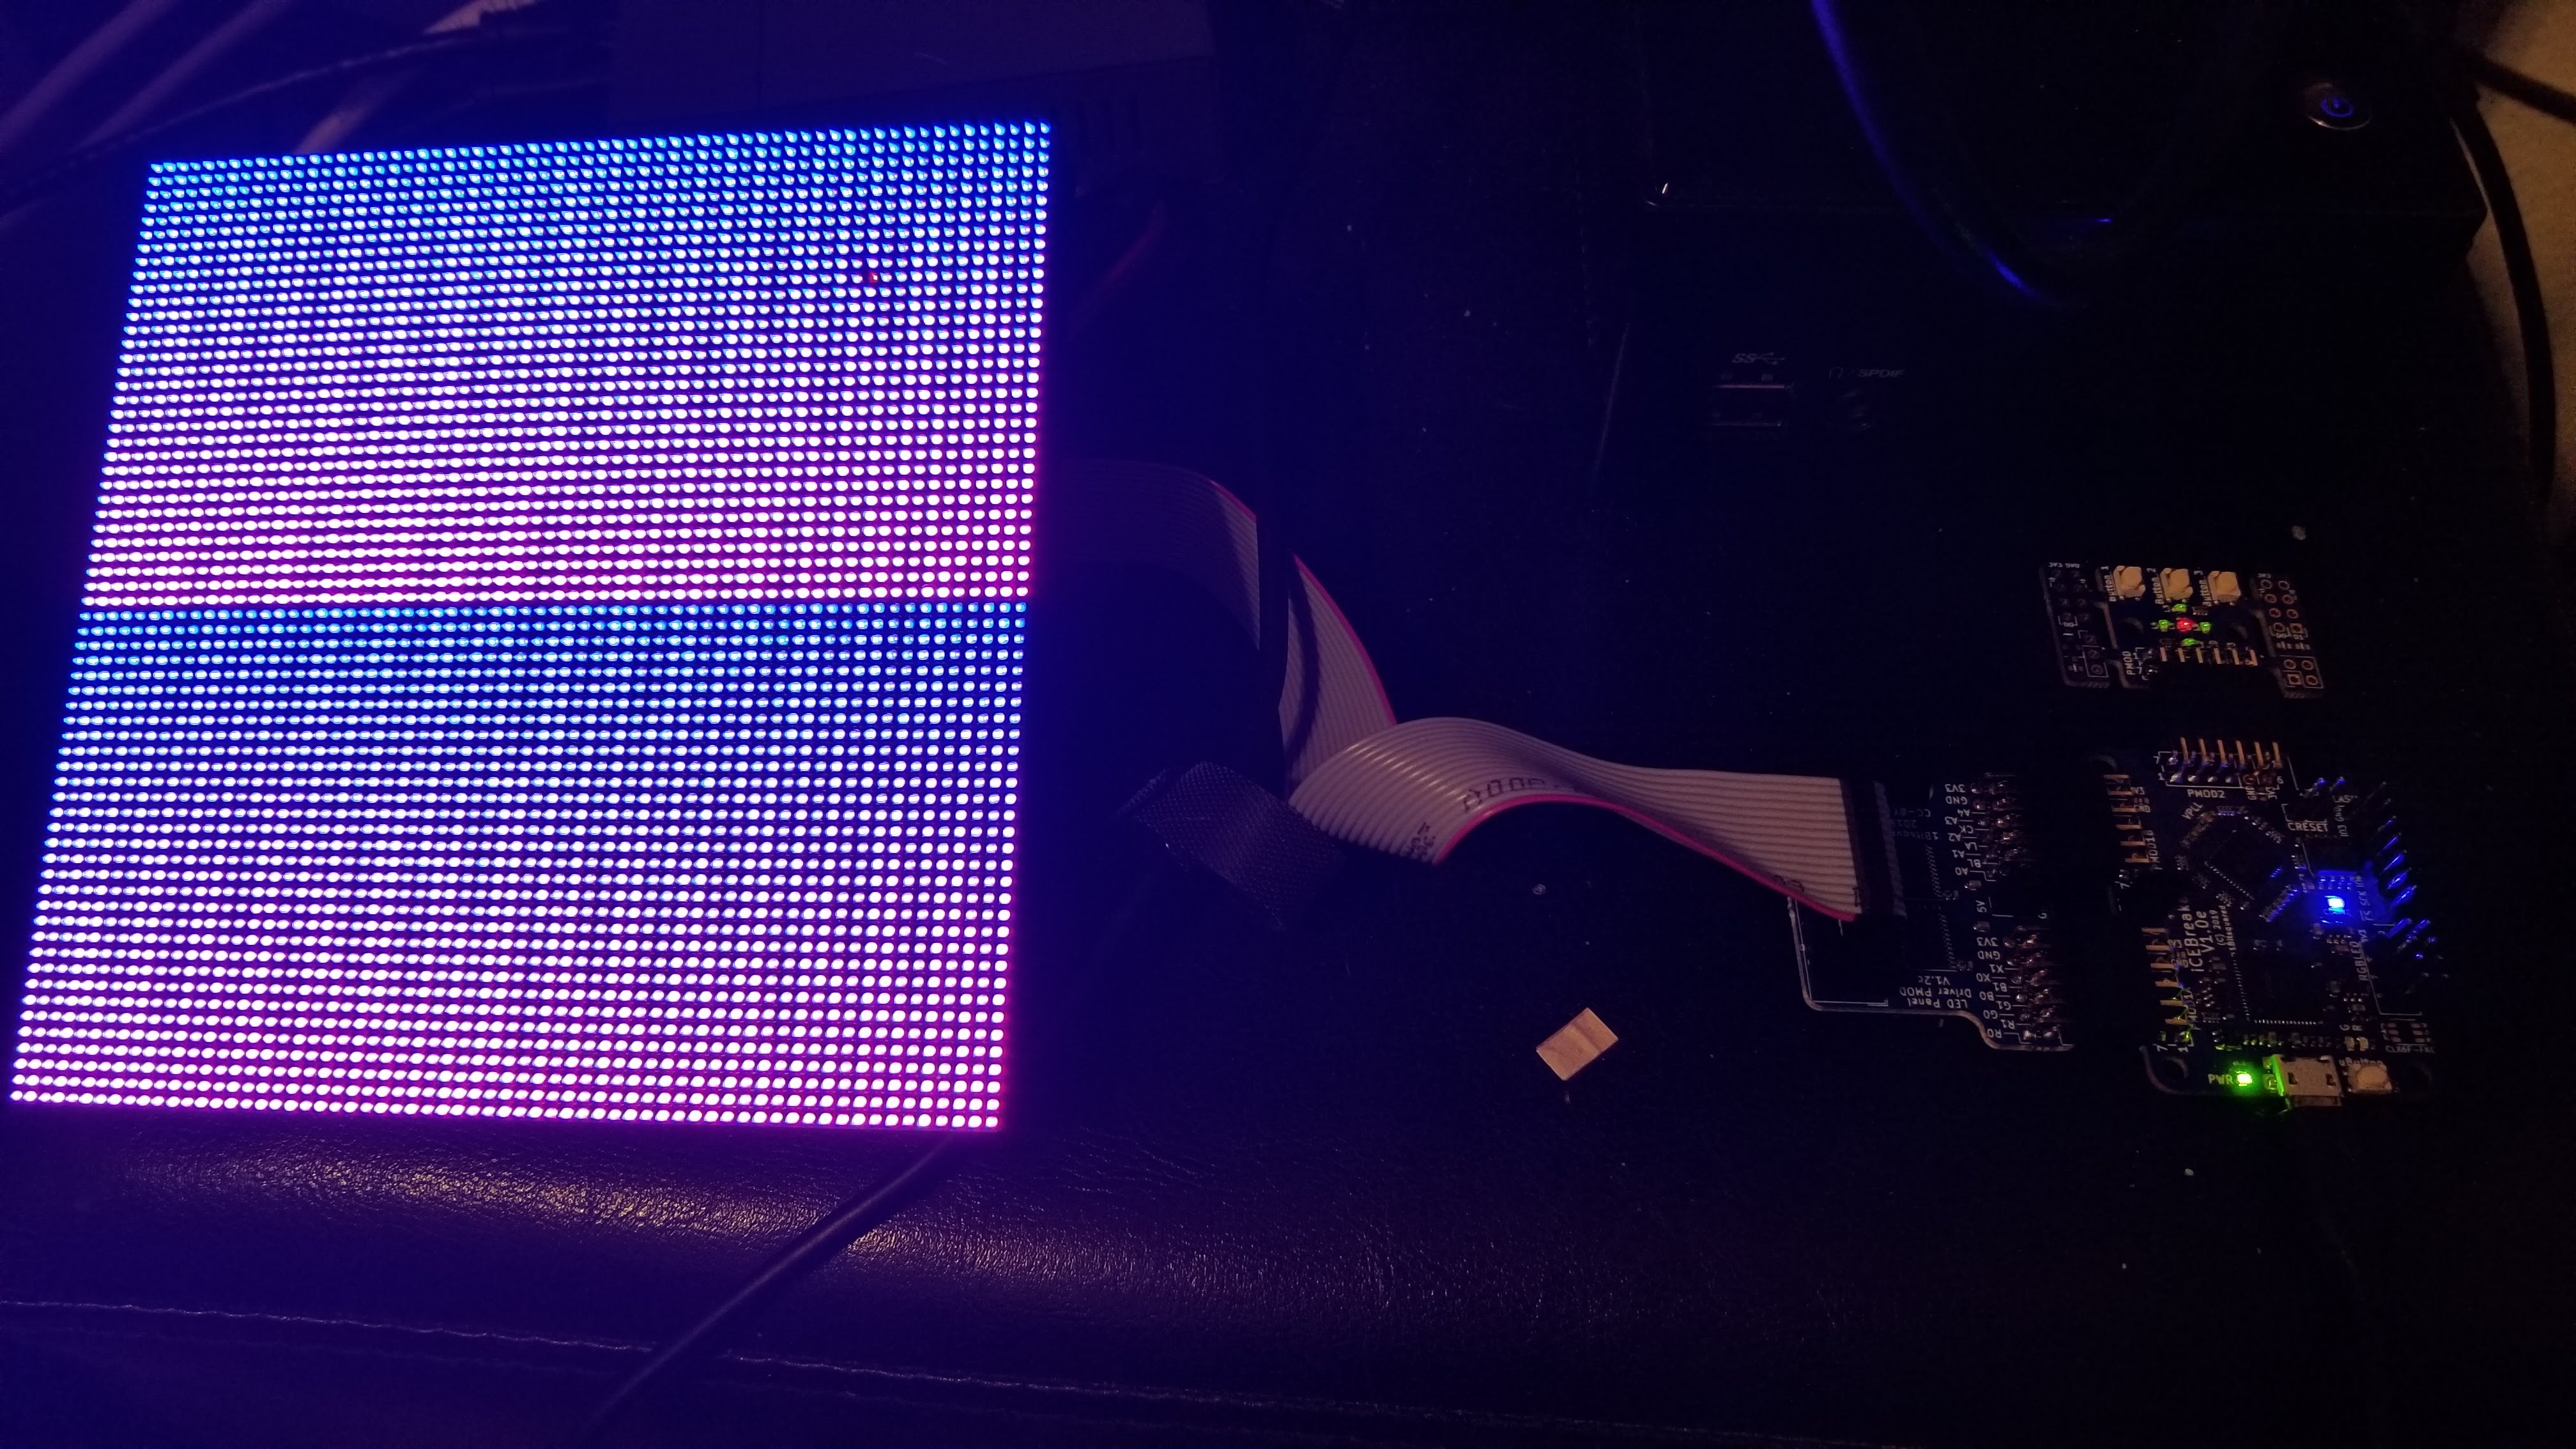
I'm playing around with my iCEBreaker FPGA today. Got output to an RGB Matrix using the LED panel driver Pmod.
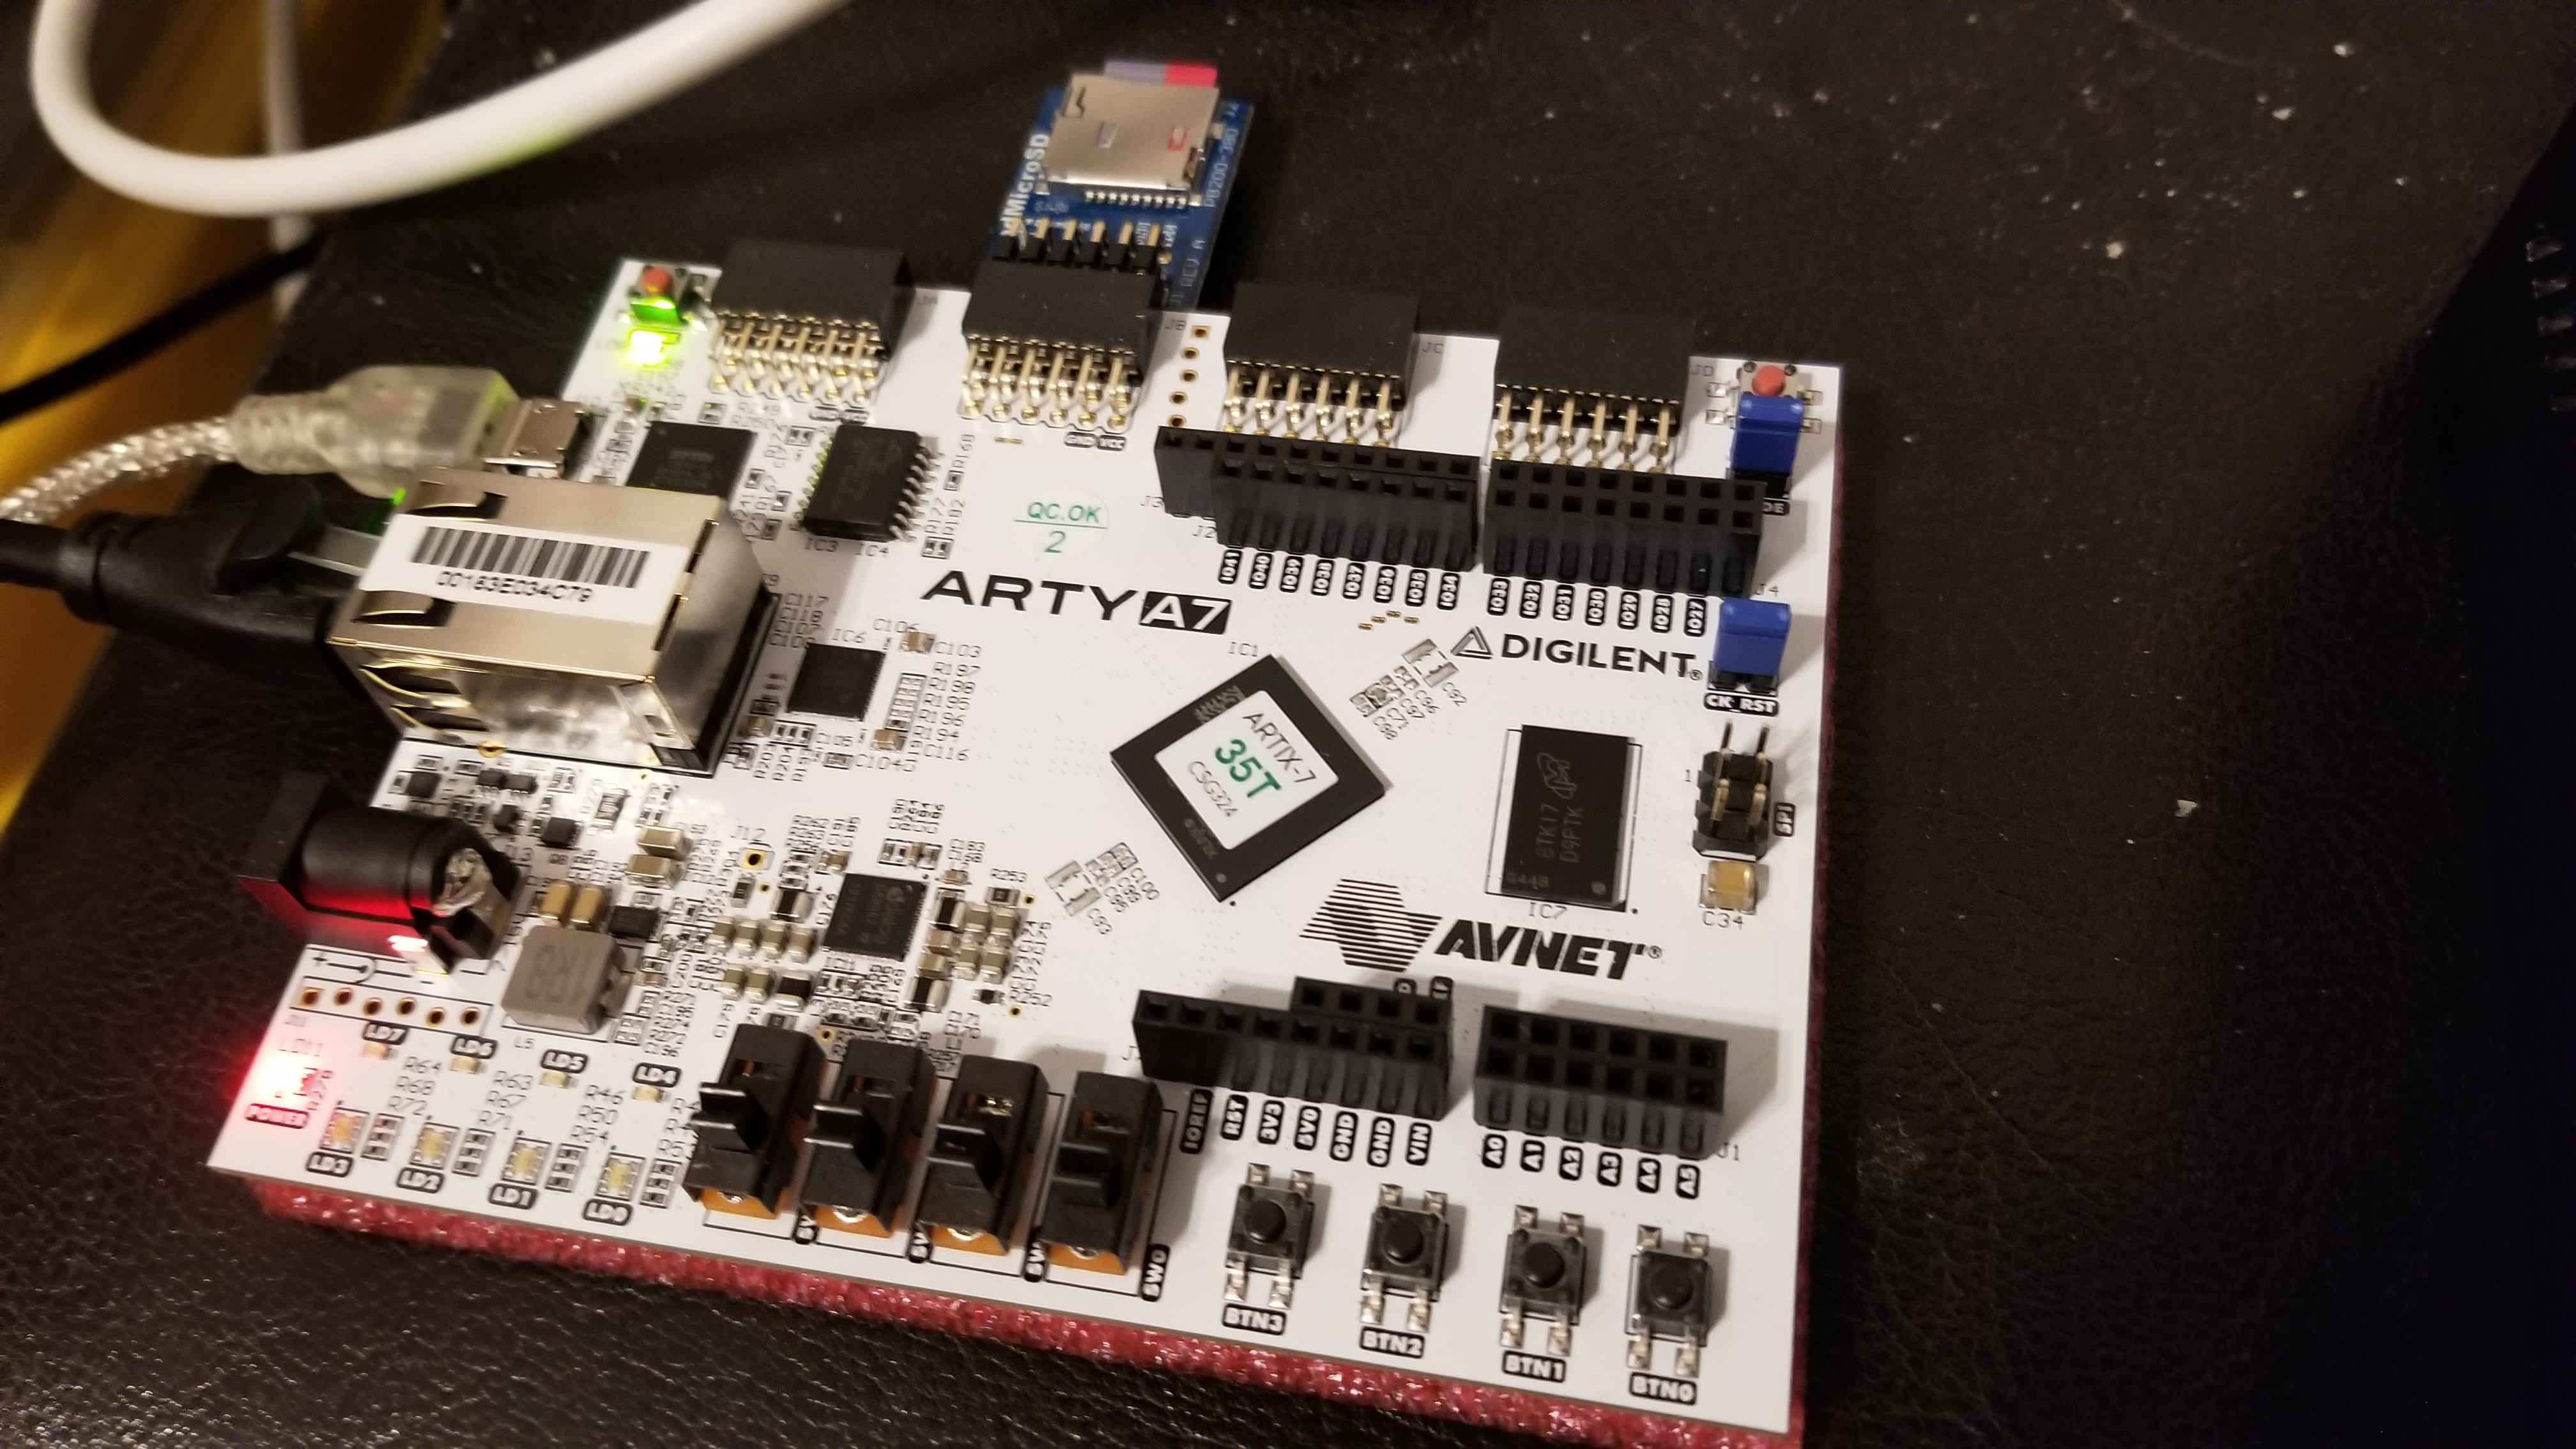
I have a project in which I want to create a console in FPGA and was disappointed to find the Papillo project was pretty much dead and did not support the Xliinx 7 series. I found the Bonfire RISC-V (RV32IM) processor and decided this would be a great replacement for the ZPUino.
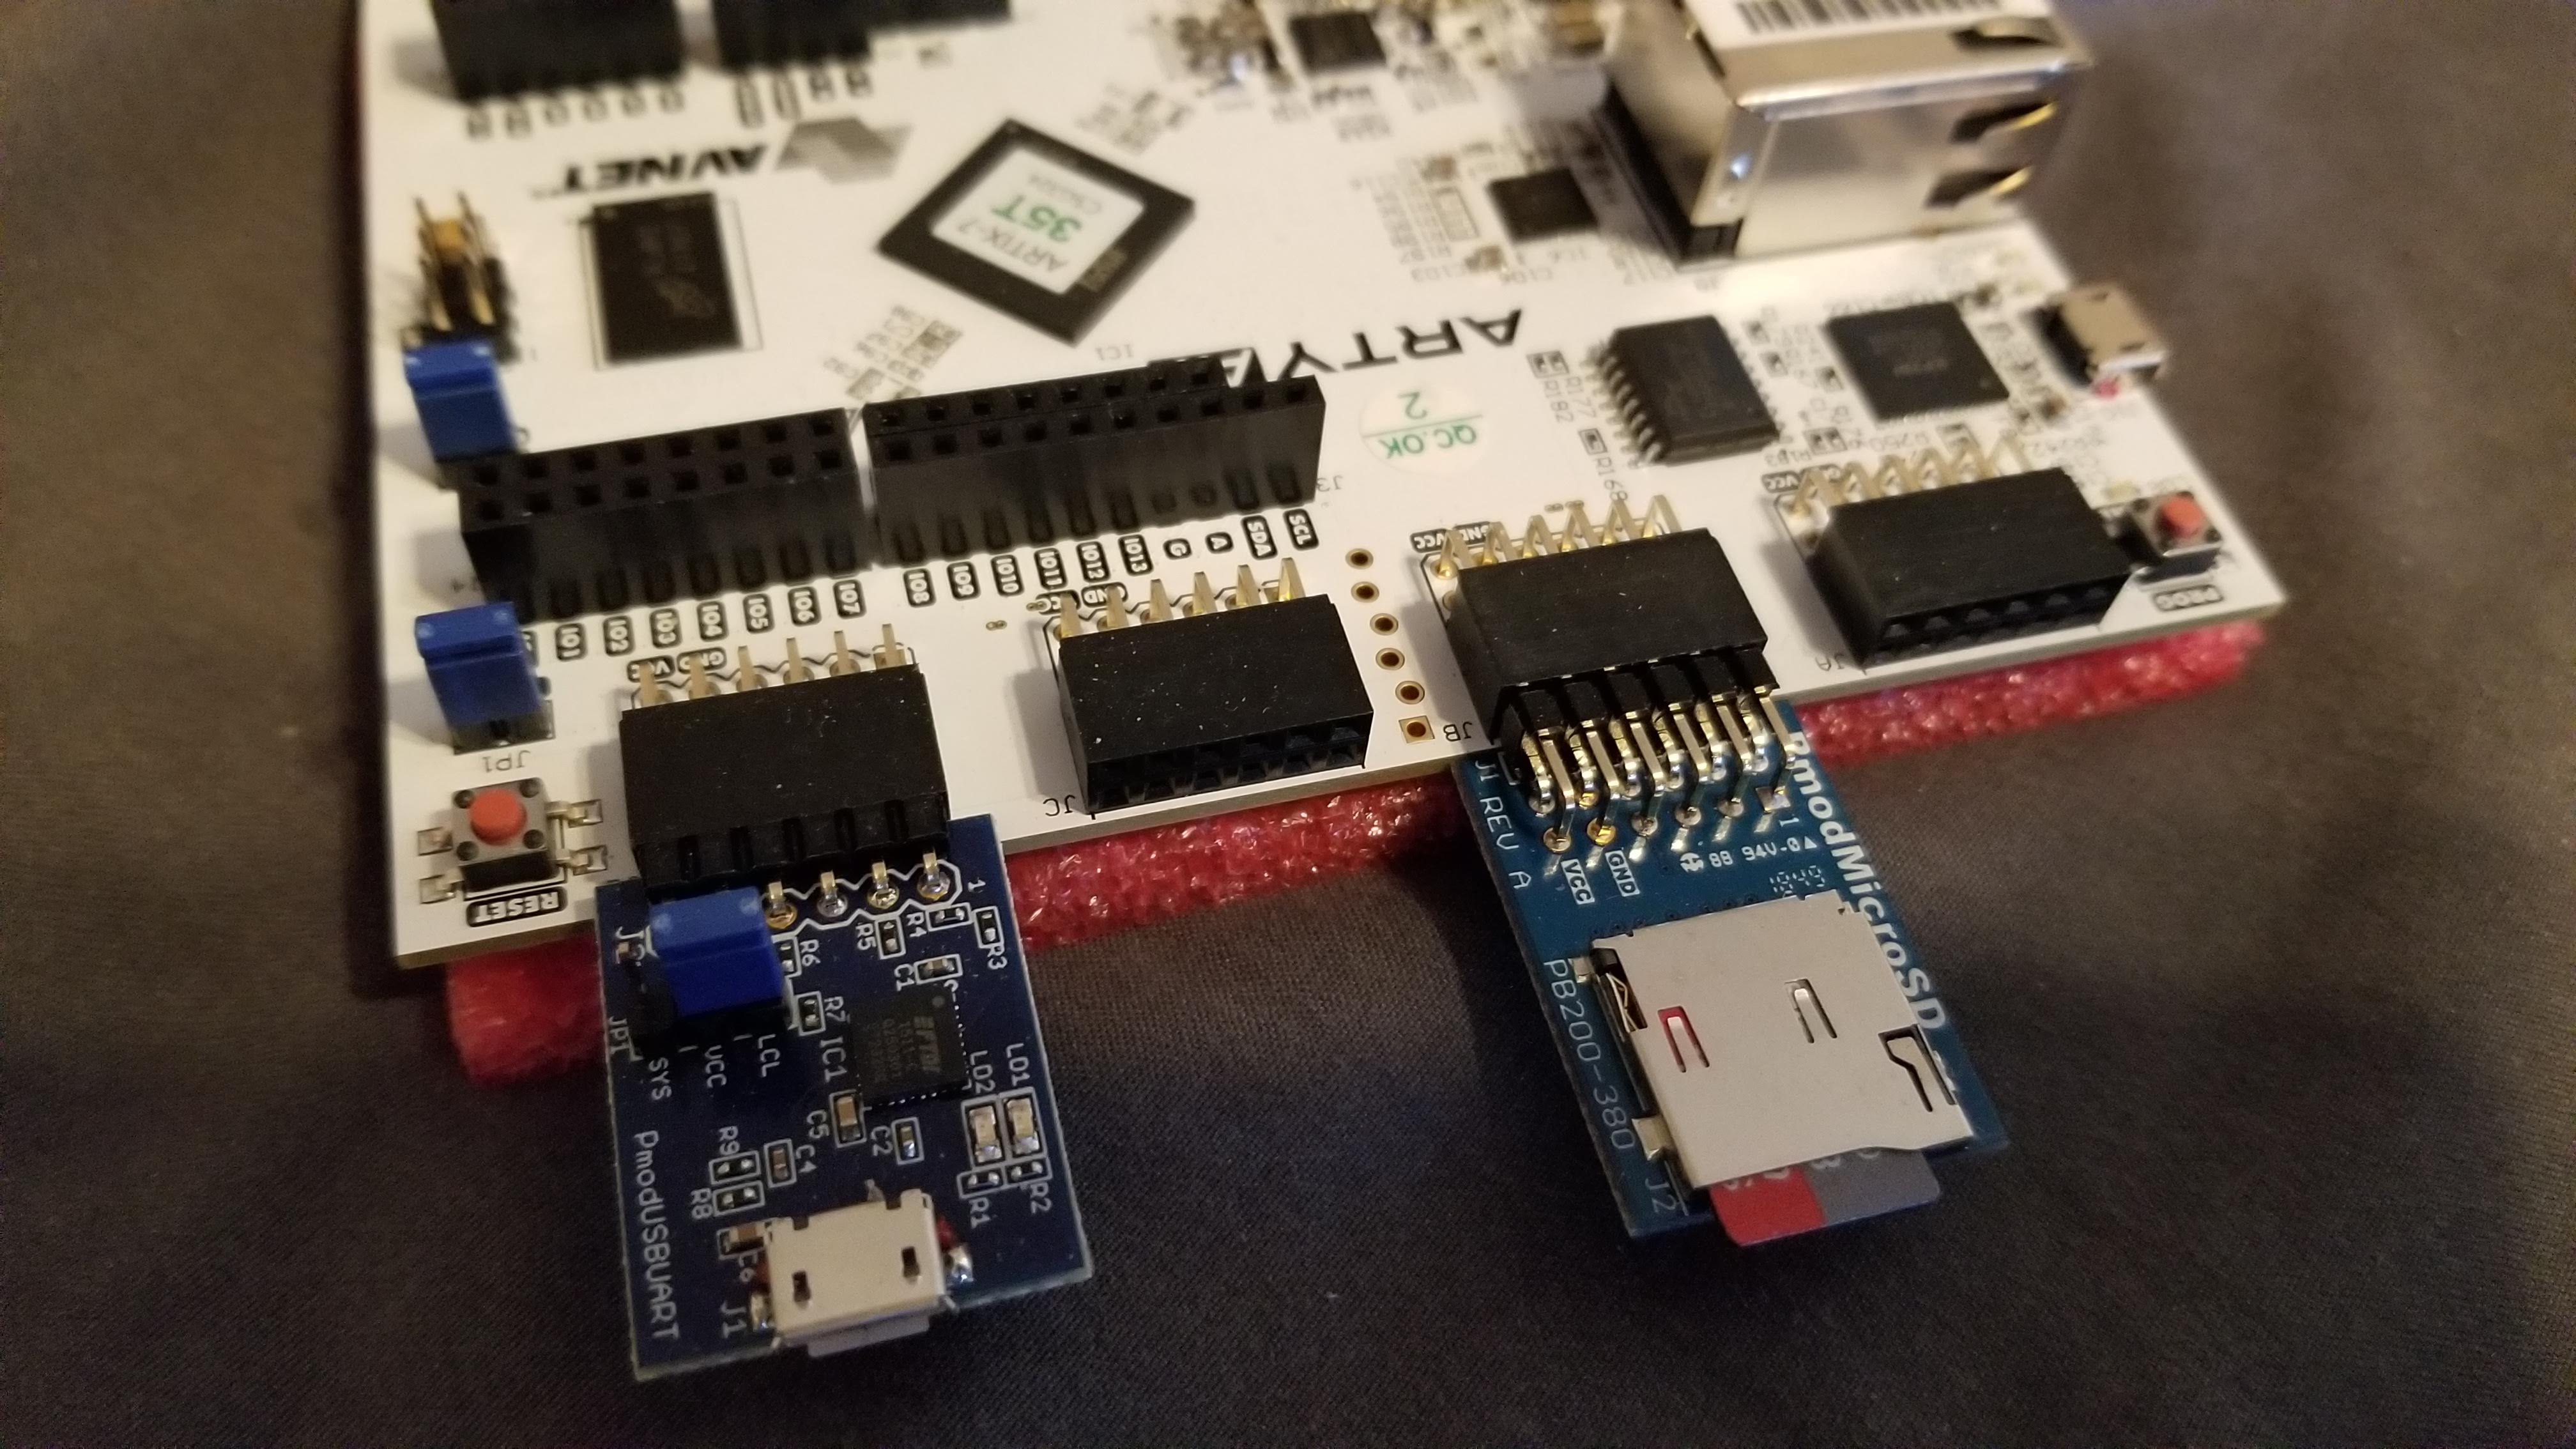
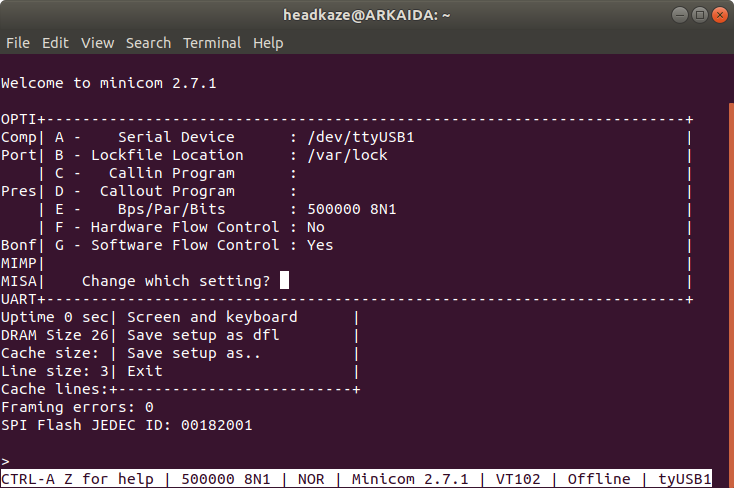
I recently purchased an Arty A7-35T board so I can run the Bonfire processor. I plugged in a Micro SD and USBUART Pmod. The Micro SD slot is for storing and running Lua applications and the USBUART Pmod is for debugging (more on that in another post).
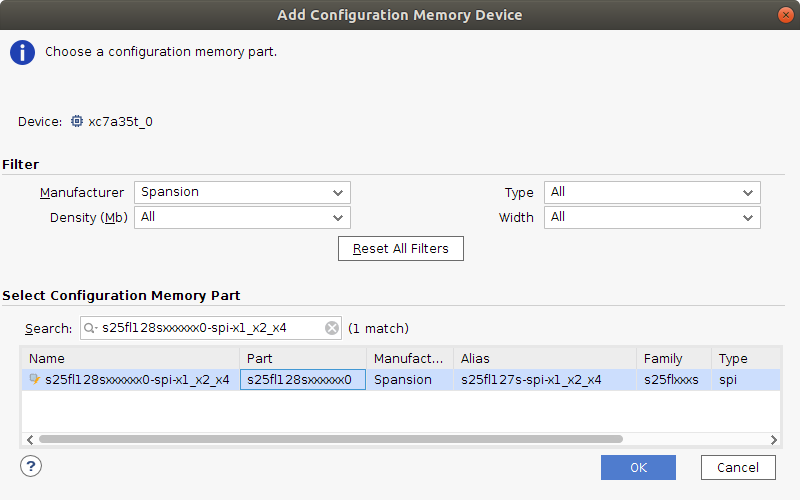
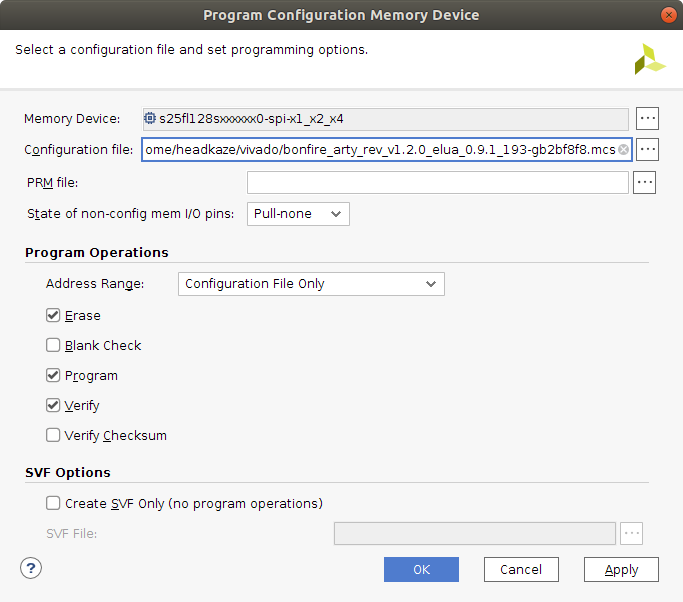
I successfully flashed the bonfire_arty_rev_v1.2.0_elua_0.9.1_193-gb2bf8f8.mcs image.
The first issue I came across is the Configuration Memory Device is different on my board. Mine has a Spansion s25fl128sxxxxxx0-spi-x1_x2_x4 not a Micron mt25ql128-spi-x1_x2_x4.
The second issue I had was using minicom. I could not get any response from the board until I did the following:
So now I have successfully connected to my Arty running Bonfire processor! 😄
I ported the LHA Decompressor for Java library to a .NET library called LHA Decompressor.
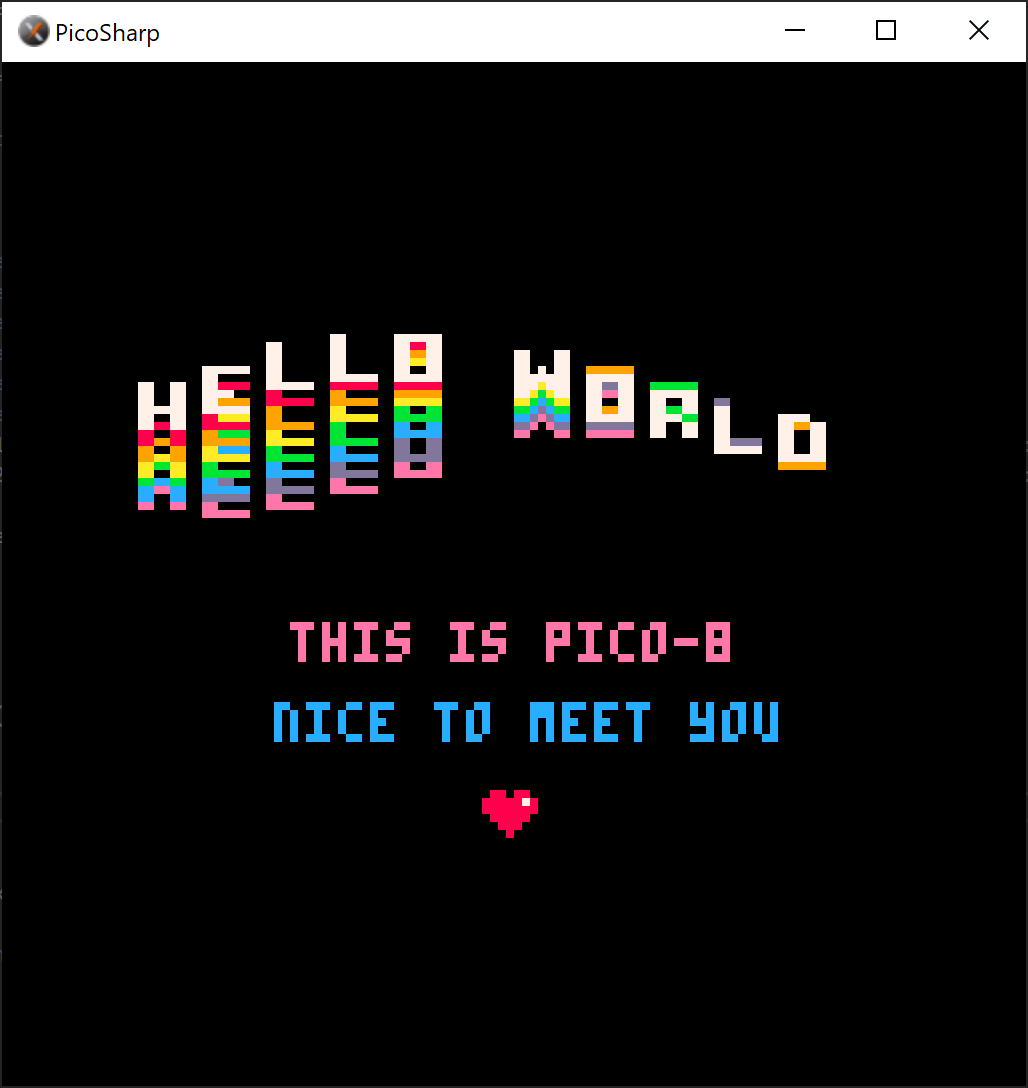
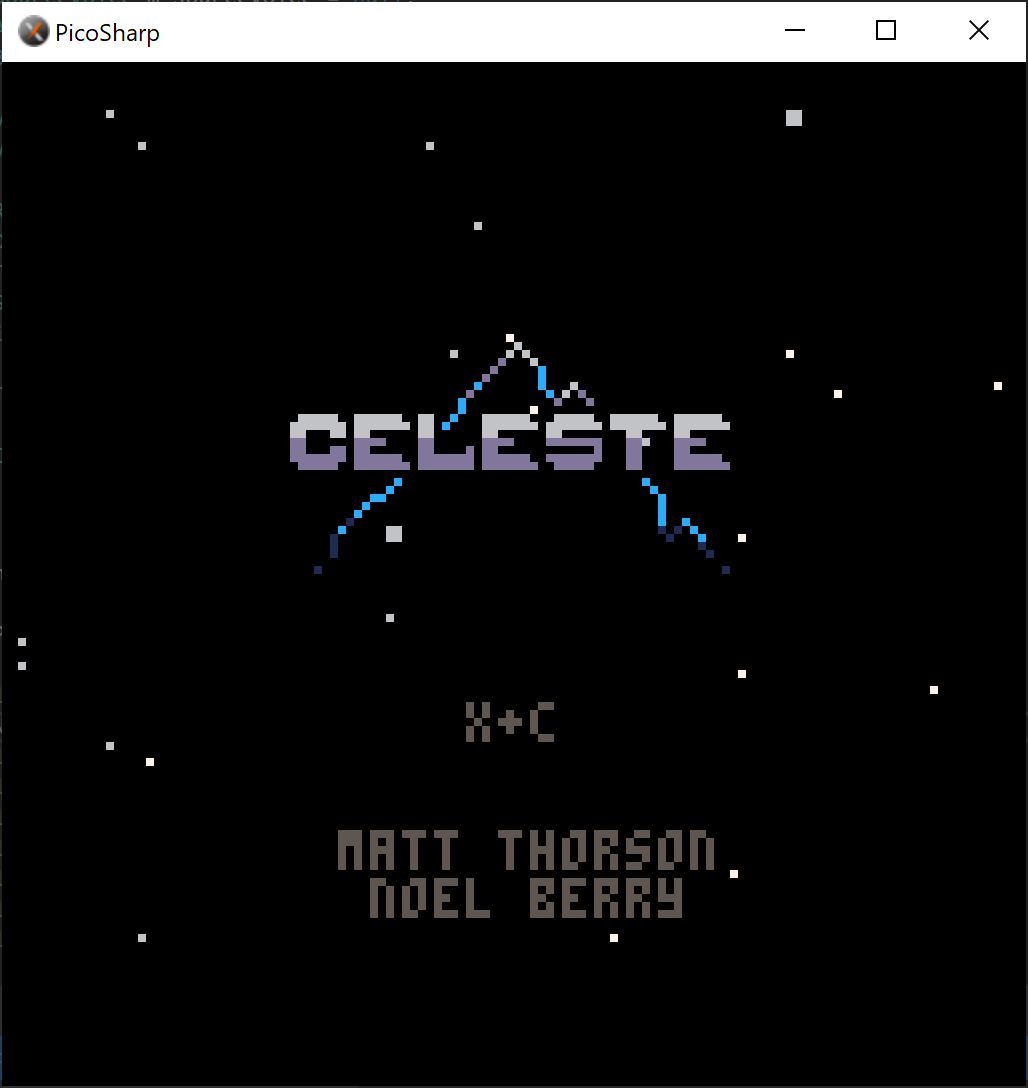
I'm working on a PICO-8 emulator written in C# called PicoSharp.

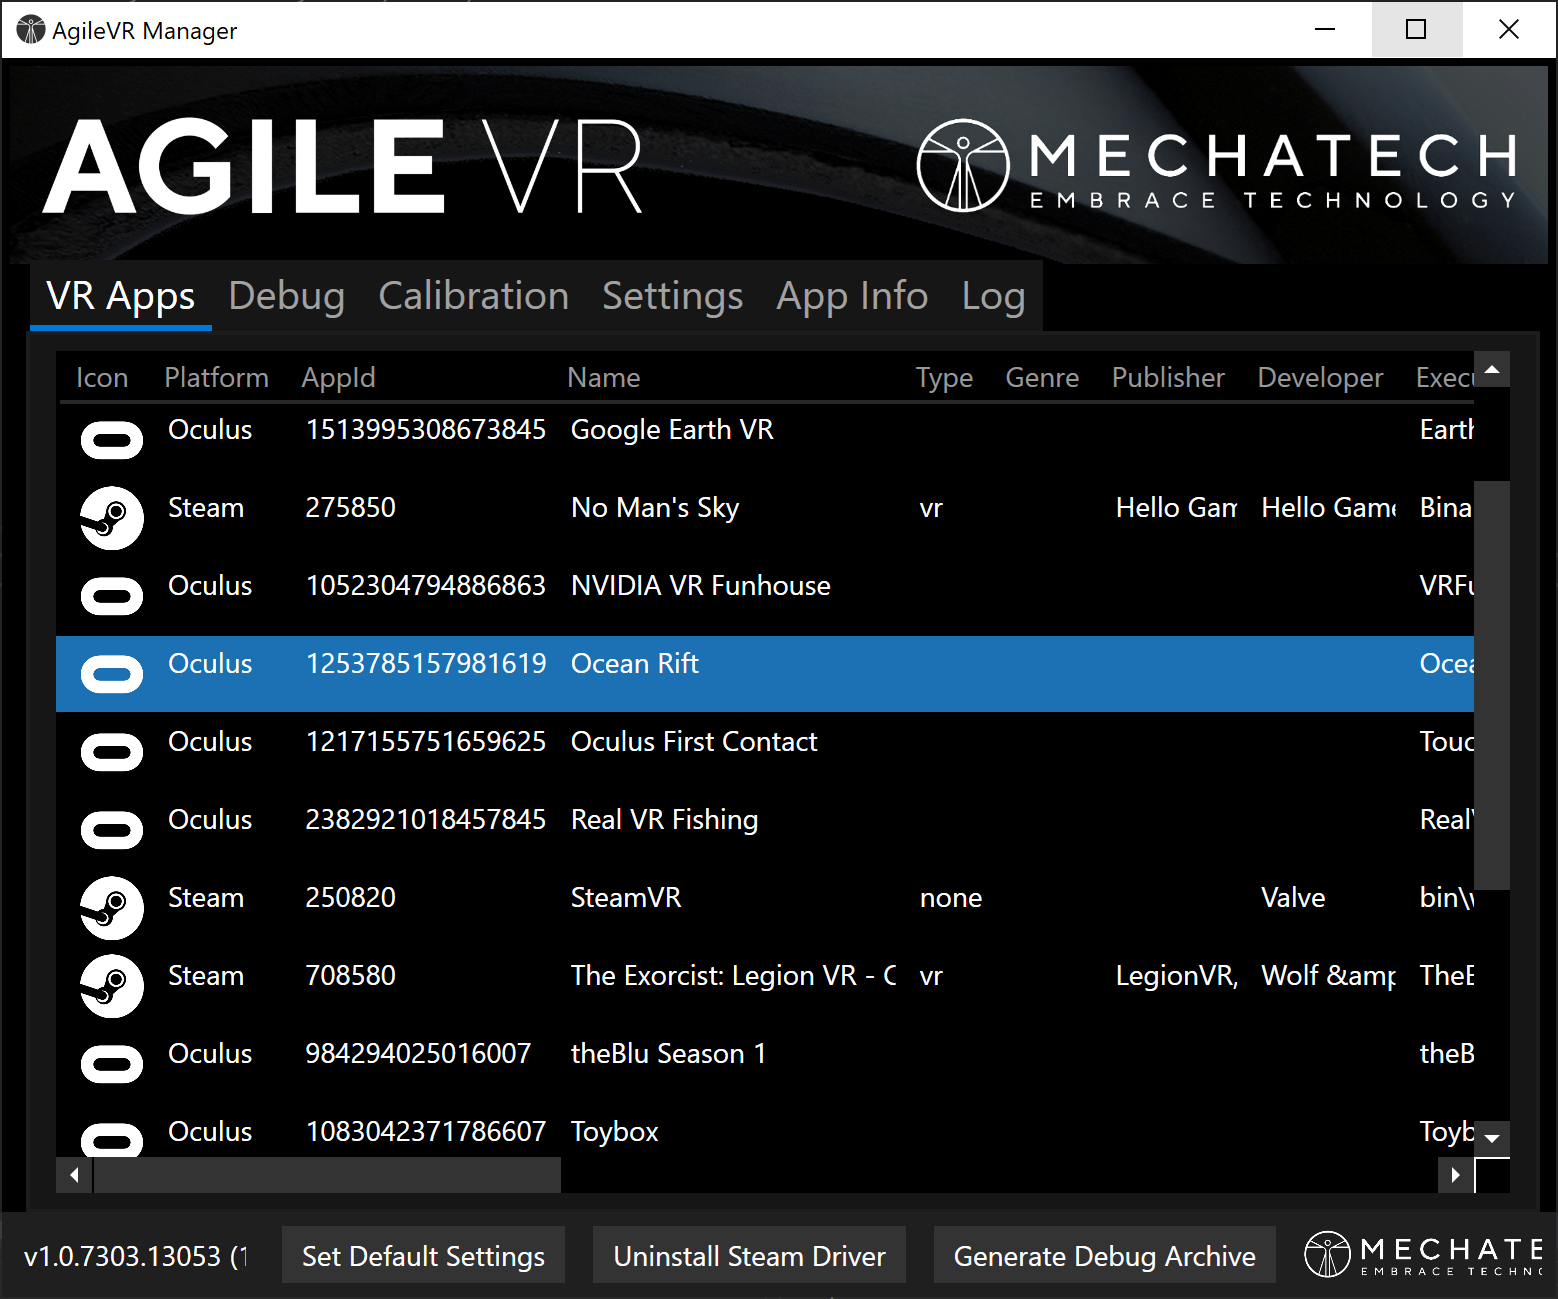
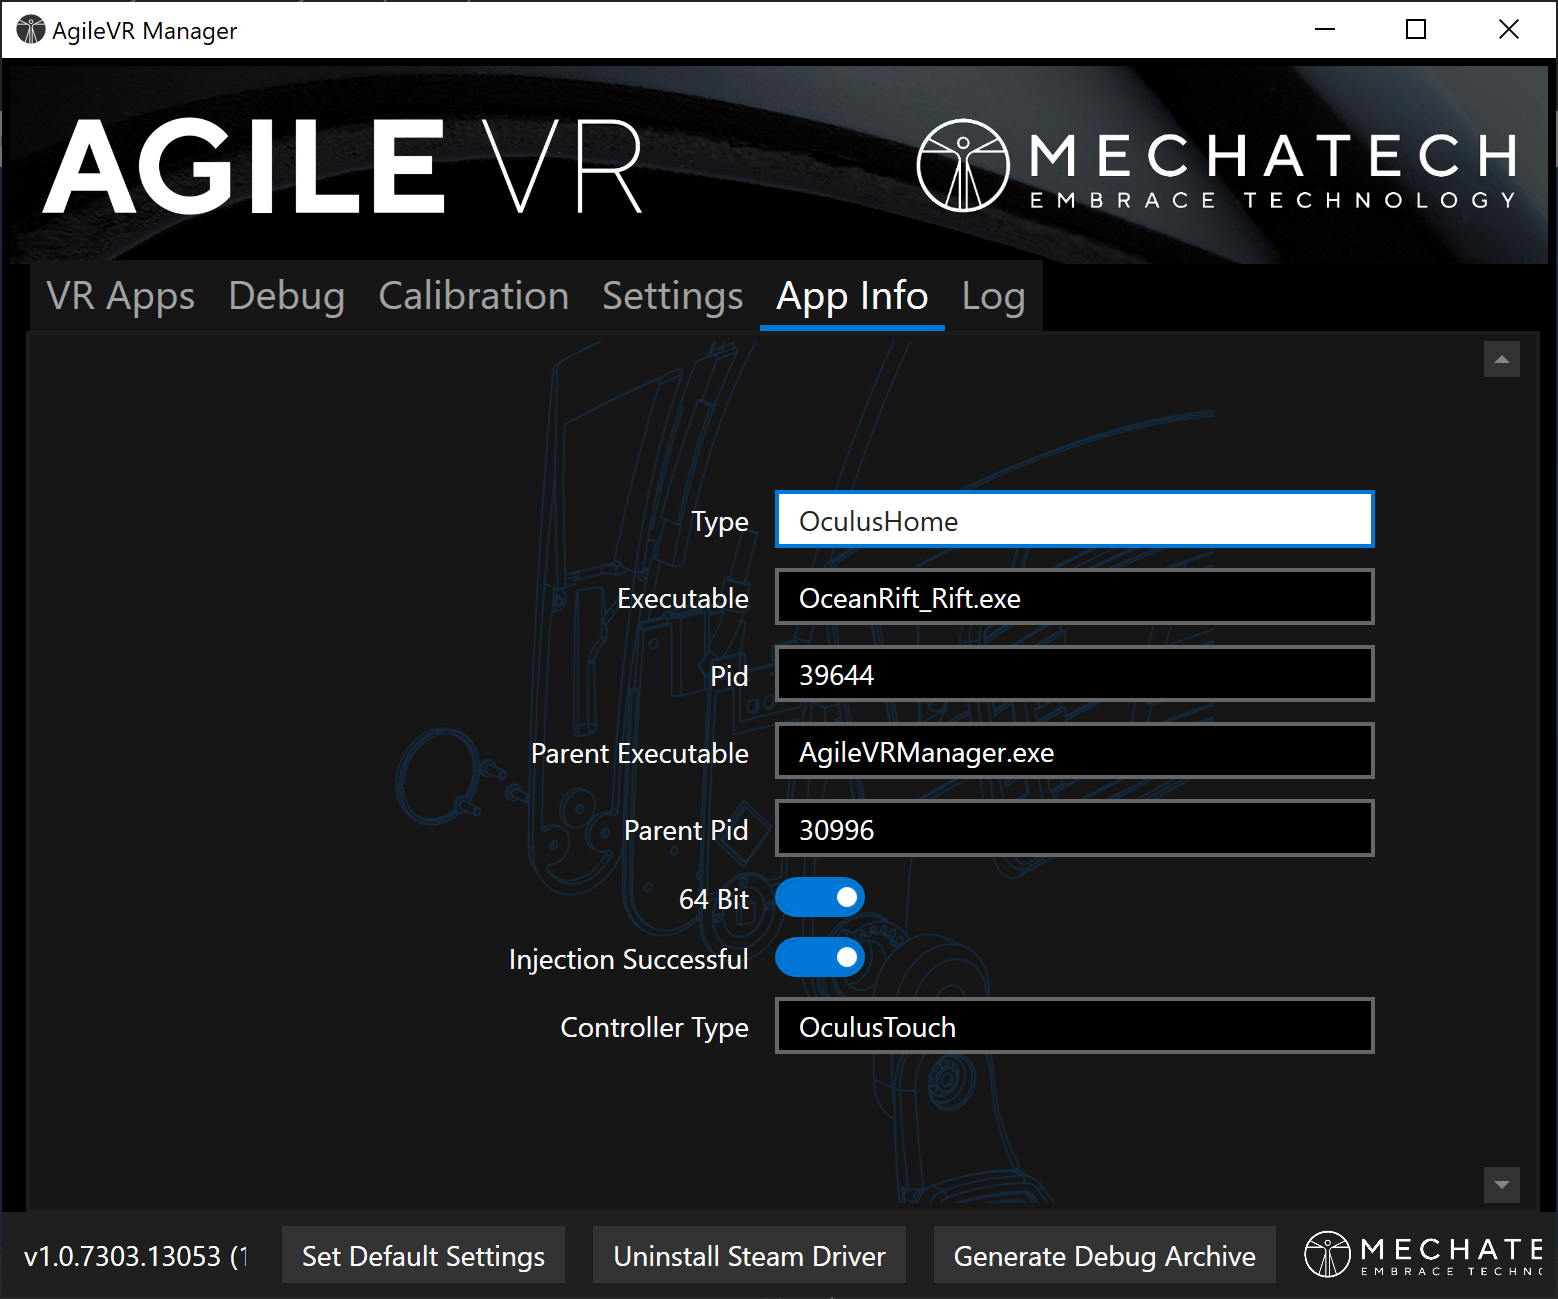
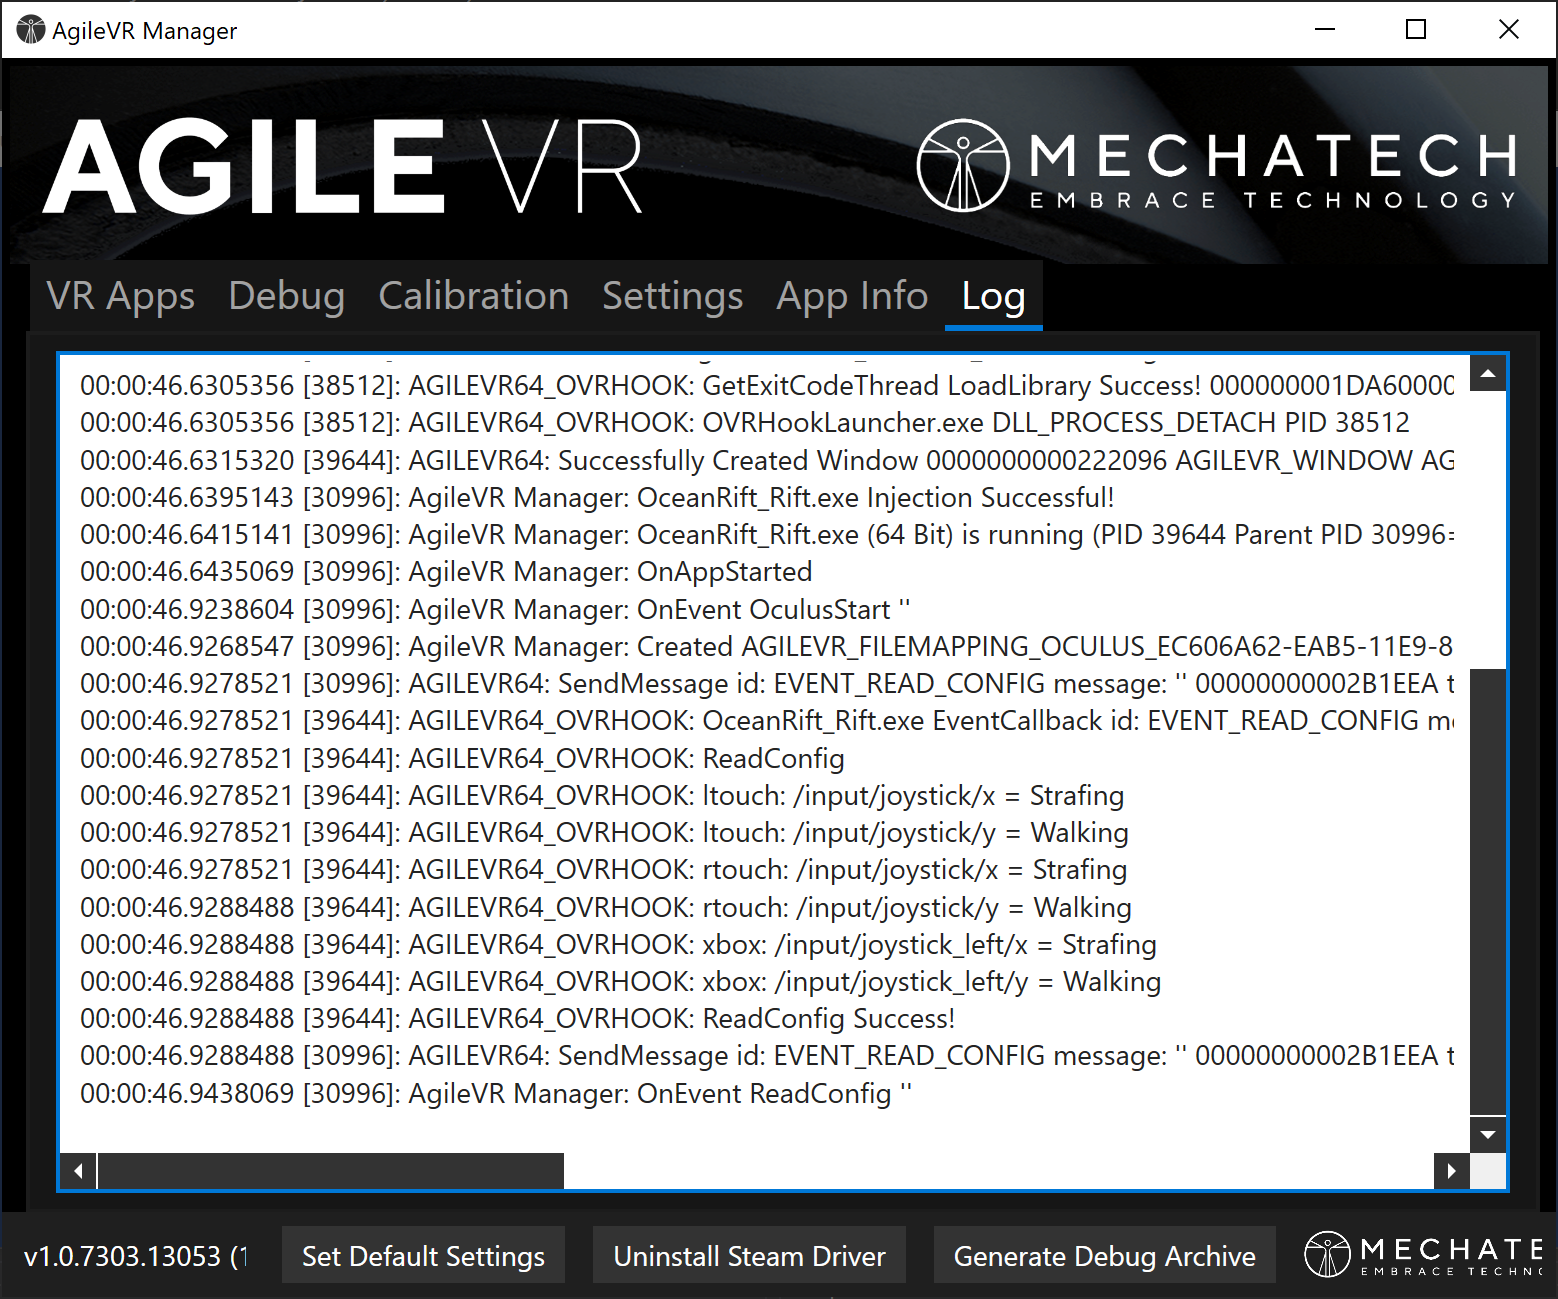
We wrote this desktop application in WPF which injects leg movement data into SteamVR or Oculus hardware.
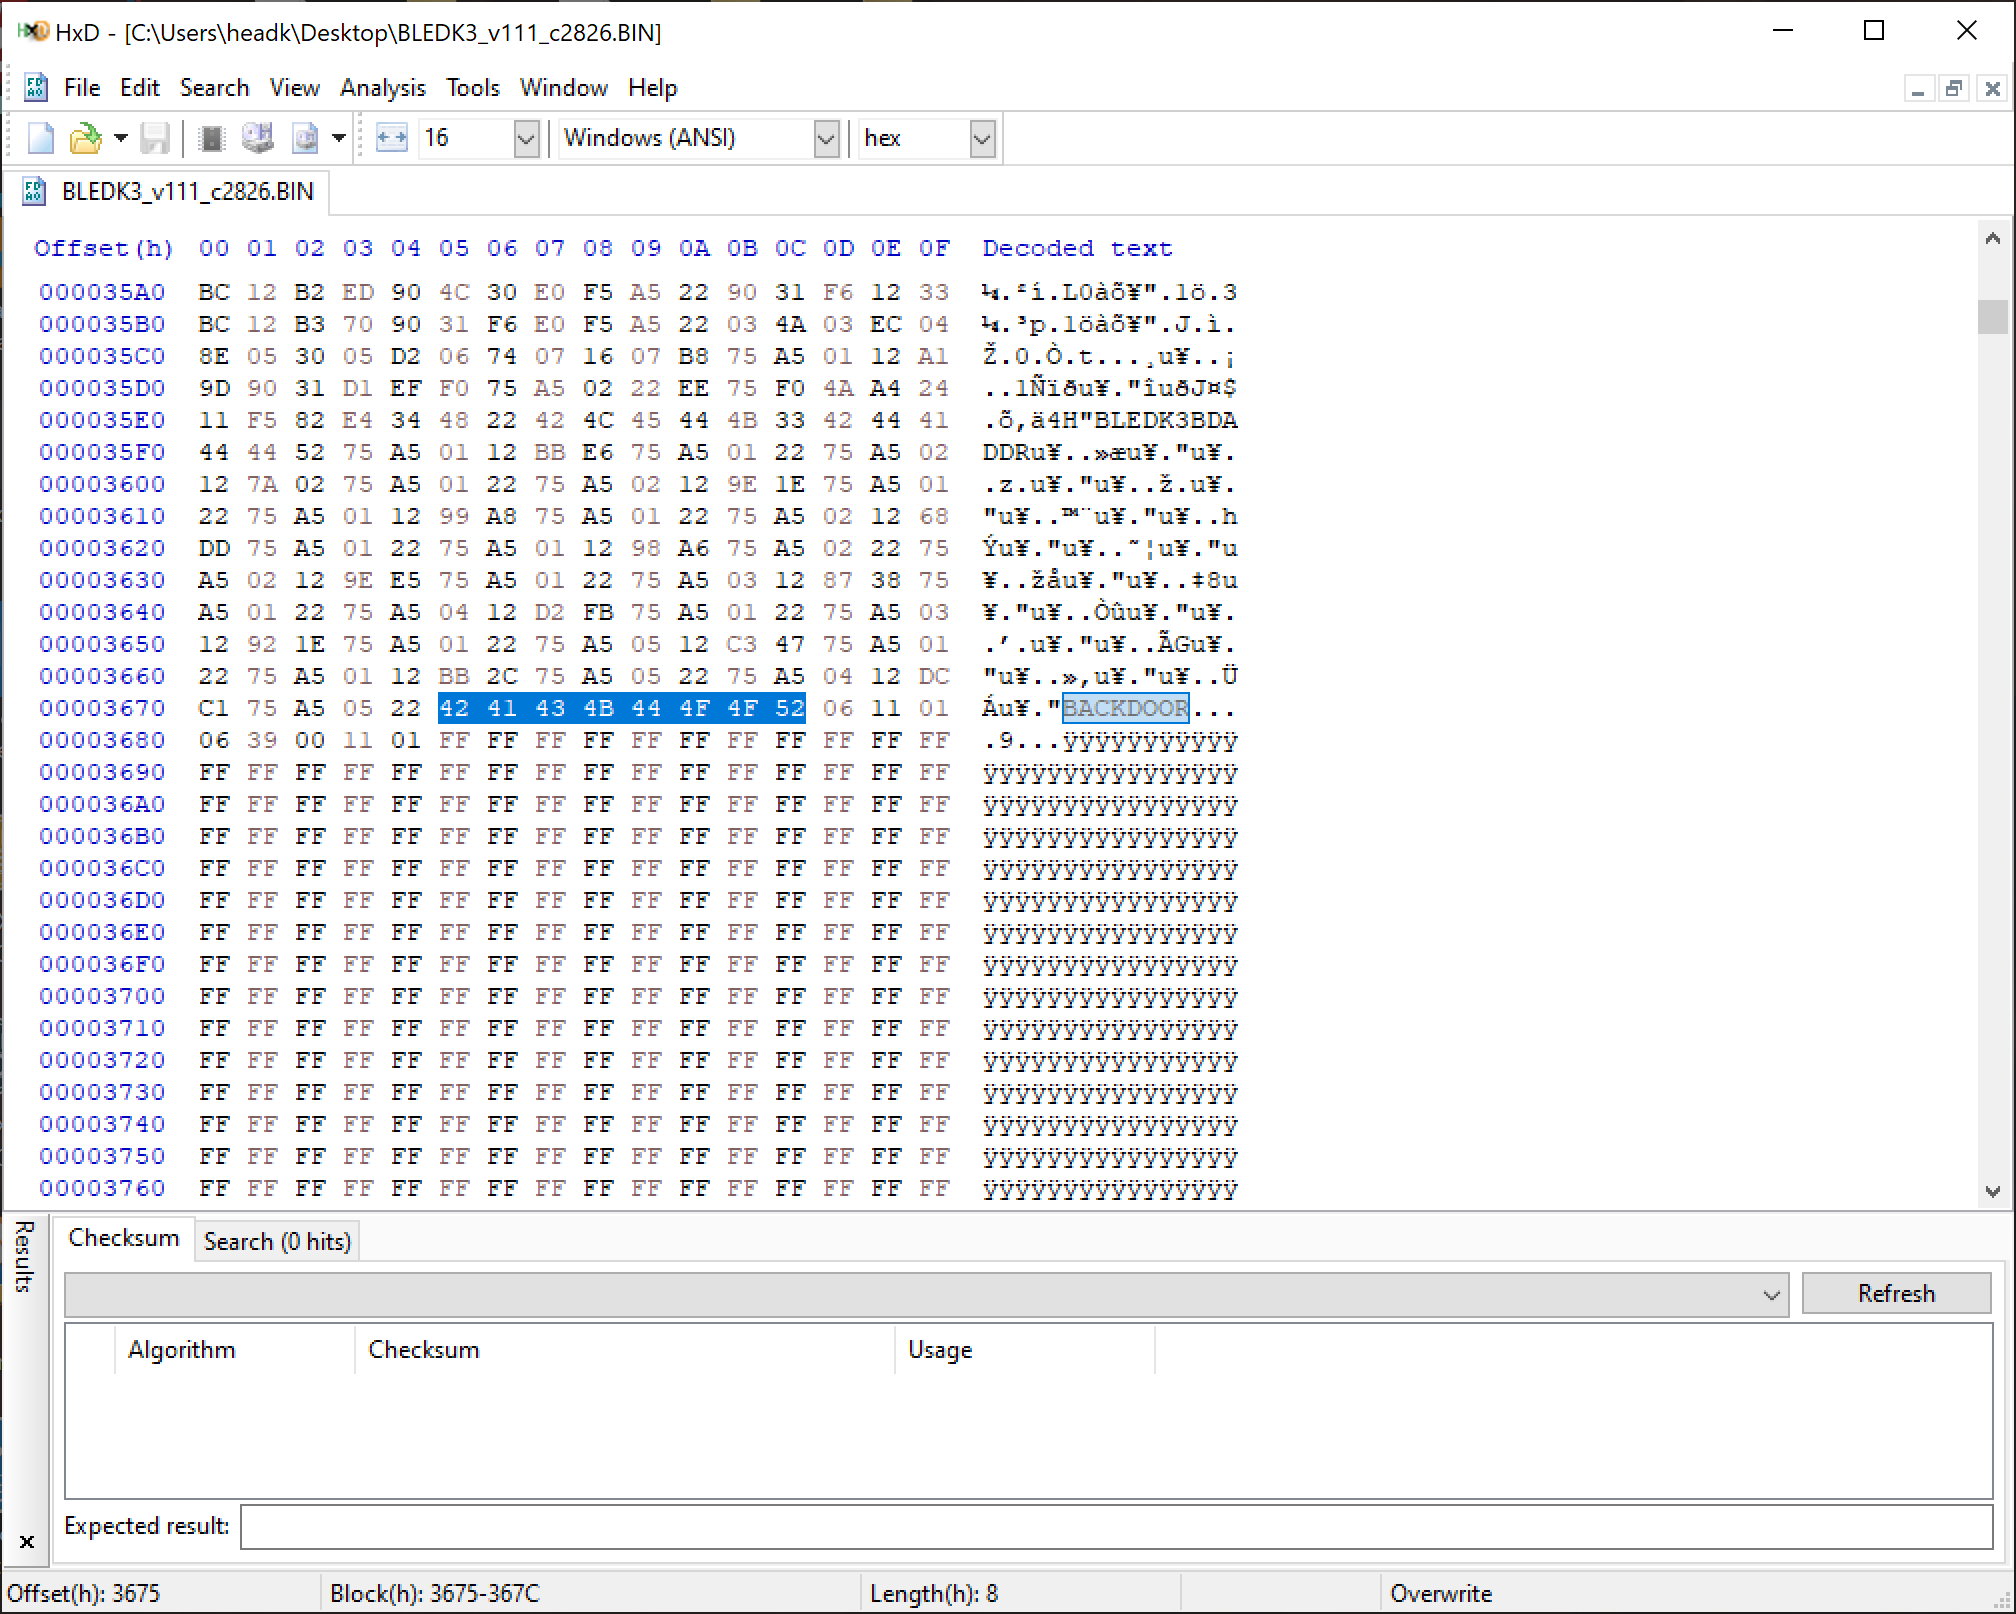
Hey Microchip I think I found a backdoor in your BM70/71 firmware!
Disclaimer: Do this at your OWN RISK! I will not be held responsible for anyone bricking their machine!
I made the mods based on @Lost_N_BIOS's post here and by following the How-2-Rip-It-Open-Yourself guide here.
This patch has been confirmed to work with both 15X v8 and 15W v8 models. Make sure you have your Aero's BIOS flashed to version FB0A using the official release on the Gigabyte website here before attempting the following.
First you must run command prompt (as Administrator) and run "FPTw.exe -bios -d biosreg.bin". You can get FPTw.exe from Intel CSME System Tools v12 r18 (located in the "Flash Programming Tool" folder).
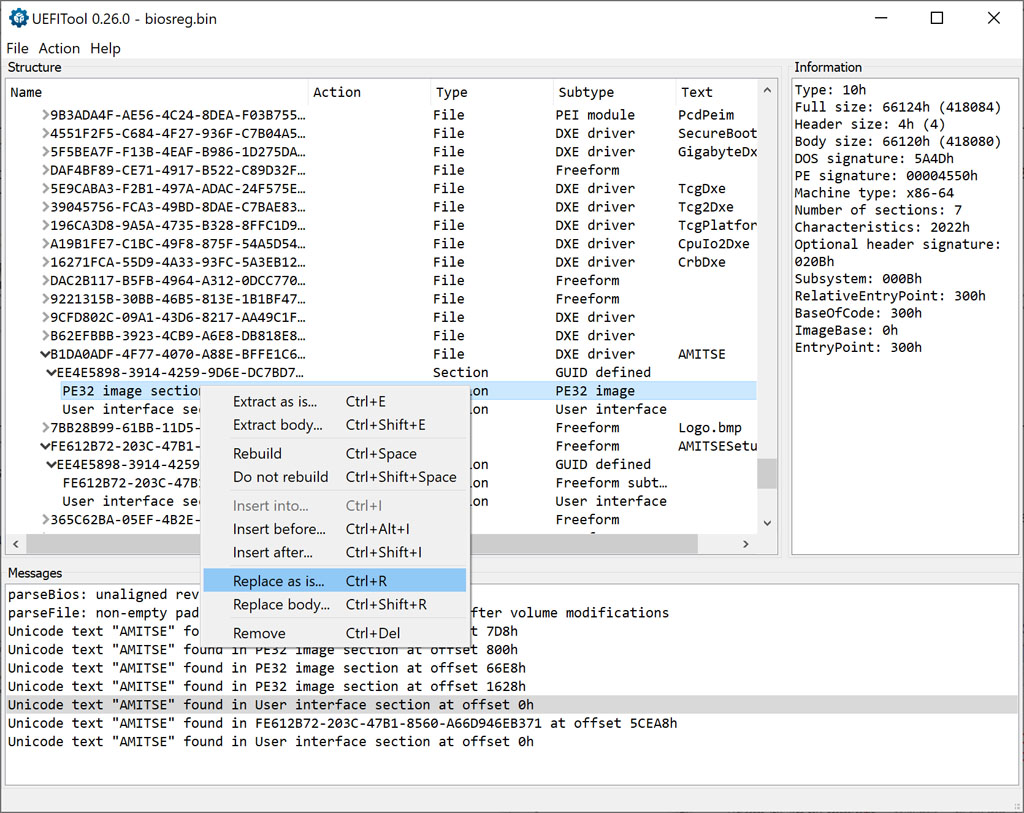
Next you will need to run UEFITool 0.26.0 and open biosreg.bin. Select File->Search... Text tab and enter AMITSE. A list of search results will show at the bottom. Double click on "Unicode text "AMITSE" found in User interface section at offset 0h". Right click on the "PE32 image section" and select "Replace as is...". Browse to the (unzipped) file attached (Section_PE32_image_AMITSE_AMITSE.zip). File->Save image file... and call it biosmod.bin.
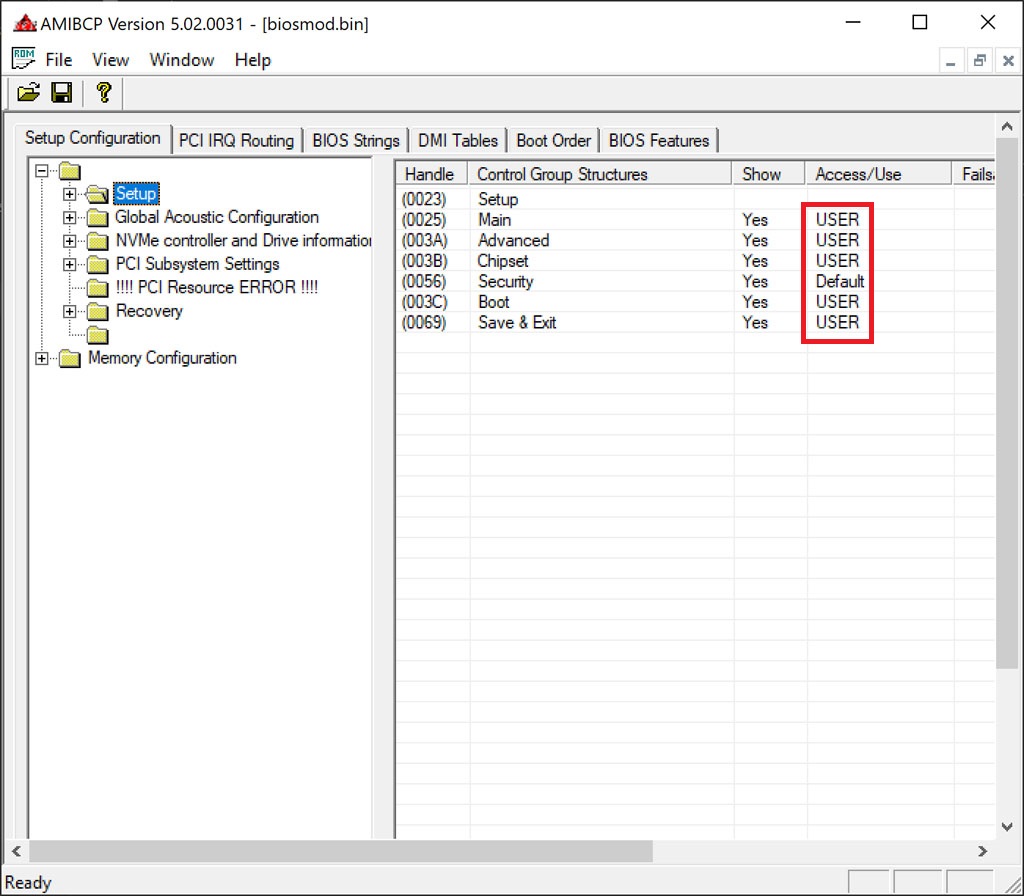
Then you need to run AMIBCP 5.02.0031 and open biosmod.bin to set the menu access to USER like so:
Once you File->Save run "FPTw.exe -bios -f biosmod.bin".
If you get the following error:
Quote:Error 167: Protected Range Registers are currently set by BIOS, preventing flash access.
This is caused by the BIOS Lock variable set to 0x01 (Enabled):
Code:
BIOS Lock, VarStoreInfo (VarOffset/VarName): 0xA12
How to set the BIOS Lock variable to 0x00 (Disabled):
Attempt to write the modified BIOS again using FPTw.exe.

If successful this time run "FPTw.exe -greset" to reboot.
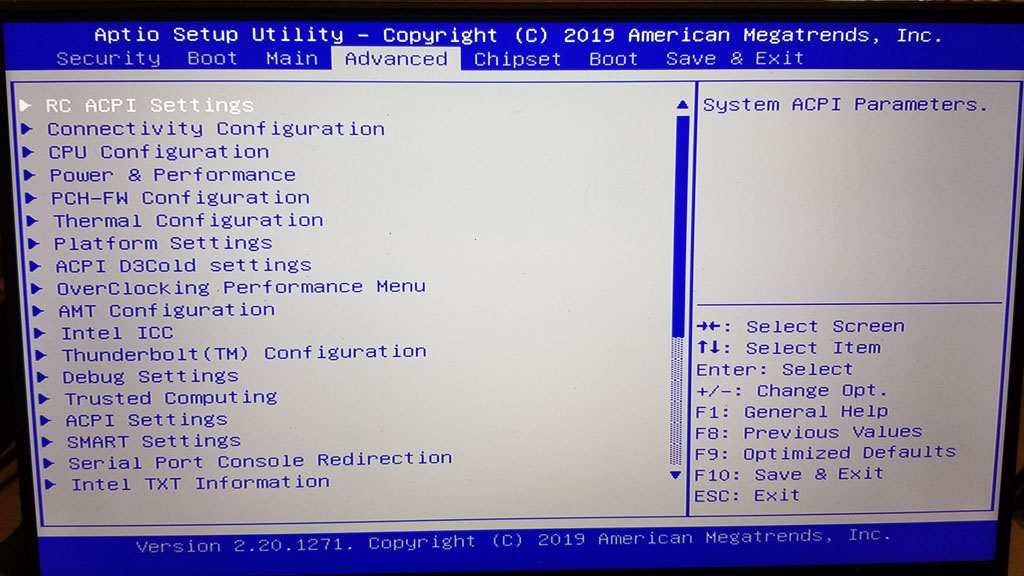
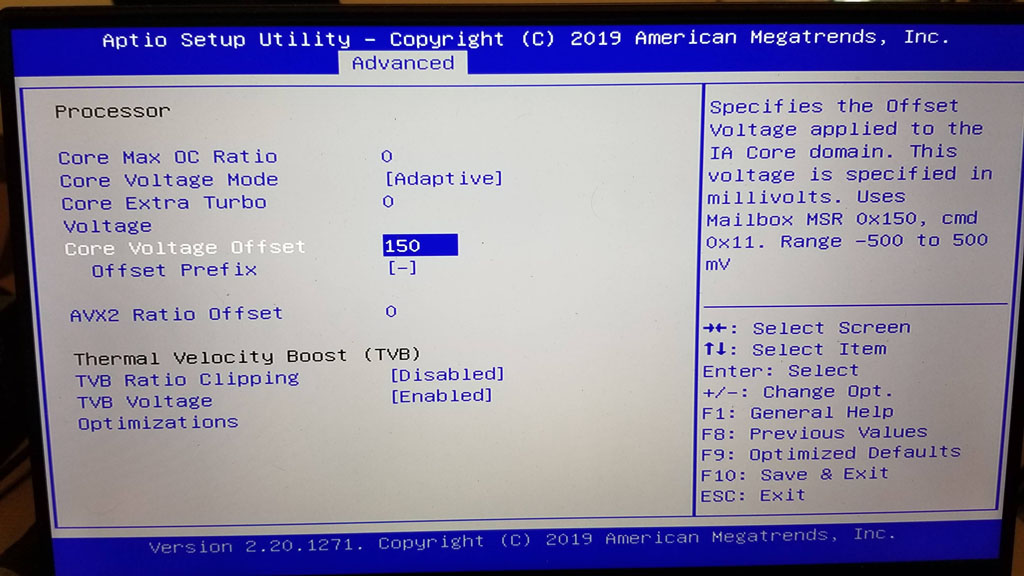
Press F2 to enter BIOS you should (hopefully) be greeted with some extra menus...

Big thanks to @Lost_N_BIOS!
Menu bar software for macOS 64-bit to support ActionStar chip based KVM hardware.
Vendor ID 0x2101 / 0x0835 is ActionStar (www.actionstar.com.tw)
2101:1403, 2101:1404, 2101:1406, 2101:1407, 2101:1411, 0835:1403, 0835:1404, 0835:1406, 0835:1407, 0835:1411