I've fully reversed Amiga SWOS and have it assembling a 1:1 binary of the original.
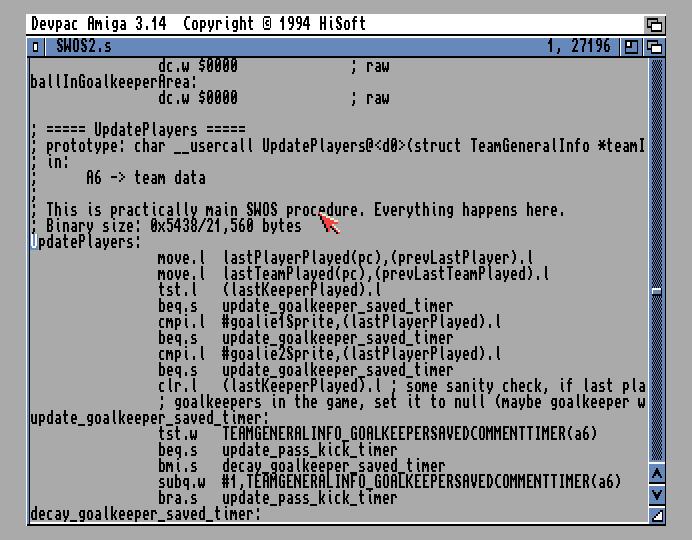
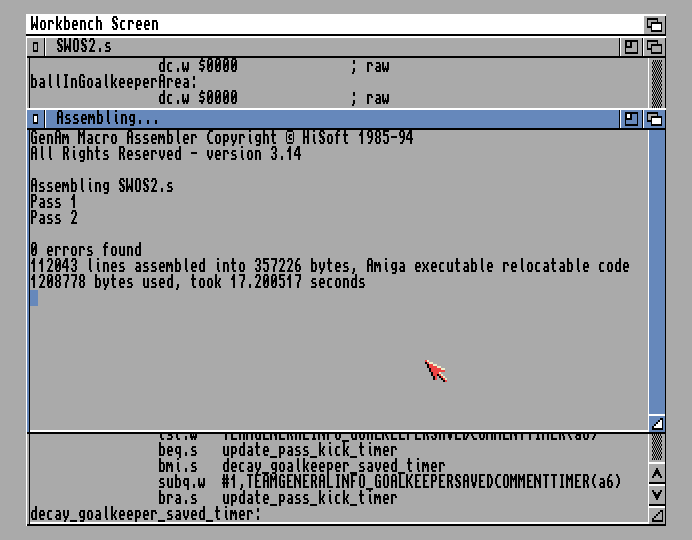


I've fully reversed Amiga SWOS and have it assembling a 1:1 binary of the original.
Plugins...

3AY Support is in.

Here's a preview video of the music tracker currently in development by the Rusty Pixels team!
New Features:
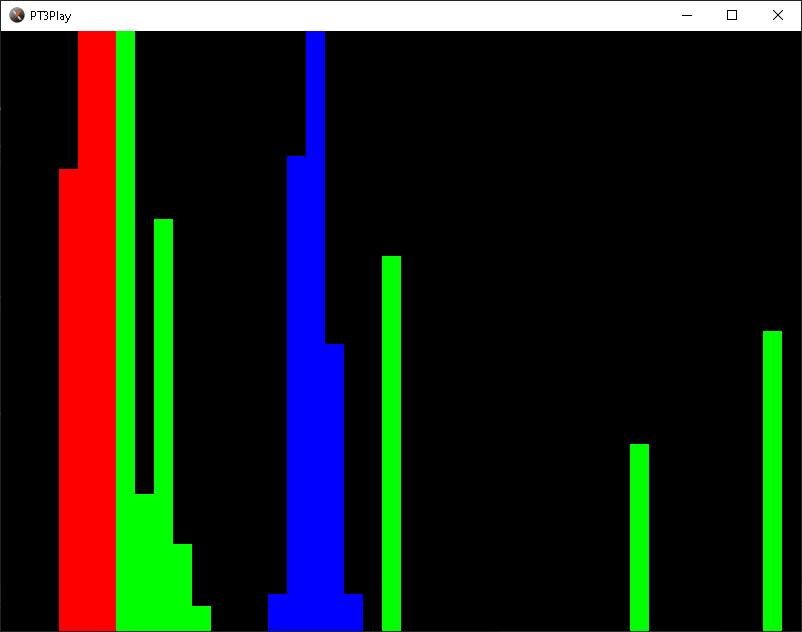
PT3Play is a Pro Tracker 3.x format AY-3-8910 chip tune music player ported to C#.
Broadcom PatchRAM DFU (Device Firmware Upgrade) utility for macOS.
Based on original dfu-tool & dfu-programmer for Linux and BrcmPatchRAM for macOS.
Supports the Intel HEX dfu file format (including zlib compressed).
NOTE: You will need to disable your bluetooth device for this tool to be able to access it.
patchram <vendorId hex> <productId hex> <firmware.dfu>
./patchram 0x0a5c 0x216f ./BCM20702A1_001.002.014.1443.1572_v5668.zhx
This uses the USB DFU specification (http://www.usb.org/developers/docs/devclass_docs/DFU_1.1.pdf), to upload firmware into a DFU device.
Flashing firmware is dangerous and could render your device non-functional. Use this at your own risk!
We've released a series of z88dk demo's for the ZX Spectrum Next. These are designed to complement Stefan Bylund's great series of examples.
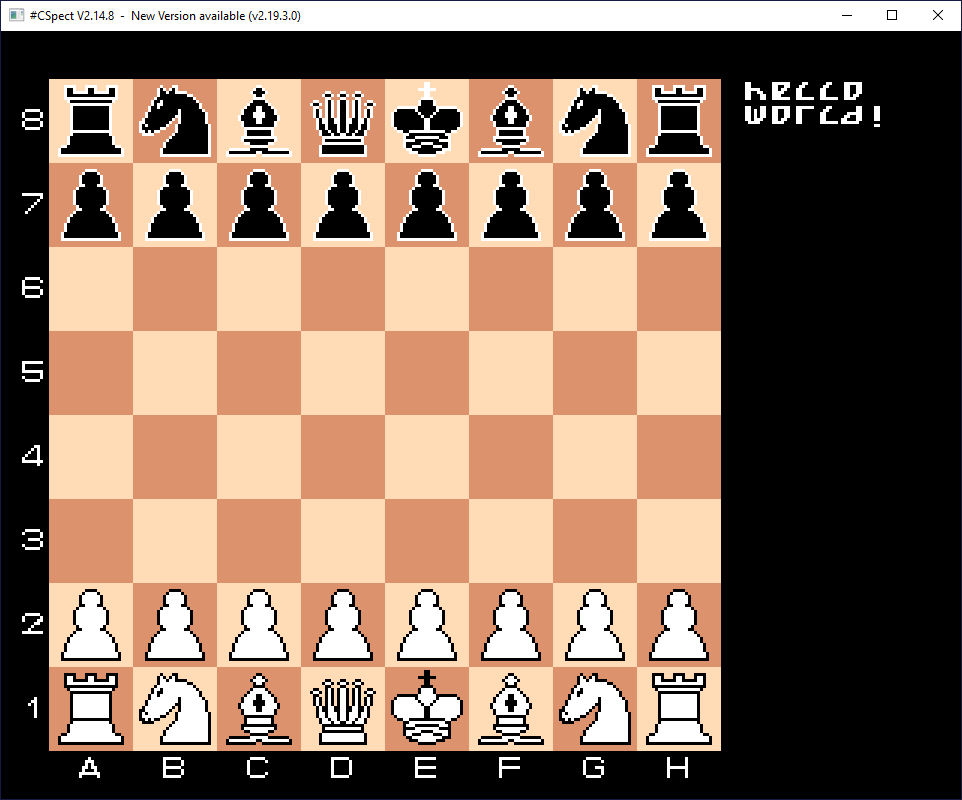
Demonstrates relative sprites for the ZX Spectrum Next.
https://www.baker76.com/zxnext-chess/
Tilemap demo for the ZX Spectrum Next.
https://www.baker76.com/zxnext-tilemap/

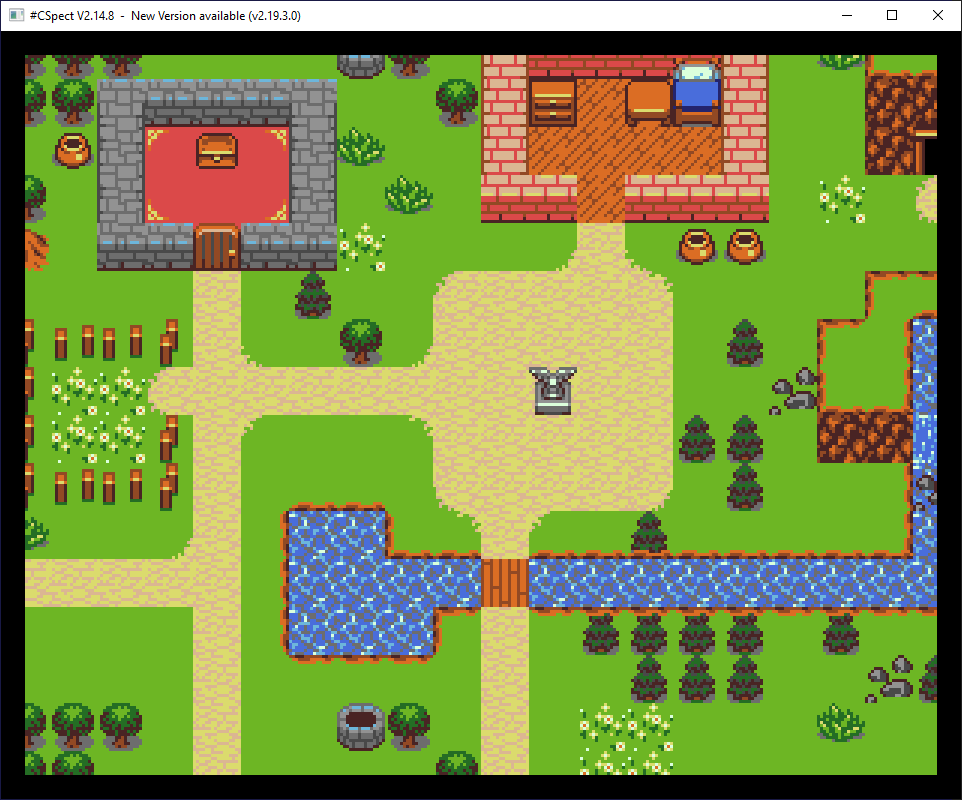
Example using Layer2 tilemap rendering for the ZX Spectrum Next.
https://www.baker76.com/zxnext-layer2-tilemap/
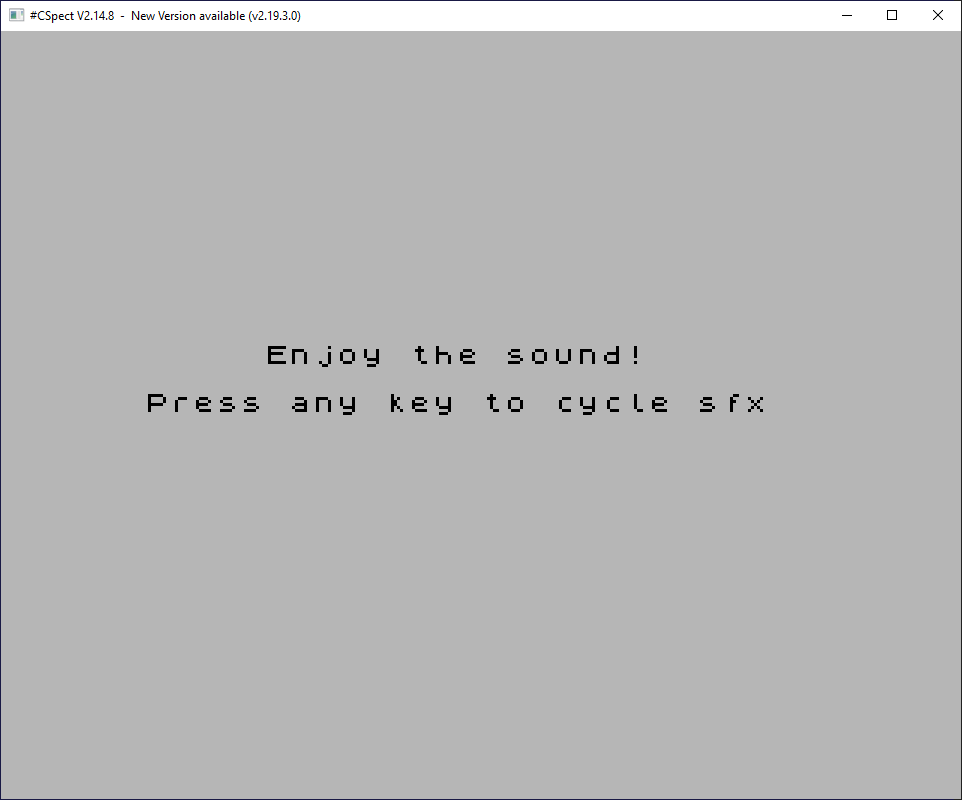
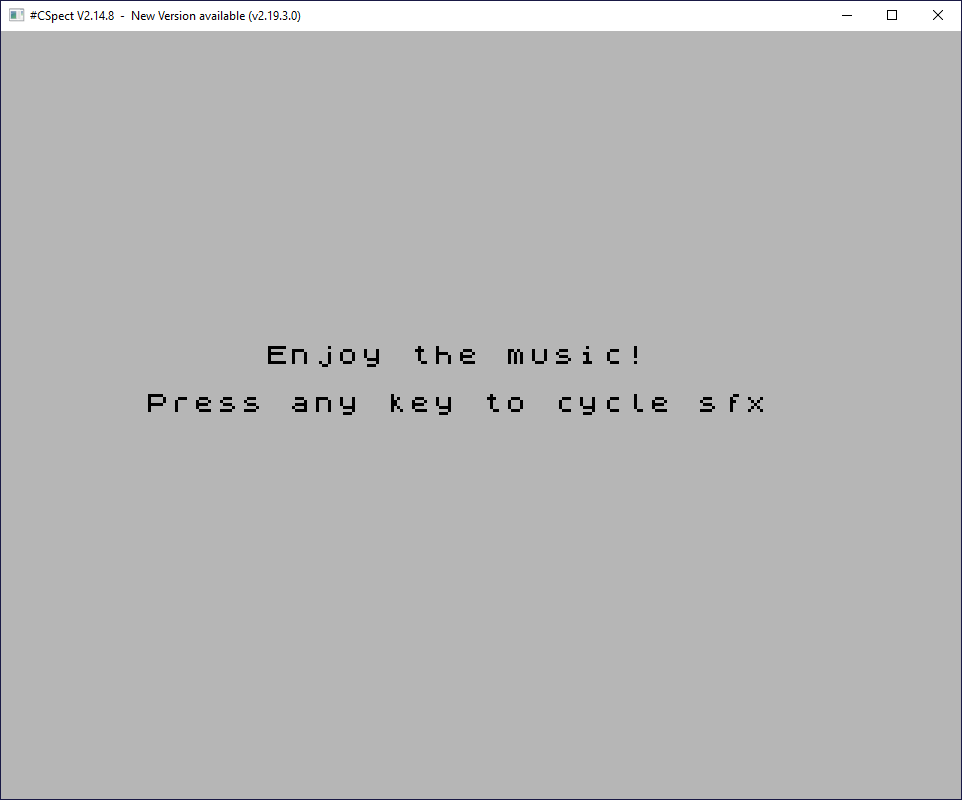
Sound effects demo for the ZX Spectrum Next.
https://www.baker76.com/zxnext-sfx/
Example showing dual Vortex Tracker II player for the ZX Spectrum Next.
https://www.baker76.com/zxnext-dual-vt-sound/
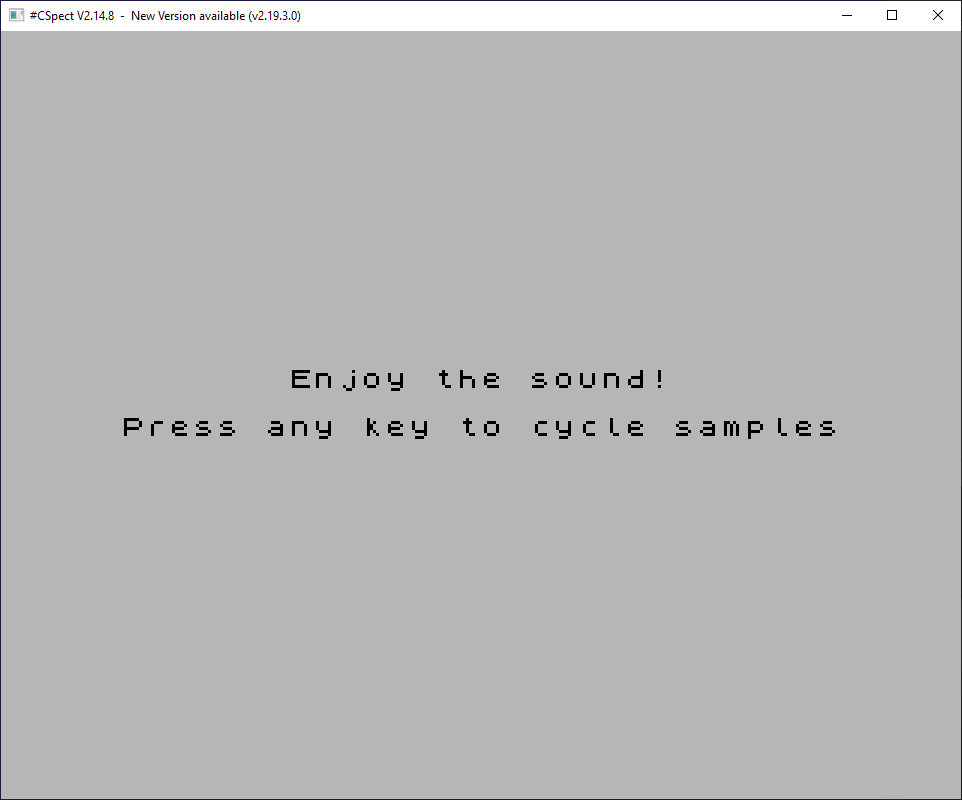
Based on David Saphier (em00k's) Multi Sample Engine in z80 for the ZX Spectrum Next.
https://www.baker76.com/zxnext-dma-sample/
I currently have dual VT music, sfx, layer2 scrolling (with rotated tile support), relative sprite rendering, and tilemode overlay for the foreground.

While I haven’t been able to hack back the AMD CBS menu into the BIOS I have discovered some potential solutions. I’ll share my findings in this post so you can give it a try.
There are two modules in the BIOS containing the AMD CBS menu. They’re both called AmdSetup and are located in CbsSetupDxeRV and CbsSetupDxeRN. The only one that contains ACS Enable is CbsSetupDxeRV and it does not appear to be included with the BIOS when it’s flashed.
The only options we have access to are located in the NBIO Common Options sub menu in CbsSetupDxeRN. Please note these offsets only apply to X3MSTX_1.70.
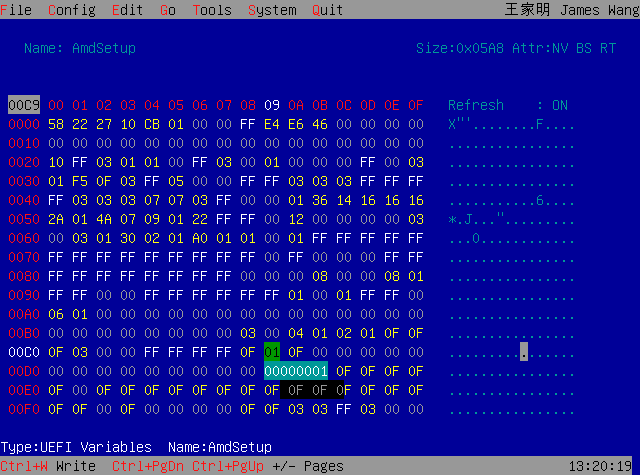
IOMMU Name=AmdSetup VarOffset=0xC9 Disabled=0x0, Enabled=0x1, Auto=0xF (default)
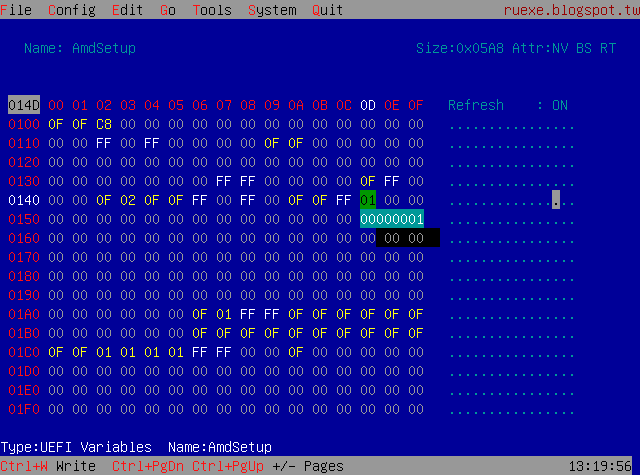
PCIe ARI Support Name=AmdSetup VarOffset=0x14D Disabled=0x0, Enabled=0x1, Auto=0xF (default)
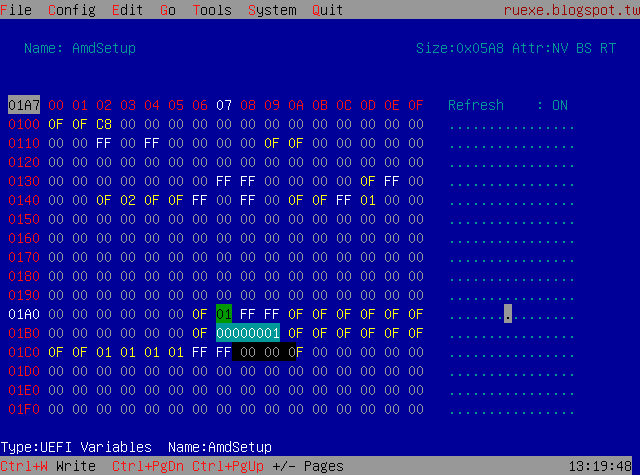
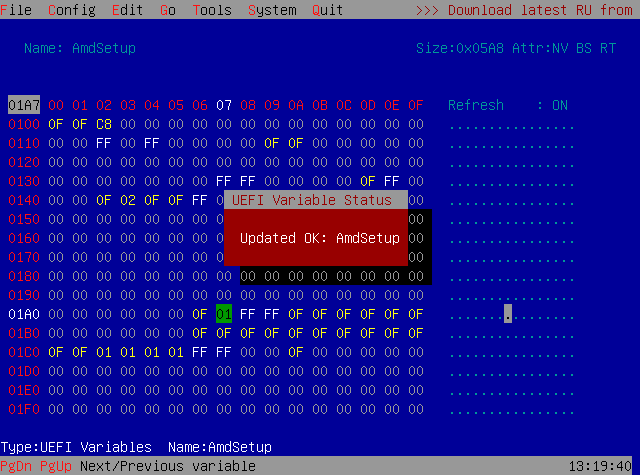
PCIe ARI Enumeration Name=AmdSetup VarOffset=0x1A7 Disabled=0x0, Enabled=0x1, Auto=0xF (default)We can edit the UEFI variables using a tool called RU.efi:
$ sudo grub-install --boot-directory=/media/username/GRUB --efi-directory=/media/username/GRUB --removable --target=x86_64-efi b. Windows (Where G: is your USB drive):
> grub-install.exe --boot-directory=G:\ --efi-directory=G: --removable --target=x86_64-efi grub> ls -l
grub> ls -l (hd0)/
grub> chainloader (hd0)/RuSmiPi.efi
grub> chainloader (hd0)/RU.efi
grub> bootAlt-= to show a list of EFI modules
Press <enter> to edit EFI variable offsets
Ctrl-PgUp to go up a page of variables
Ctrl-PgDn to go down a page of variables
F12 for screenshot
Ctrl-W to write changes
Alt-Q Quit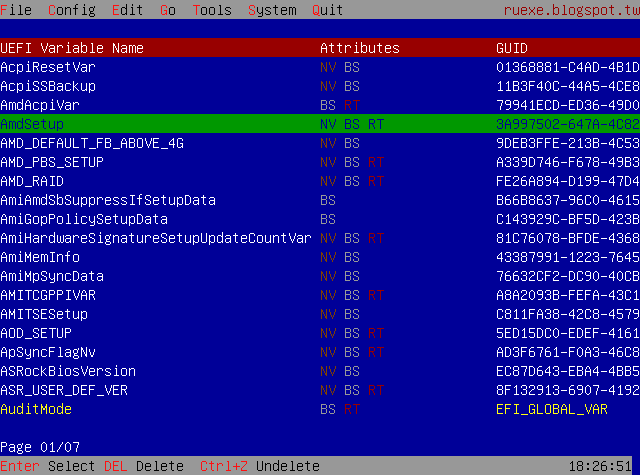
Unfortunately after these changes I see no changes in the IOMMU grouping. I don’t know if this is a limitation of the X300, my 4750G or the fact we don’t have access to the “ACS Enable” option. I’m getting a 5700G tomorrow and will be installing it to see if the extra PCIe lanes changes anything.
IOMMU Group 0:
    00:01.0 Host bridge [0600]: Advanced Micro Devices, Inc. [AMD] Renoir PCIe Dummy Host Bridge [1022:1632]
    00:01.1 PCI bridge [0604]: Advanced Micro Devices, Inc. [AMD] Renoir PCIe GPP Bridge [1022:1633]
    01:00.0 Non-Volatile memory controller [0108]: Samsung Electronics Co Ltd NVMe SSD Controller SM981/PM981/PM983 [144d:a808]
IOMMU Group 1:
    00:02.0 Host bridge [0600]: Advanced Micro Devices, Inc. [AMD] Renoir PCIe Dummy Host Bridge [1022:1632]
    00:02.1 PCI bridge [0604]: Advanced Micro Devices, Inc. [AMD] Renoir PCIe GPP Bridge [1022:1634]
    00:02.3 PCI bridge [0604]: Advanced Micro Devices, Inc. [AMD] Renoir PCIe GPP Bridge [1022:1634]
    00:02.4 PCI bridge [0604]: Advanced Micro Devices, Inc. [AMD] Renoir PCIe GPP Bridge [1022:1634]
    02:00.0 Non-Volatile memory controller [0108]: Samsung Electronics Co Ltd NVMe SSD Controller SM981/PM981/PM983 [144d:a808]
    03:00.0 Ethernet controller [0200]: Realtek Semiconductor Co., Ltd. RTL8111/8168/8411 PCI Express Gigabit Ethernet Controller [10ec:8168] (rev 15)
    04:00.0 Network controller [0280]: Intel Corporation Wi-Fi 6 AX200 [8086:2723] (rev 1a)
IOMMU Group 2:
    00:08.0 Host bridge [0600]: Advanced Micro Devices, Inc. [AMD] Renoir PCIe Dummy Host Bridge [1022:1632]
    00:08.1 PCI bridge [0604]: Advanced Micro Devices, Inc. [AMD] Renoir Internal PCIe GPP Bridge to Bus [1022:1635]
    00:08.2 PCI bridge [0604]: Advanced Micro Devices, Inc. [AMD] Renoir Internal PCIe GPP Bridge to Bus [1022:1635]
    05:00.0 VGA compatible controller [0300]: Advanced Micro Devices, Inc. [AMD/ATI] Renoir [1002:1636] (rev d8)
    05:00.1 Audio device [0403]: Advanced Micro Devices, Inc. [AMD/ATI] Device [1002:1637]
    05:00.2 Encryption controller [1080]: Advanced Micro Devices, Inc. [AMD] Family 17h (Models 10h-1fh) Platform Security Processor [1022:15df]
    05:00.3 USB controller [0c03]: Advanced Micro Devices, Inc. [AMD] Renoir USB 3.1 [1022:1639]
    05:00.4 USB controller [0c03]: Advanced Micro Devices, Inc. [AMD] Renoir USB 3.1 [1022:1639]
    05:00.6 Audio device [0403]: Advanced Micro Devices, Inc. [AMD] Family 17h (Models 10h-1fh) HD Audio Controller [1022:15e3]
    06:00.0 SATA controller [0106]: Advanced Micro Devices, Inc. [AMD] FCH SATA Controller [AHCI mode] [1022:7901] (rev 81)
IOMMU Group 3:
    00:14.0 SMBus [0c05]: Advanced Micro Devices, Inc. [AMD] FCH SMBus Controller [1022:790b] (rev 51)
    00:14.3 ISA bridge [0601]: Advanced Micro Devices, Inc. [AMD] FCH LPC Bridge [1022:790e] (rev 51)
IOMMU Group 4:
    00:18.0 Host bridge [0600]: Advanced Micro Devices, Inc. [AMD] Renoir Device 24: Function 0 [1022:1448]
    00:18.1 Host bridge [0600]: Advanced Micro Devices, Inc. [AMD] Renoir Device 24: Function 1 [1022:1449]
    00:18.2 Host bridge [0600]: Advanced Micro Devices, Inc. [AMD] Renoir Device 24: Function 2 [1022:144a]
    00:18.3 Host bridge [0600]: Advanced Micro Devices, Inc. [AMD] Renoir Device 24: Function 3 [1022:144b]
    00:18.4 Host bridge [0600]: Advanced Micro Devices, Inc. [AMD] Renoir Device 24: Function 4 [1022:144c]
    00:18.5 Host bridge [0600]: Advanced Micro Devices, Inc. [AMD] Renoir Device 24: Function 5 [1022:144d]
    00:18.6 Host bridge [0600]: Advanced Micro Devices, Inc. [AMD] Renoir Device 24: Function 6 [1022:144e]
    00:18.7 Host bridge [0600]: Advanced Micro Devices, Inc. [AMD] Renoir Device 24: Function 7 [1022:144f]
X3MSTX_1.70_CbsSetupDxeRN IFR.txt (229 KB)
X3MSTX_1.70_CbsSetupDxeRV IFR.txt (224 KB)
X3MSTX_1.70_Setup IFR.txt (442 KB)
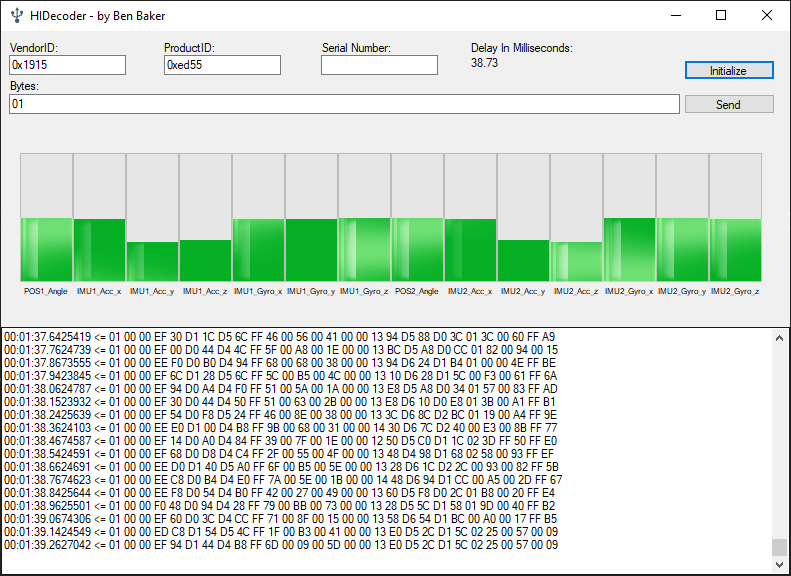
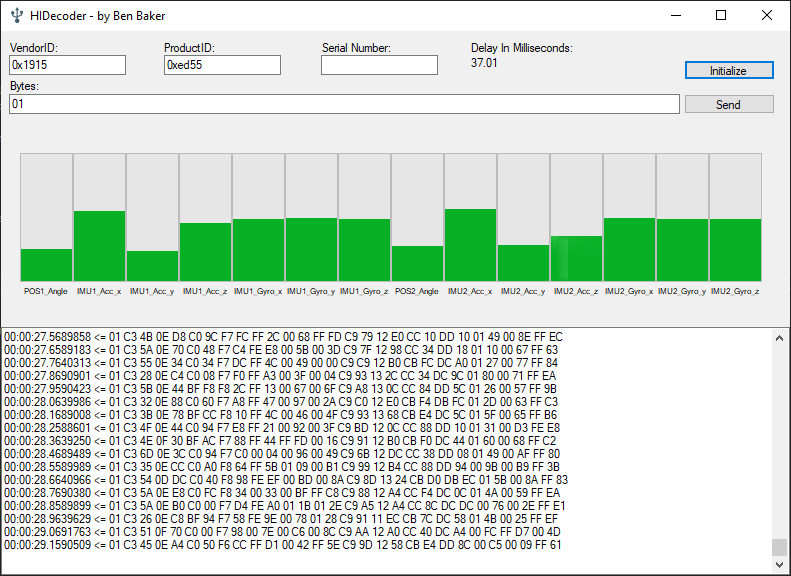
Here's a little app I wrote that captures HID data from the AgileVR / AgilePhysio device. The firmware combines two nRF52832 SoC Bluetooth LE data streams containing gyroscope, accelerometer and positional data into a single data stream using HID over GATT. The firmware will boot based on a DIP switch so it knows if it's a left or right device.