
![]()
Introduction
I've always wanted to build an arcade cabinet even back in the days when I owned an Amiga. I designed a cabinet for an Amiga 500 which never made it into reality. The idea re-entered my head again recently but this time with a PC in mind and I made the decision to go ahead and make it.
The first step was to decide on my cabinet design. I wanted a cabinet that was simple, good looking and practical. After some searching on the Net I found www.arcadecontrols.com which is a really good resource for building arcade cabinets. I found a post on their forum by a fellow called Elvis who happened to be Aussie like me and read his site that chronicles the creation of his first Mame cabinet (http://benchmark.mameworld.net/cab1/). I liked his design which was based on LuSID's famous plans but modified for a 21" monitor and someone who is taller. Also he had changed the plans to use metric which made life easier.
I called upon the help of my father, who happened to be a carpenter which was handy. I have to admit that my woodworking skills leave much to be desired, so I was expecting him to do most of the cabinet building with my dismal help whilst I would work on the computer side of things more. So this is where I really started, building the PC.
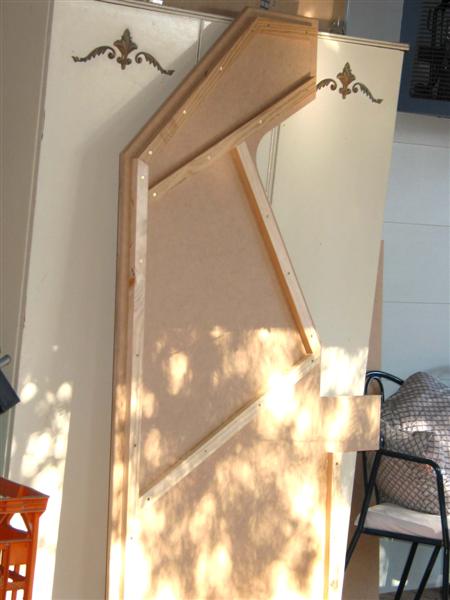
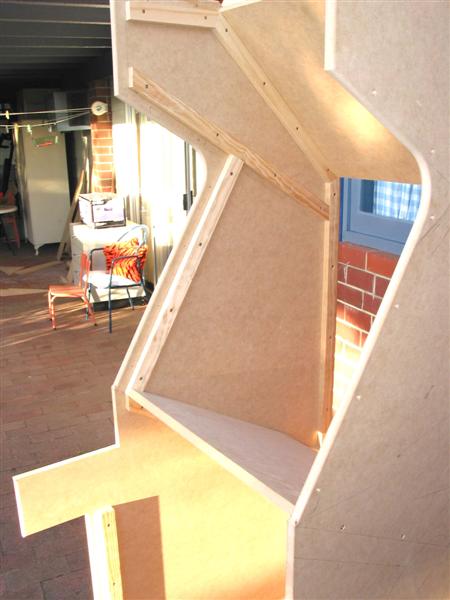
I think it might be time to point out a small error in Elvis's plans which I think is worth mentioning. As you can see from the picture to the right the plans show the monitor recess to be less deeper than his actual cabinet. I believe his actual cabinet shape looks great so I made the same change to my cabinet. The recess should go in an extra 100mm with a nicely curved part at the top.
Apart from this so far the plans are working out great. There have been a few modifications we have made but they are because my dad is a carpenter and he has used his experience to change them.
I wish to extend my greatest thanks to Elvis for taking the time to draw these plans in QCad and make them publicly available. Some people will actually charge money for plans, so I'm grateful Elvis has not. Also I contacted Elvis by e-mail to which he replied on numerous occasions and was very helpful in making some initial decisions on how to tackle some things.

Elvis's plans are (almost) perfect!
The PC
For a while I was scouting my local classifieds for a Dreamcast because I desperately wanted Soul Calibur on my cabinet even at this stage which was before I decided to base my theme on it. What I realized very quickly was that Dreamcast's are still very popular and people snap them up very quickly. It didn't take long for me to decide to build a high-end PC instead and use emulation. This would solve many problems that would pop-up in the future if I had of taken the console route. That being the need to hack the Dreamcast controllers, buy a VGA converter and the problem with changing games in the console itself. The PC was the obvious way to go even though the Chankast emulator hadn't been updated in a long time, it plays Soul Calibur quite well.
I decided to go for the following specs (BTW all prices on this site are in AUD)...
- 400W Black Case + Pentium 4-630 3.0Ghz $479
- Biostar MB
- 1 GB RAM $69
- DVD ROM
- Microsoft KB/MS (Black) $33
- 200GB 7200 RPM SATA2 HDD 2 @ $141 = $282
- Palit Radeon 9800 Pro 256M $150
Total $1013
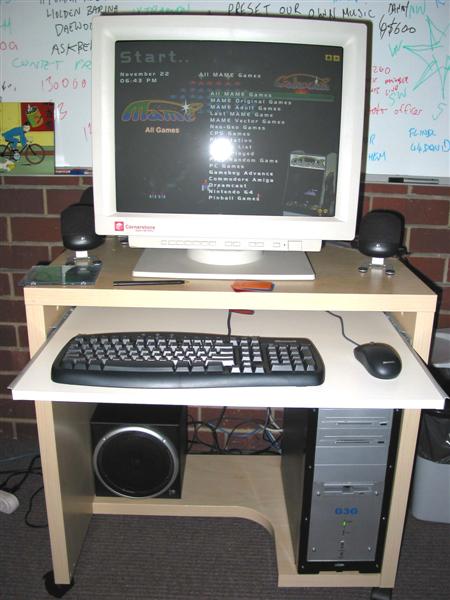
PC in the process of software setup.
As you can see it was quite expensive, but I went for all the "fruit" so to speak, so that it will run all emulators at full speed. Since this is a purely PC emulation based cabinet I though the PC specs were quite important. Two things annoyed me, I purchased most parts form Advance IT Computer Pty Ltd here in Perth, and although I got a pretty good deal, me being the idiot didn't check the MB was Intel like was advertised. All I said was "this is an Intel board right", whilst staring me in the face was the big "Biotech" logo. These are el-cheapo sub $50 MB's and I don't recommend them, but they falsely advertised them as being Intel when in fact they meant "it takes an Intel processor" which is misleading. Also the Radeon 9800 Pro 256M was from PLE Computers in Wangara and a bargain for $150 AUD. It's funny to think in the machine I'm on now I have the same card which cost me $700 odd back a year or so ago. Although the Palit brand in general is the bottom of the barrel in quality, but if it does the job, it does the job. The case was quite scungy (~$50 worth) but it's black and will be hidden away inside the cabinet so it wasn't really a concern, the power supply though is a lot to be desired it's loud and changes it sound based on how much the processor is working! I might have to replace that. So my point in telling you all this is that this was a relatively cheap computer but the cheapness came from them skimping out on certain parts to keep the price low. And it seems that it would probably have been better to just buy a more expensive computer in the first place with quality parts and brands.
Sound System
I had a few problems with the audio system. My first endeavor was to follow Elvis's suggestion to use an old car amp with car speakers. After scouring several car audio places in Joondalup including a Cash & Carry store, I just couldn't find an old 200Watt car amp. Well I found one for $50 but it had been stolen from the store!
I bought a BOSS 6x9 450W 4 Way 2 Ch from Strathfield for $60 and Pioneer TS-G161OR 16cm 160W Max speakers, with 4 Ohm Impendance for $60. Then I ripped out an old 200W ATX PSU from an old PC I had in the store room.
I asked a friend of mine how to rig it up so he gave me these instructions... Using a Molex plug, red is 5V, yellow is 12V, blacks are both ground as the diagram here shows.
On your amp, GND is ground. Remote is what turns the amp on, which is 12V. Its usually hooked up to you car stereo's power antenna lead or ACC (accessory) B+ would be positive, also 12V.
The next hurdle is setting up the ATX PSU to turn on without a motherboard. In my experience all you have to do is jump pin 14 on the ATX plug (green) with any ground next to it. With luck that should be all you need to do. If it wont stay powered on, some PSU's are a little picky and also require the power ok wire to also be jumped (pin 3, grey) with a ground.
On top of that most new PSU's will only start with something plugged in, some kind of power draw on the rails, to start up. Most people just plug an old HDD in to get it going, I have found that just a bright 3.5V LED on the 3.3V line (pins 1, 2 or 11) will be enough to get her going, that also serves as an indicator light that the PSU is on anyway.
The problem was my old ATX power supply only had 8 Amp output, and upon testing got no sound at all! Instead I decided to try out a Logitech Z-640 Computer Amp with the car speakers running through the satellite outputs. I added RCA plugs to my two Pioneer car speakers and tried them out on the Logitec amp and they sounded great! I don't know why I bothered with all the hastle of trying to run a car amp off 240V. The reason I changed my mind was that the amp being 400W and the computer PSU only gives out 8A. I still couldn't find the Amperage input for the amp, but the fuse was 30A. I rang up Dick Smith and the guy reakons a 400W amp would probably draw about 20A. Apparently you divide the watts by 20 to get a rough estimate. So obviously it wasn't giving enough power to even get any sound. I asked about a power converter and he said for a 20A 240V to 12V transformer I was looking at about $300! So you can see why I chose to go for the computer amp instead.
I opened one of the satellite speakers and written on the magnet was 4 ohm 6W so they are rated the same as the amp, which was good luck I guess.
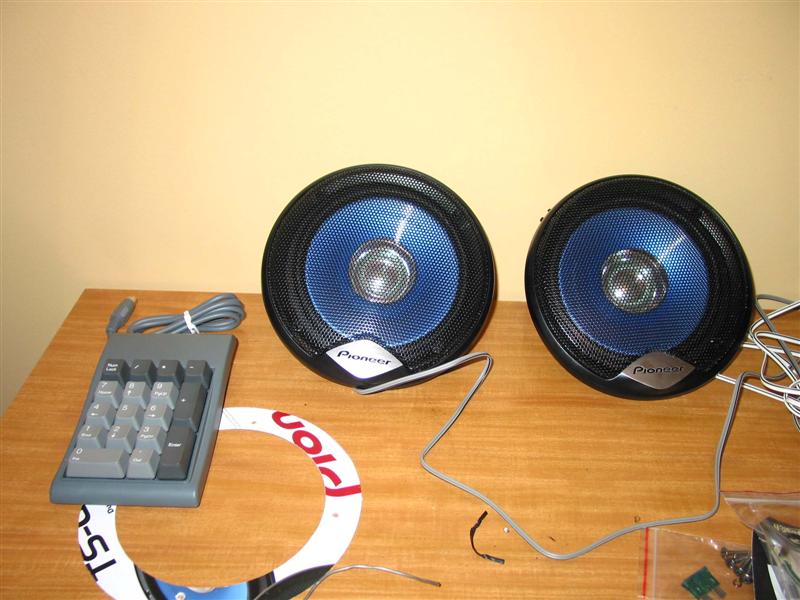
Pioneer TS-G161OR 16cm 160W Max, 4 Ohm Impendance (Strathfield) $60
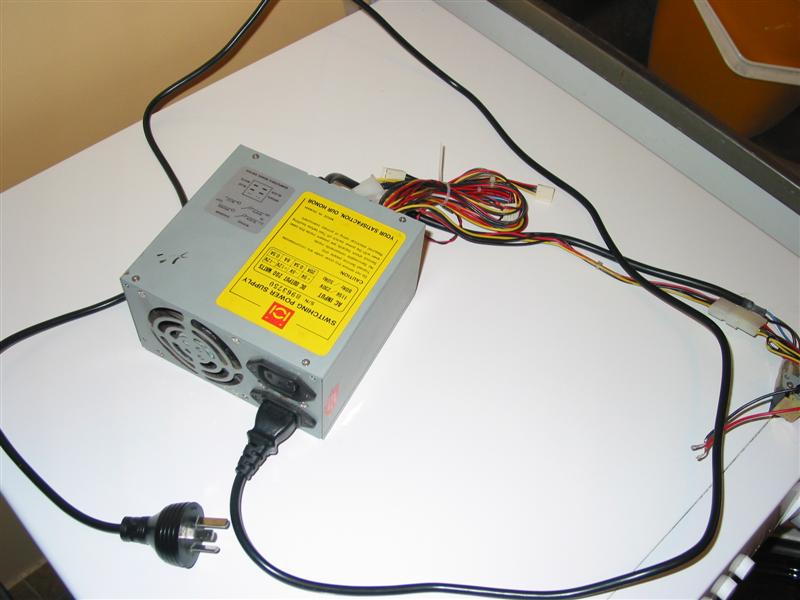
Old 200Watt ATX Power Supply (8 Amp Output)
Misc Parts
Here are some other misc parts that I got prices for, most are from a local Bunnings store and are here for interest sake only. Alot of the stuff listed here I didn't get, like I used routed edges instead of t-moulding and laminate. Laminate is very expensive as you can see...
- Weswood MDF Plain 18 mm Sheet 2400 x 1200 mm (2.88 sqm) 3 @ $45.31 = $135.95 [USED]
- Crompton Fluorescent 13W Bikini Light (550 mm) $46 [USED]
- 250 kg Cators with lock (2) @ $7.50 x 2 = $15 [NOT BOUGHT]
- Pine f/j 42x40 mm x 2.4m @ $9.77 x 3 = $30 [NOT BOUGHT]
- Multipurpose Filler No More Gaps $6.78 [NOT BOUGHT]
- Multipurpose Putty $11.03 [NOT BOUGHT]
- Deluxe Primer Sealer 2ltr $38 [NOT BOUGHT]
- British Paints Primer Sealer Undercoat $32.50 [NOT BOUGHT]
- Hi-gloss (85% gloss) Black Enamel Paint 4 Lts $80 [NOT BOUGHT]
- Laminate Decor Preto Black 1.83 x 0.78 m $49.95, 1.83 x 1.56m $99.95, 3.66 x 1.56 m $199 [NOT BOUGHT]
- Powerboard 4 outlet $1.94 [NOT USED]
- Lead-extension 5M Black $4.78 [USED]
- Cable Clips 8-10mm round $2.68 [USED]
- Lead-extension 10A 4M & Piggy-back plug $10.70 [USED]
Some newer stuff bought for the cab...
- Dulux Super Enamel S/Gloss 1L Black $30 [USED]
- Hinges Continuous H/PK WBM1610 610mm NP Zenith [USED]
- Ties-cable HPM DQ13 13mm Cable PK/20 $3.40 [USED]
- Plugtop Arlec $2.68 [USED]
- Vent Aluminium Eave EV168W White 400x200mm W/Screen $13.66 [USED]
- W/Knight Spray Paint Satin Black $6.74
- Hinges Continuous 915mm Steel (Piano hinge for back door) $19.17
- Logitech G7 Laser Cordless Mouse $139 [USED]
- 2 x HSF TT Smartcase Fan2 $35 [USED]
- Sound Card Creative Audigy Value 7.1 $59 [USED]
- 2 x Logitech Cordless Rumblepad 2 @ $$59 x 2 = $118 [USED]
- 1 x Western Digital 200GB 7200RPM HDD (ATA133) $129 [USED - Full capacity is now 600GB]
- D-Link Wireless LAN PCI $75 [USED - this cab is remotely administered]
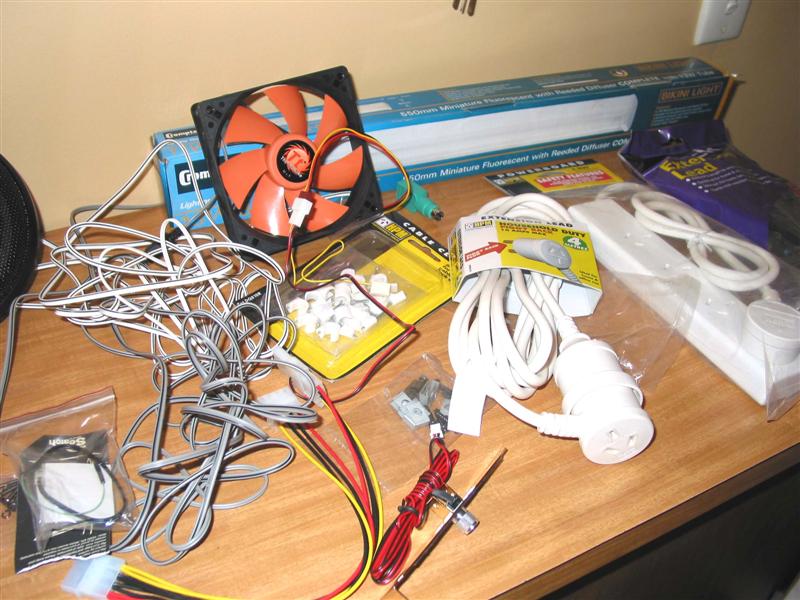
Thermaltake Smart Case Fan II (120x120x25 mm) (PLE Computers) $30
Crompton Fluorescent 13W Bikini Light (550 mm) (Bunnings) $46
Control Panel
I purchased my CP (again following the advice of Elvis) from OzStick. The owner Chris has proved himself over the years for being both high in quality and service. So people generally recommend him on arcadecontrols. Again, my experience with Chris has been great, he has taken a lot of his time to speak to me on the phone regarding my CP as well as giving many other design ideas for the cabinet.
- 1 Custom Control Panel Solution
- 1 CM01 Mechanical Coin Mech
- Postage
- Paypal surcharge
- 3 Extra Buttons
Total $360.50
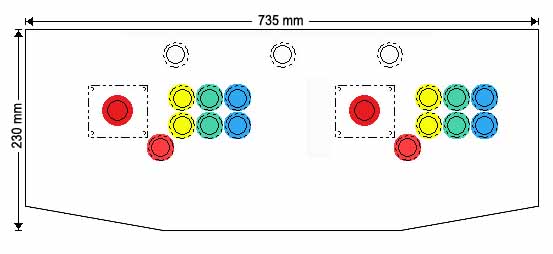
The first design based off Elvis's CP.
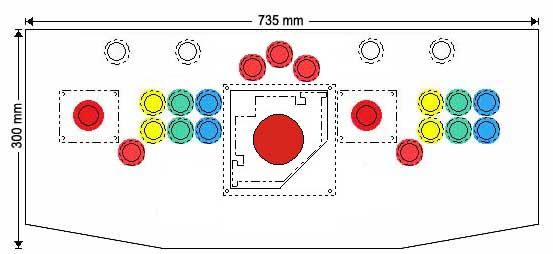
This was a design when I was considering a trackball.
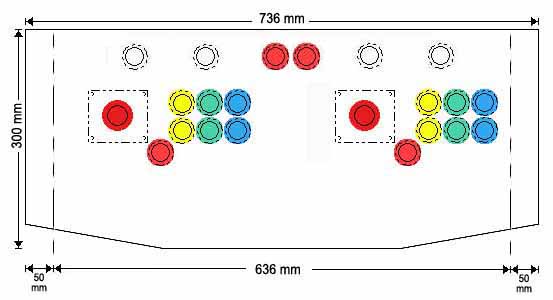
This is the final CP design with two extra "system" buttons (Exit, Back/Pause)

"Artists impression" of final CP.
LEDWiz CP Makeover
Check out my Soul Calibur CP Makeover page for an in depth look at adding LEDWiz to my CP for full RGB LED lit buttons.
Artwork
I got my side art and marquee printed by Sign-A-Rama in Joondalup. I got the side art printed on A1 poster size (594 x 841 mm) on adhesive backed vinyl and laminated with luster laminate. The cost of A1 sized print on this media is $77 each, but I added 300 mm for the additional height of the cabinet which was costed at $85 each. The marquee was printed on translucent film and cost $30.
- 2 x AI format full colour prints on ahesive backed vinyl with luster laminate, size 594 x 1141 mm. PRICE @ $85, Total = $170
- 1 x BMP format full colour print on translucent film, size 600 x 168 mm. PRICE @ $30, Total = $30

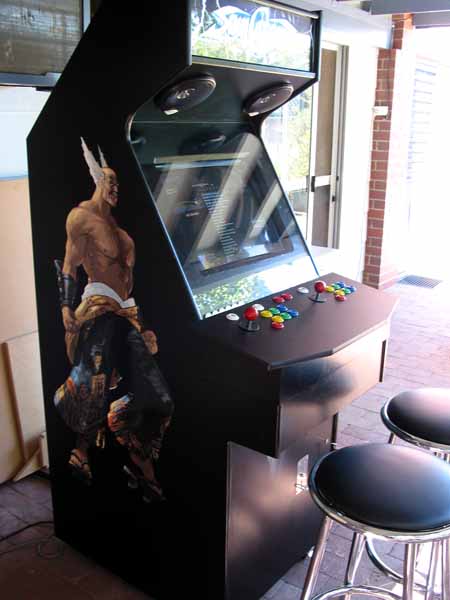
Heihachi (PS2 character from Tekken) and Mitsurugi from Soul Calibur II.

My marquee design.
Construction
The cabinet construction is rather slow, as my dad only has one day a week off that he can dedicate to working on it. And sometimes it's only a few hours. It's taken quite a few months, but now were at a stage where everything is down hill from here. The main cabinet has been put together, and looks f**king great if I do say so myself. I am forever in debt to my dad but I suppose most people are.
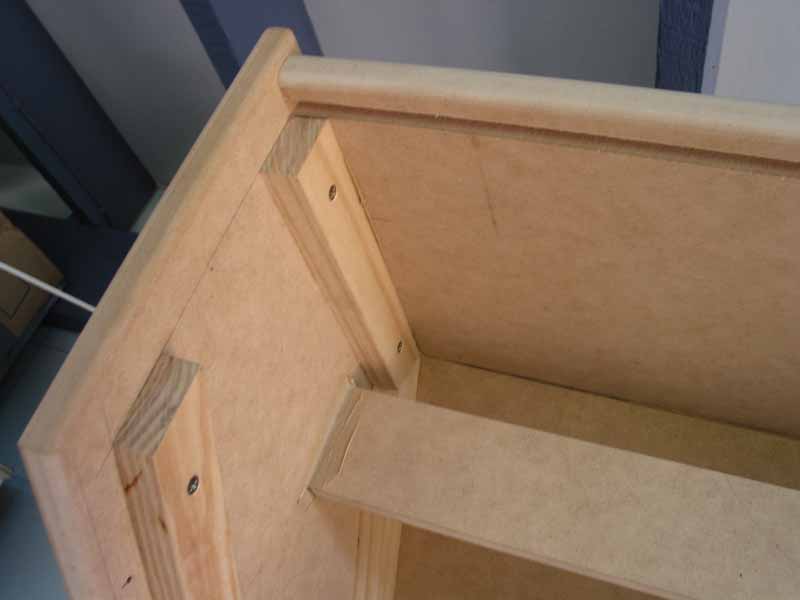
The beginning... side panels and pine battons
That's one done
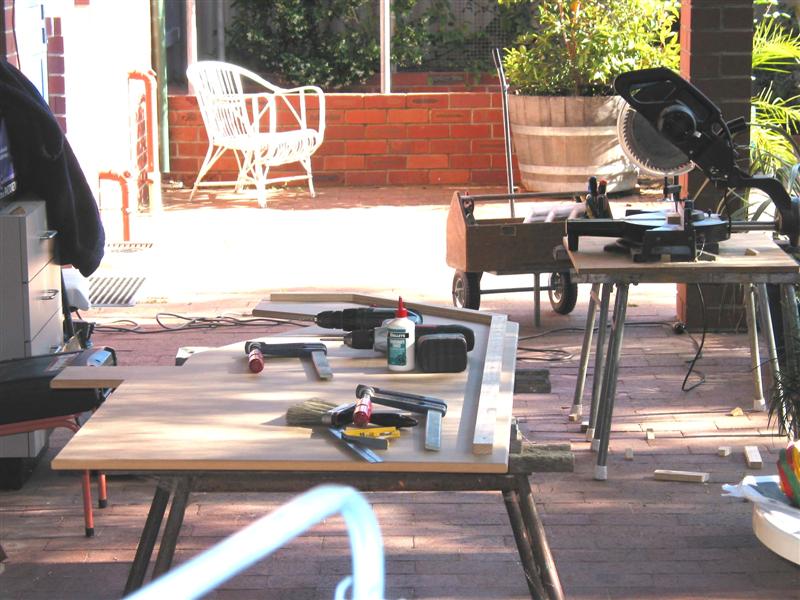
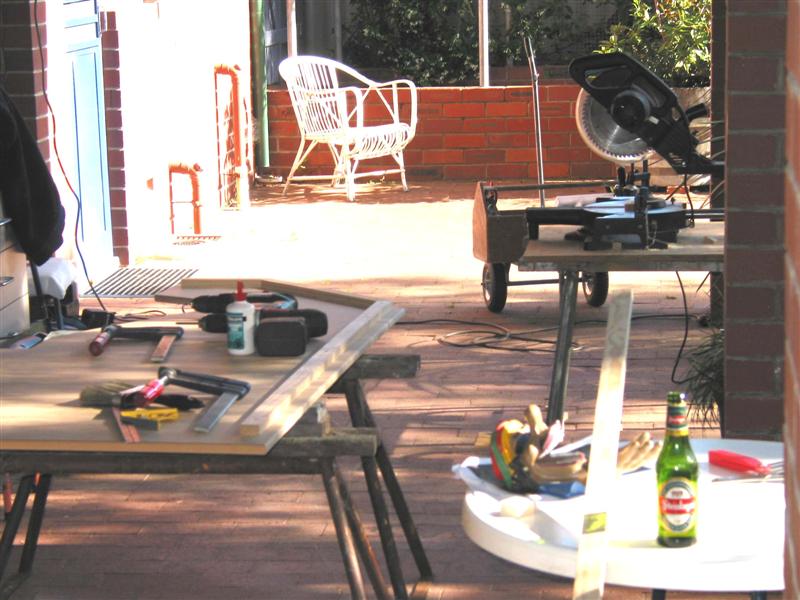
Boy is this place messy
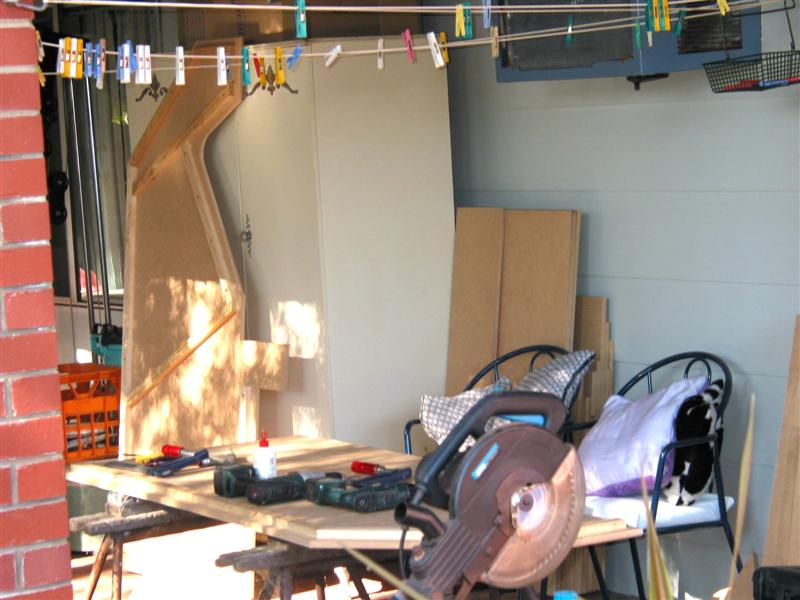
.. over here too
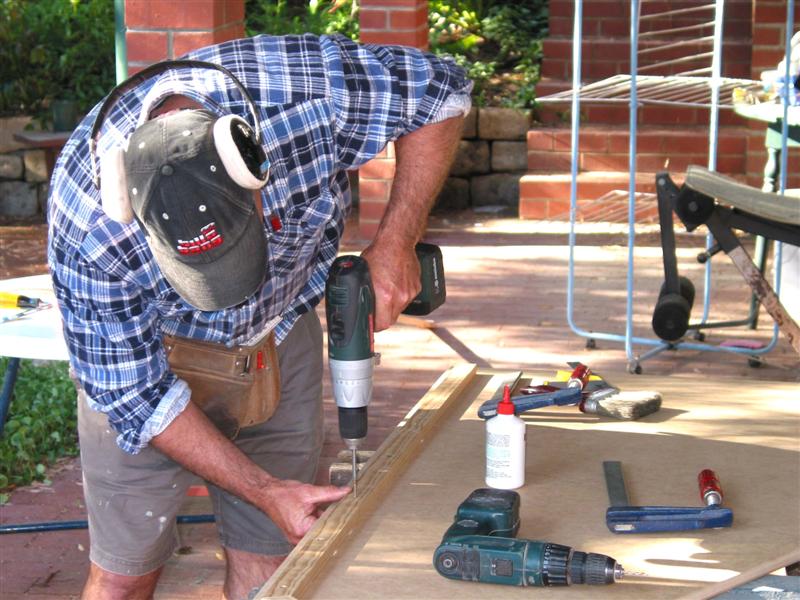
My dad hard at work
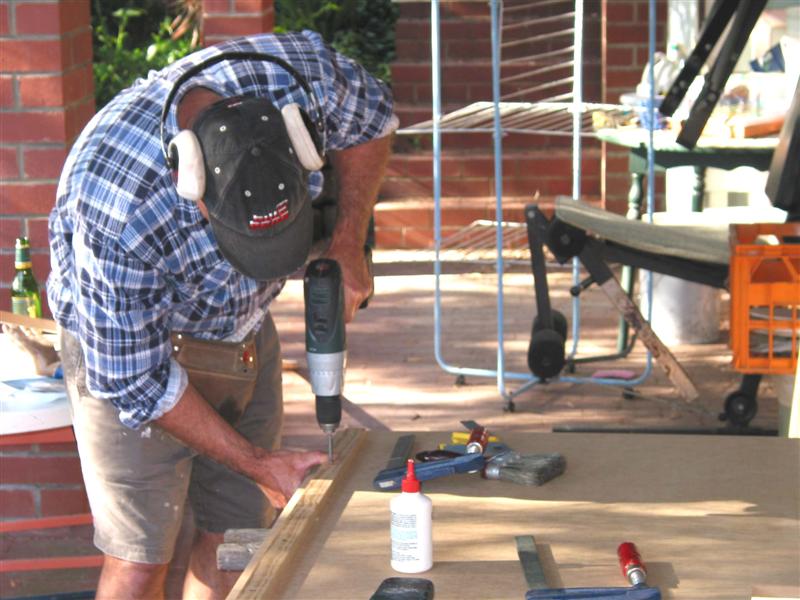
Spot the difference
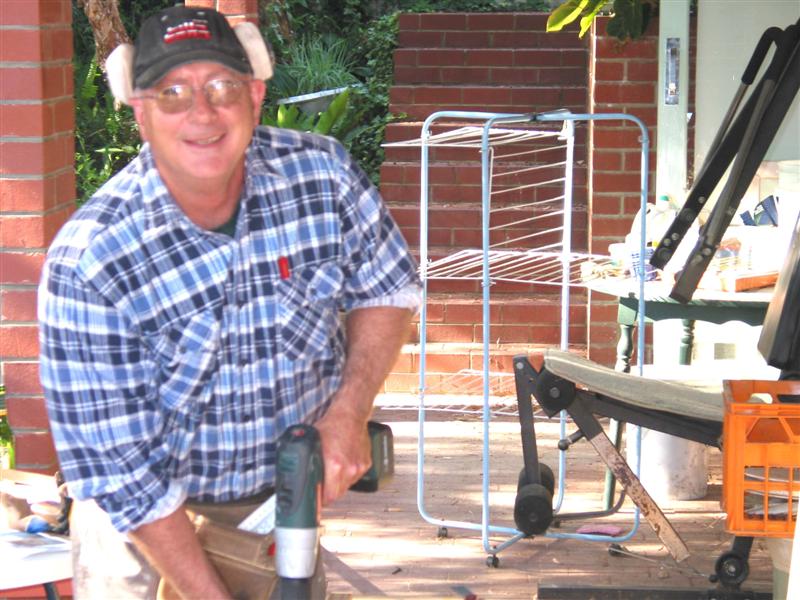
My dad again
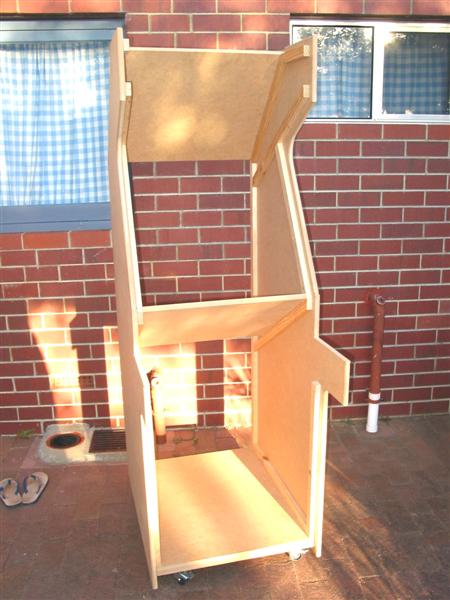
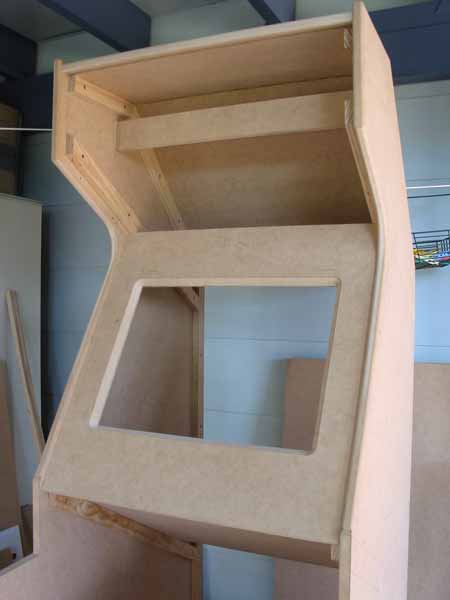
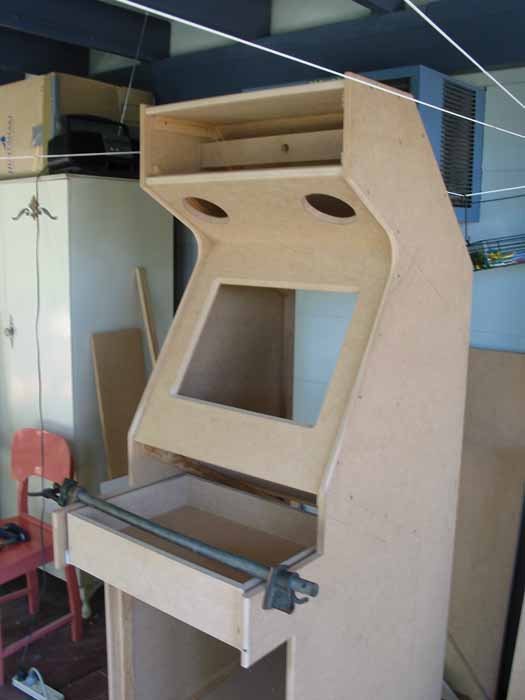
The basic structure done.
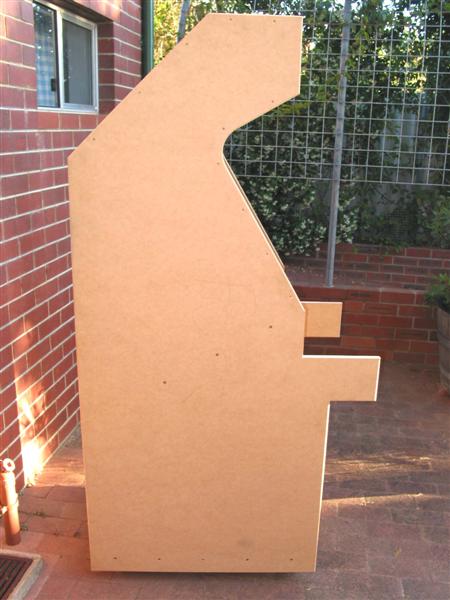
Side view
Nice routed edges (uhuh, no t-moulding)
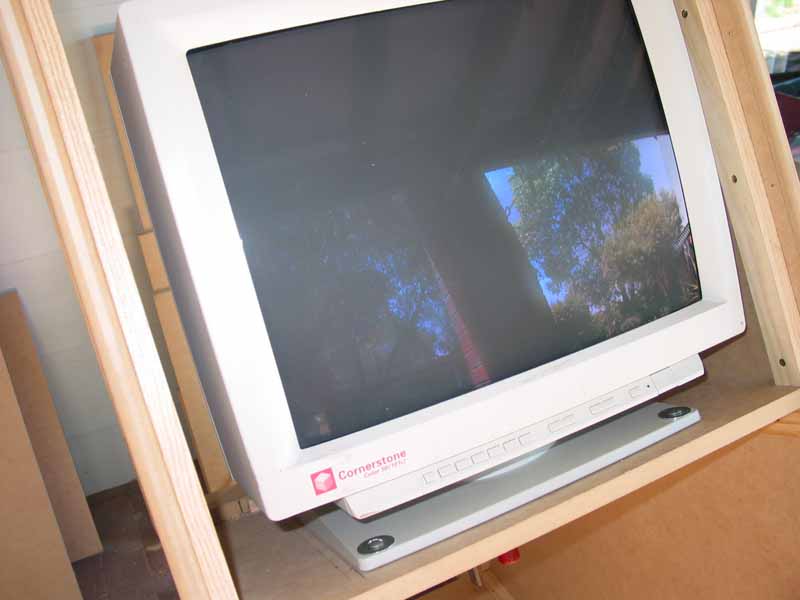
A test to see if the monitor will fit (it did, just)
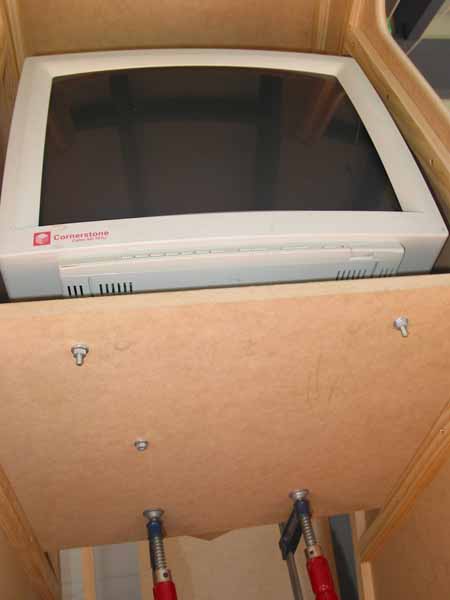
Now we bolt it to the shelf
The monitor frame is on

The bezel is actually a 45º routed recess
Trench made with router for marquee
Drawer is done
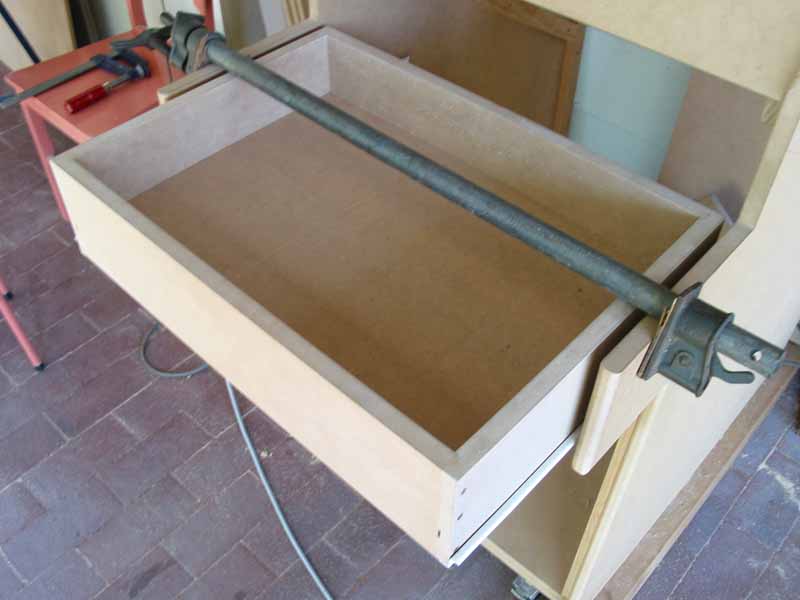
Another look at the drawer
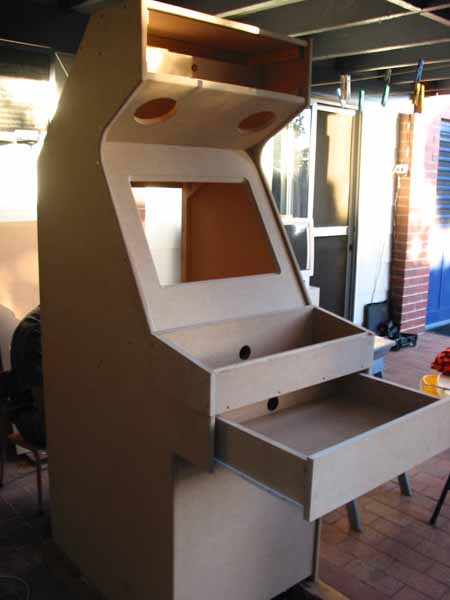
Coming along nicely
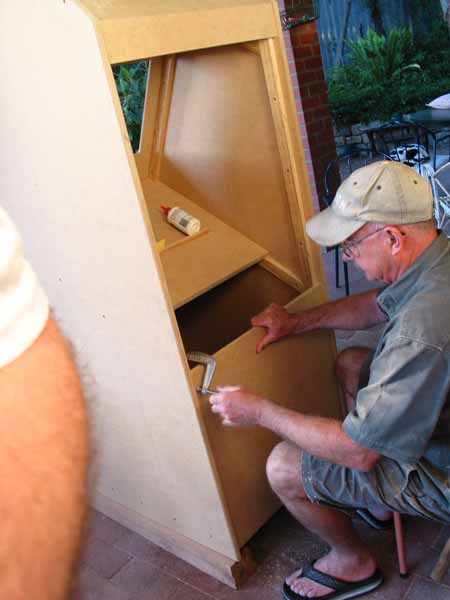
Dad clamping the back support sheet
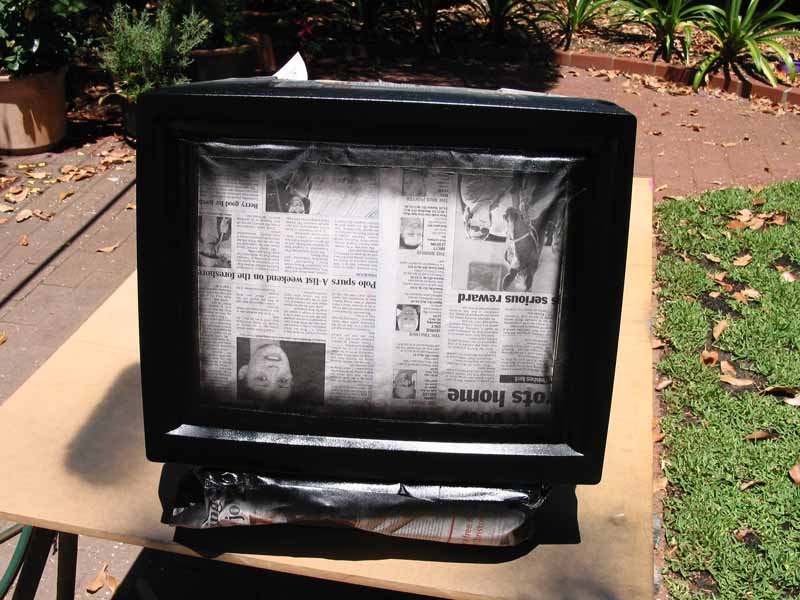
The monitor gets a spray paint. This is the second part of the bezel
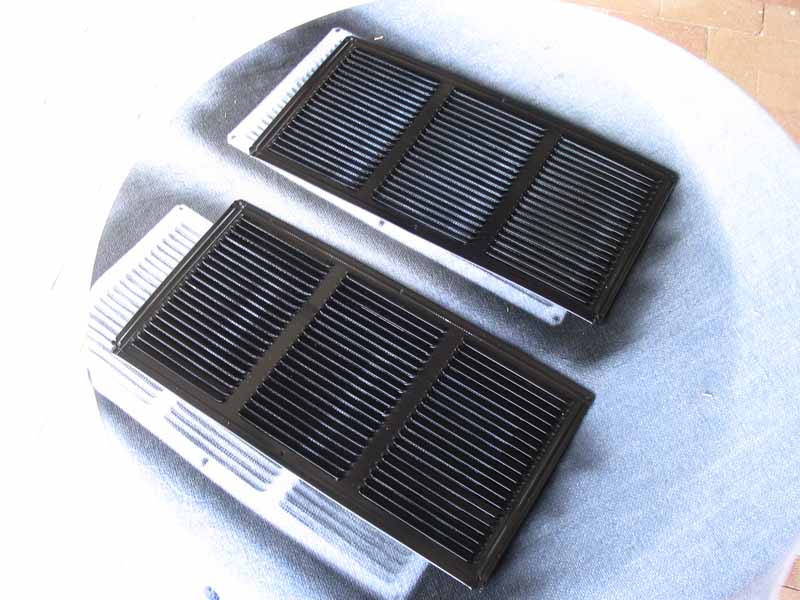
Nice idea to cover the monitor with a grill. Only $12 for two then spray painted black

Holes for the two fans, and monitor grill
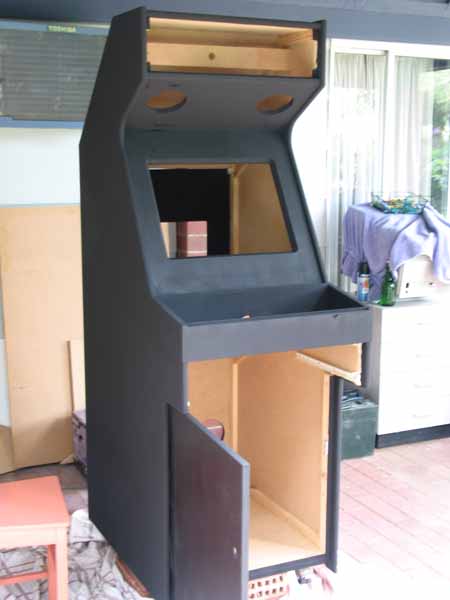
First undercoat using black.
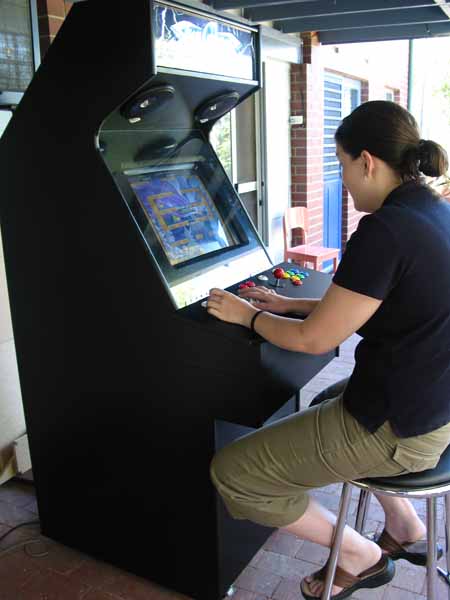
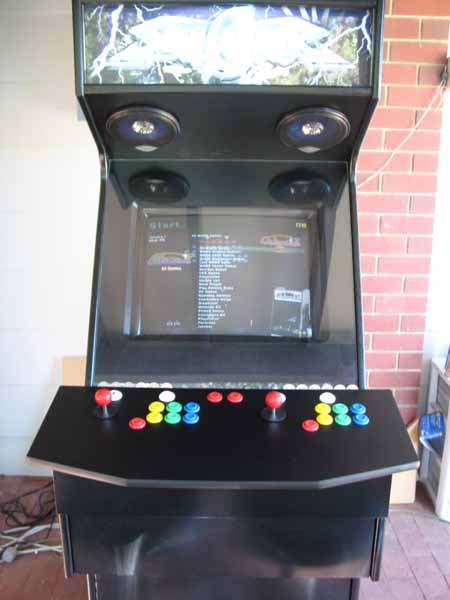
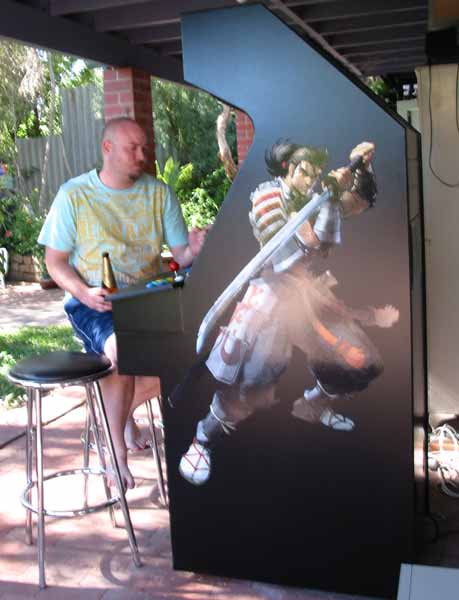
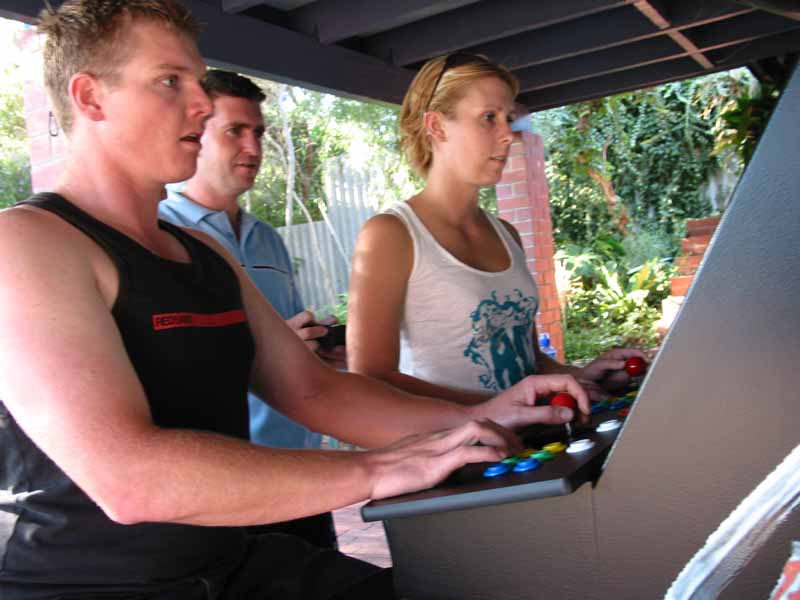
Finished! My g/f playing Bubble Bobble
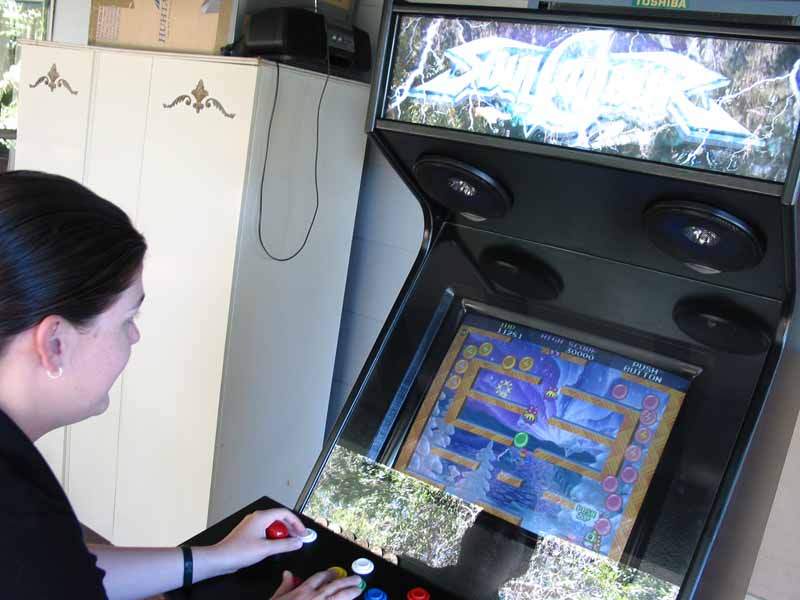
Another one of g/f
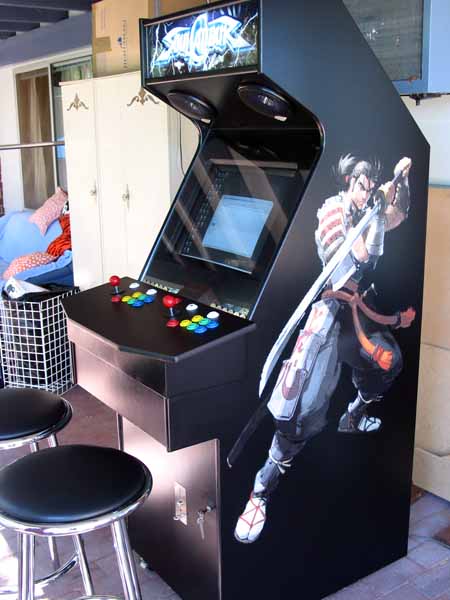
The side art applied
Looks cool!
Thanks Chris of Ozstick for the WICKED CP!
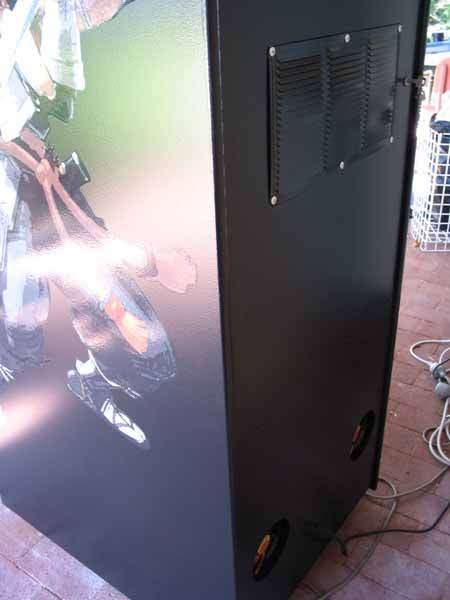
The back with the monitor grill & fans in place
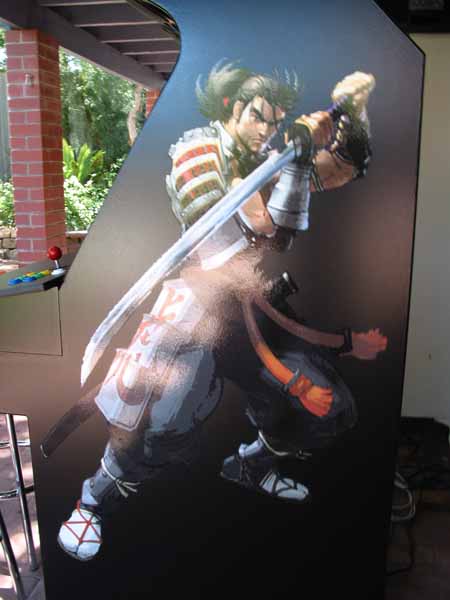
Mitsurugi looking cool as side art
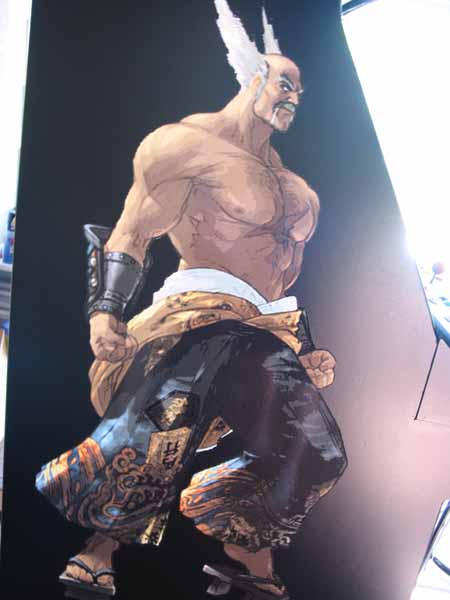
Heihachi ain't bad looking either
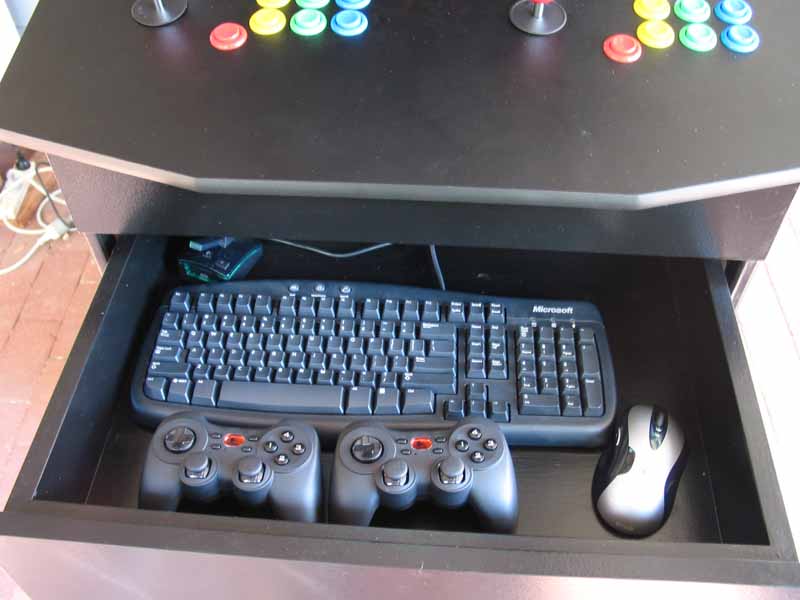
1 Black MS Keyboard
1 Logitech G7 Cordless Laser Mouse
2 x Logitech Rumble Pad 2
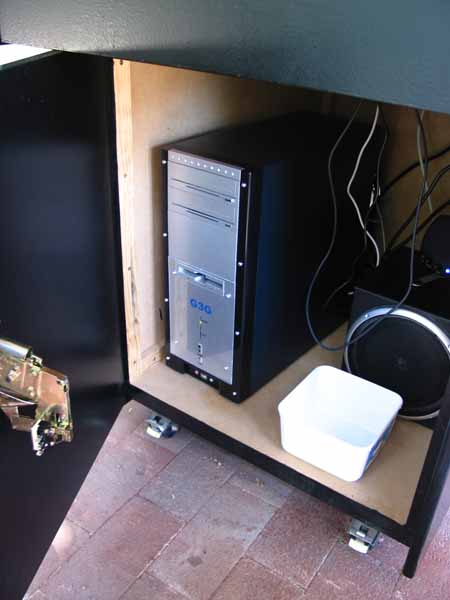
The computer & Logitech amp
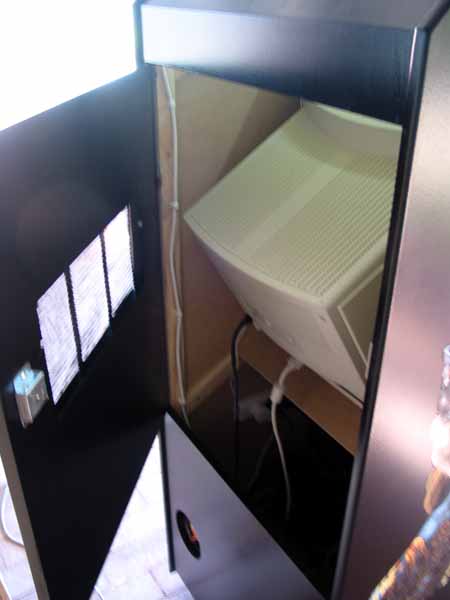
That big ass monitor hidden away in this door
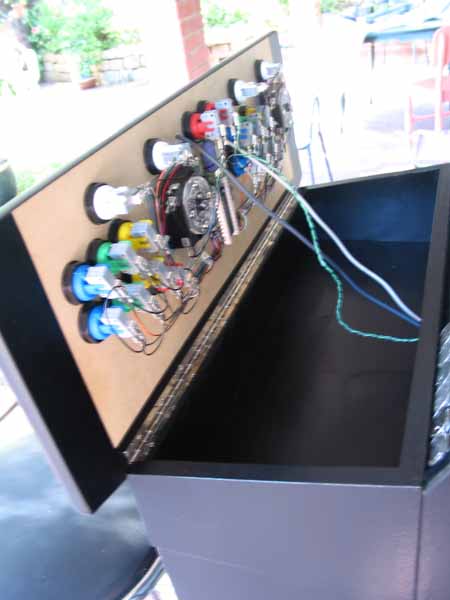
The underside of the CP. Nice wiring job Chris 🙂
Ok, one ugly mugshot of me...
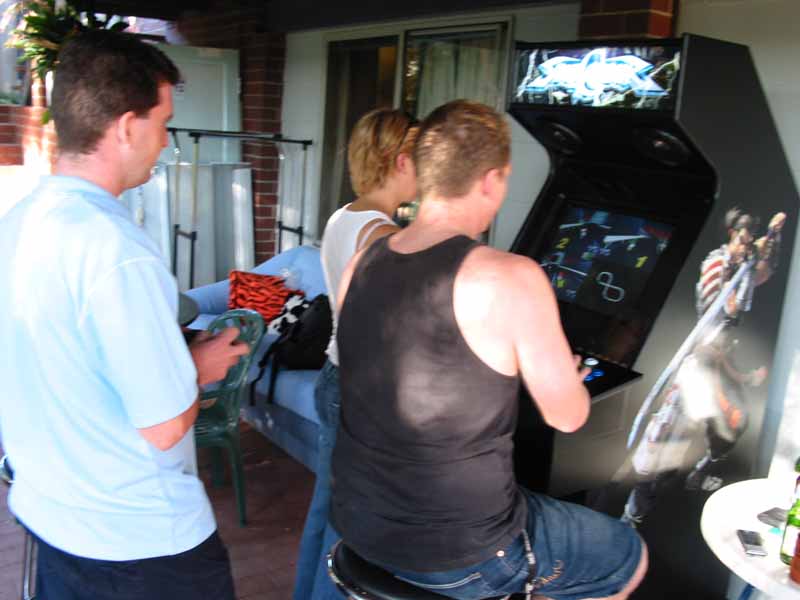
3 Player Mario Karts is fun
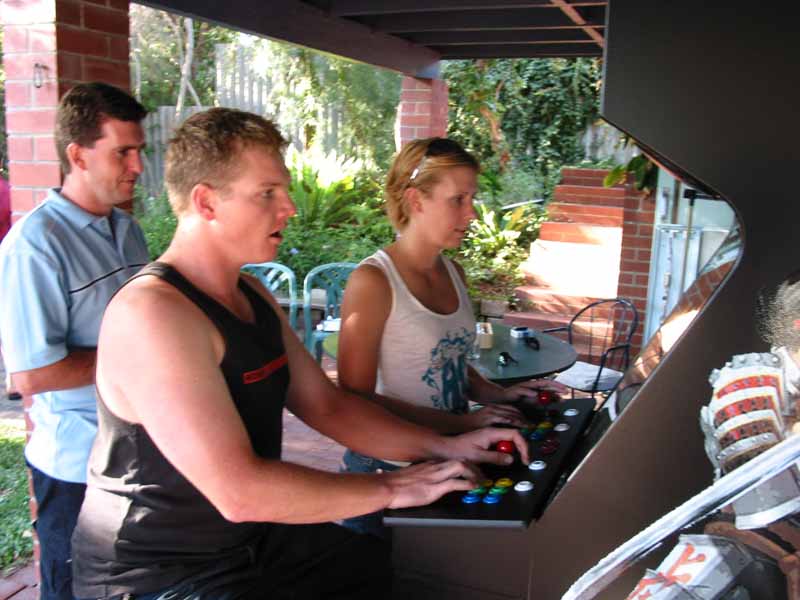
A Look of concentration

R.I.P Damian Dimas

R.I.P Damian Dimas
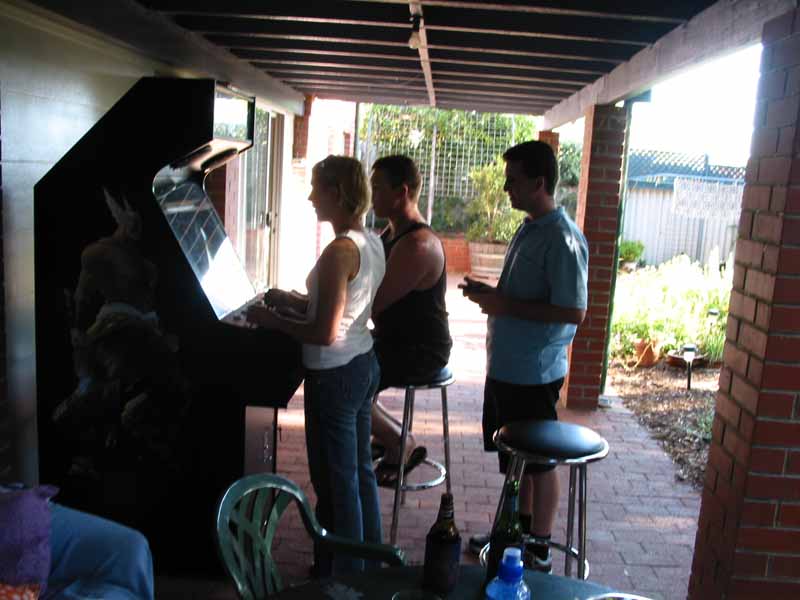
Are they still playing that game?
Yep...
Software & Graphics
This area of the page features software & themes I have written & made for my arcade machine.

This is my custom theme for Tom Speirs excellent GameEx front-end. I recommend this front end to everyone, it's truly awesome.
My Chankast launcher for this cool Dreamcast emulator. Since this cab's theme is based around the Dreamcast version of Soul Calibur, it was kinda necessary for this.
This program will keep volume profiles of games. So basically you run this before a game, set the volume the way you like it, then launch it again afterwards and it will save the volume you set then restore it back to the original volume. I may update this one day to work with % or relative volumes, so they will change according to the current volume.
This program was quite controversial when I released it. Many people thought this program could be exploited for commercial use. It allows you to drop coins from your front-end and then use them in Mame. It also allows you to carry over credits to multiple games. I have since removed the download for this.
Other Software
This area features programs and apps written by others that I find very useful in setting up my cab.
Very useful program, this can map any key on a keyboard to a mouse/joystick/keyboard. It has a powerful scripting language that can perform complex tasks. You can also compile the scripts to executables.
I needed this because my CP was mapped using the default Mame configuration. In Chankast the ALT key will bring up the menu and pause the game. I used AutoHotkey to map the ALT key to the V key instead. It's as simple as placing "LAlt::v" in a .ahk script file and it works great.
This program can perform the opposite of the above. It can convert a keyboard strokes to a joystick by creating a virtual keyboard driver. Why would you want to do that you ask? Well, in the case of Virtua Tennis, you can only use the keyboard for Player 1. With this program it creates a virtual keyboard drivers and allows you to map keys to a virtual joystick. With this program I can now play Virtua Tennis with two on the CP and two on game pads. Very nice program.